Chainlit Quick Start: Build Your First AI Chatbot in 10 Minutes
Build your first Chainlit chatbot in 10 minutes. A step-by-step guide covering installation, OpenAI integration, LangChain RAG, and production deployment with Docker.

Getting Started with Chainlit
Chainlit makes building AI chatbots incredibly fast. In this quick start guide, you will have a working conversational AI interface in under 10 minutes. All you need is Python 3.9+ and an API key from your preferred LLM provider.
Installation
Start by installing Chainlit via pip. It installs the Python library plus all the frontend assets automatically.
pip install chainlit
chainlit --version
Your First Chatbot (Hello World)
Create a file called app.py with this minimal example:
import chainlit as cl

@cl.on_message
async def main(message: cl.Message):
    await cl.Message(content=f"Hello! You said: {message.content}").send()
Now run it:
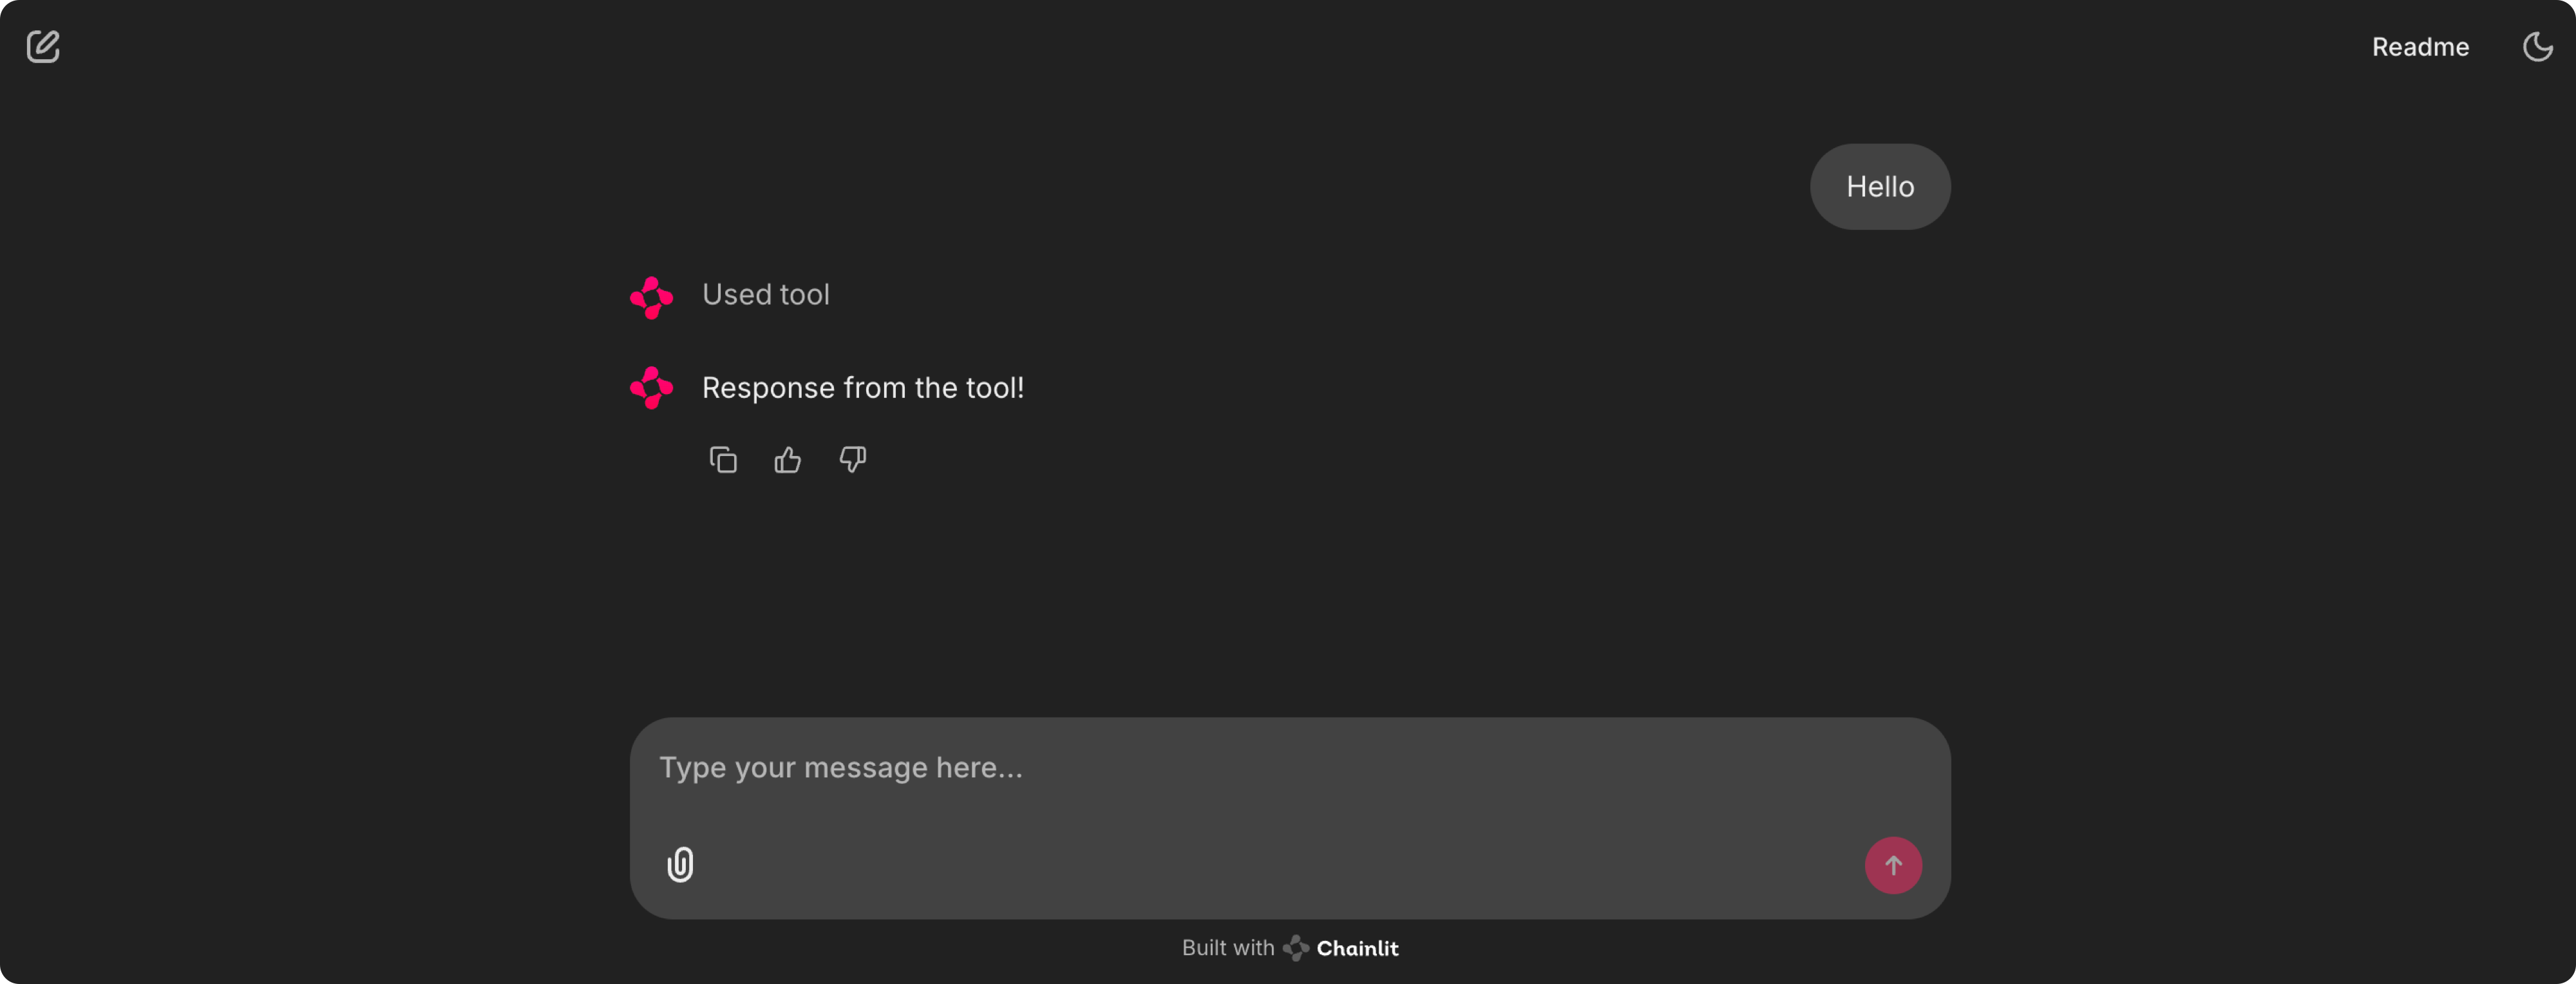
chainlit run app.py -wThe -w flag enables auto-reload. Open http://localhost:8000 in your browser. You will see a polished chat interface. Type anything and the bot echoes it back.
Connecting to an LLM
Let us make it useful by connecting to OpenAI. Install the OpenAI package and update app.py:
pip install openai
import chainlit as cl
import openai

@cl.on_message
async def main(message: cl.Message):
    response = openai.chat.completions.create(
        model="gpt-4",
        messages=[{"role": "user", "content": message.content}],
        stream=True
    )
    msg = cl.Message(content="")
    for chunk in response:
        if chunk.choices[0].delta.content:
            await msg.stream_token(chunk.choices[0].delta.content)
    await msg.send()
Set your API key as an environment variable and run again:
export OPENAI_API_KEY=sk-...
chainlit run app.py
Adding LangChain Support
Chainlit integrates seamlessly with LangChain. Here is a RAG chatbot using LangChain and a document loader:
from langchain.chains import RetrievalQA
from langchain_community.vectorstores import FAISS
from langchain_openai import OpenAIEmbeddings, ChatOpenAI
import chainlit as cl

@cl.on_chat_start
async def start():
    llm = ChatOpenAI(model="gpt-4")
    embeddings = OpenAIEmbeddings()
    db = FAISS.load_local("./my_index", embeddings)
    chain = RetrievalQA.from_llm(llm, retriever=db.as_retriever())
    cl.user_session.set("chain", chain)

@cl.on_message
async def main(message: cl.Message):
    chain = cl.user_session.get("chain")
    res = await chain.ainvoke(message.content)
    await cl.Message(content=res["result"]).send()
Deploying to Production
For production deployment, Chainlit supports environment variables for configuration, CORS settings, HTTPS enforcement, and authentication. You can deploy behind Nginx, use Docker multi-stage builds, or deploy on any cloud platform that supports Python web apps.
Docker Deployment
FROM python:3.11-slim
WORKDIR /app
COPY requirements.txt .
RUN pip install -r requirements.txt
COPY . .
CMD ["chainlit", "run", "app.py", "--host", "0.0.0.0", "--port", "8000"]
Next Steps
Chainlit has many advanced features: authentication providers, data persistence with PostgreSQL or SQLite, custom UI components via React, file upload handling, step-level callbacks for detailed logging, and multi-language support. Check the official docs at docs.chainlit.io for the complete guide.