Getting Started with ActiveWorkflow: Quick Start Guide with Docker
Get ActiveWorkflow running in 5 minutes with Docker. Step-by-step guide covering Docker run, login, creating your first workflow, and persistent Docker Compose deployment.

Getting Started with ActiveWorkflow in 5 Minutes
ActiveWorkflow turns complex requirements into programmable workflows without leaving your technology stack. This quick start guide will get you up and running with ActiveWorkflow using Docker in under 5 minutes.
Prerequisites
- Docker Engine 20.10+ (or Docker Desktop)
- A terminal with internet access
Step 1: Pull and Run ActiveWorkflow
The fastest way to try ActiveWorkflow is with the official Docker image. Open your terminal and run:
docker run -p 3000:3000 --rm automaticmode/active_workflow:latestThis command pulls the latest ActiveWorkflow image and starts it on port 3000. The --rm flag cleans up the container after you stop it — remove it for persistent use.
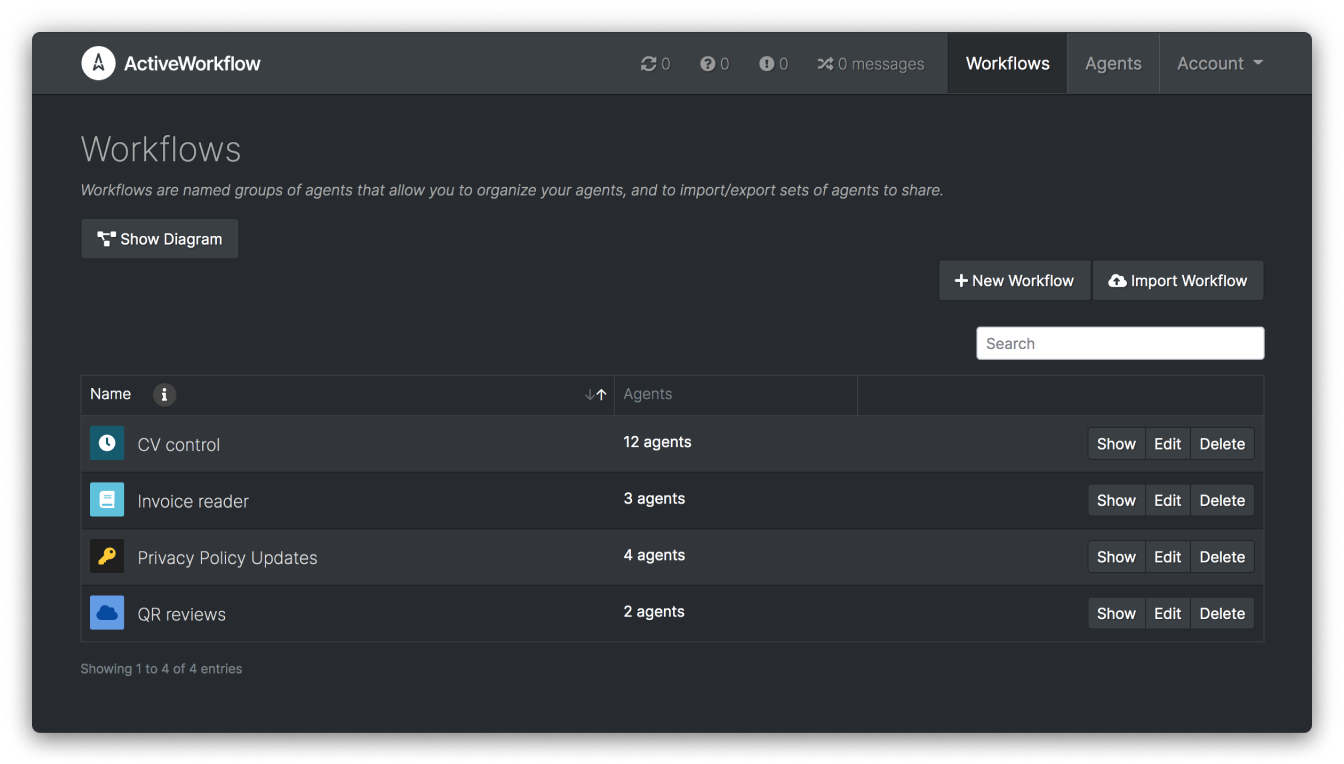
Step 2: Log In to the Dashboard
Once the container starts, open your browser and navigate to http://localhost:3000. You will see the ActiveWorkflow login screen. Use the default credentials:
- Username: admin
- Password: password
Important: Change the default password immediately after your first login for production use.
Step 3: Create Your First Workflow
ActiveWorkflow workflows are built from agents. Each agent is a microservice that performs one task. The platform includes several built-in agent types:
- HTTP Agent — Make API requests
- Schedule Agent — Trigger workflows on a timer
- Email Agent — Send and receive emails
- Data Agent — Transform and filter data between agents
- JavaScript Agent — Run custom JavaScript logic
To create a workflow, click New Workflow in the dashboard, add agents by selecting their type, and connect them to define the flow of data.
Step 4: Persistent Deployment with Docker Compose
For long-running deployments, use Docker Compose with persistent storage:
version: '3'
services:
  activeworkflow:
    image: automaticmode/active_workflow:latest
    restart: unless-stopped
    ports:
      - "3000:3000"
    volumes:
      - ./data/activeworkflow:/data
Save this as docker-compose.yml and run docker compose up -d to start ActiveWorkflow in the background.
Next Steps
Once your first workflow is running, explore the ActiveWorkflow documentation to learn about writing custom agents in any language, setting up triggers from webhooks, and integrating with your existing services.
Conclusion
ActiveWorkflow is a powerful yet simple platform for programmable workflow automation. Its Docker-native deployment and code-first approach make it ideal for engineering teams that want reliable, observable automation without vendor lock-in.