Getting Started with Coqui TTS: Docker Setup and Voice Synthesis Guide

Introduction
Coqui TTS is the leading open-source text-to-speech toolkit, and getting it running on your own infrastructure is surprisingly straightforward thanks to its official Docker image. This guide walks you through deploying Coqui TTS, generating your first audio, and exploring voice cloning.
Prerequisites
- Docker installed (Docker Desktop or Docker Engine)
- At least 2GB of free RAM (8GB recommended for larger models)
- A terminal or command prompt
Step 1: Pull and Run the Docker Container
Start by pulling the official CPU image and running the TTS server:
docker run --rm -it -p 5002:5002 ghcr.io/coqui-ai/tts-cpu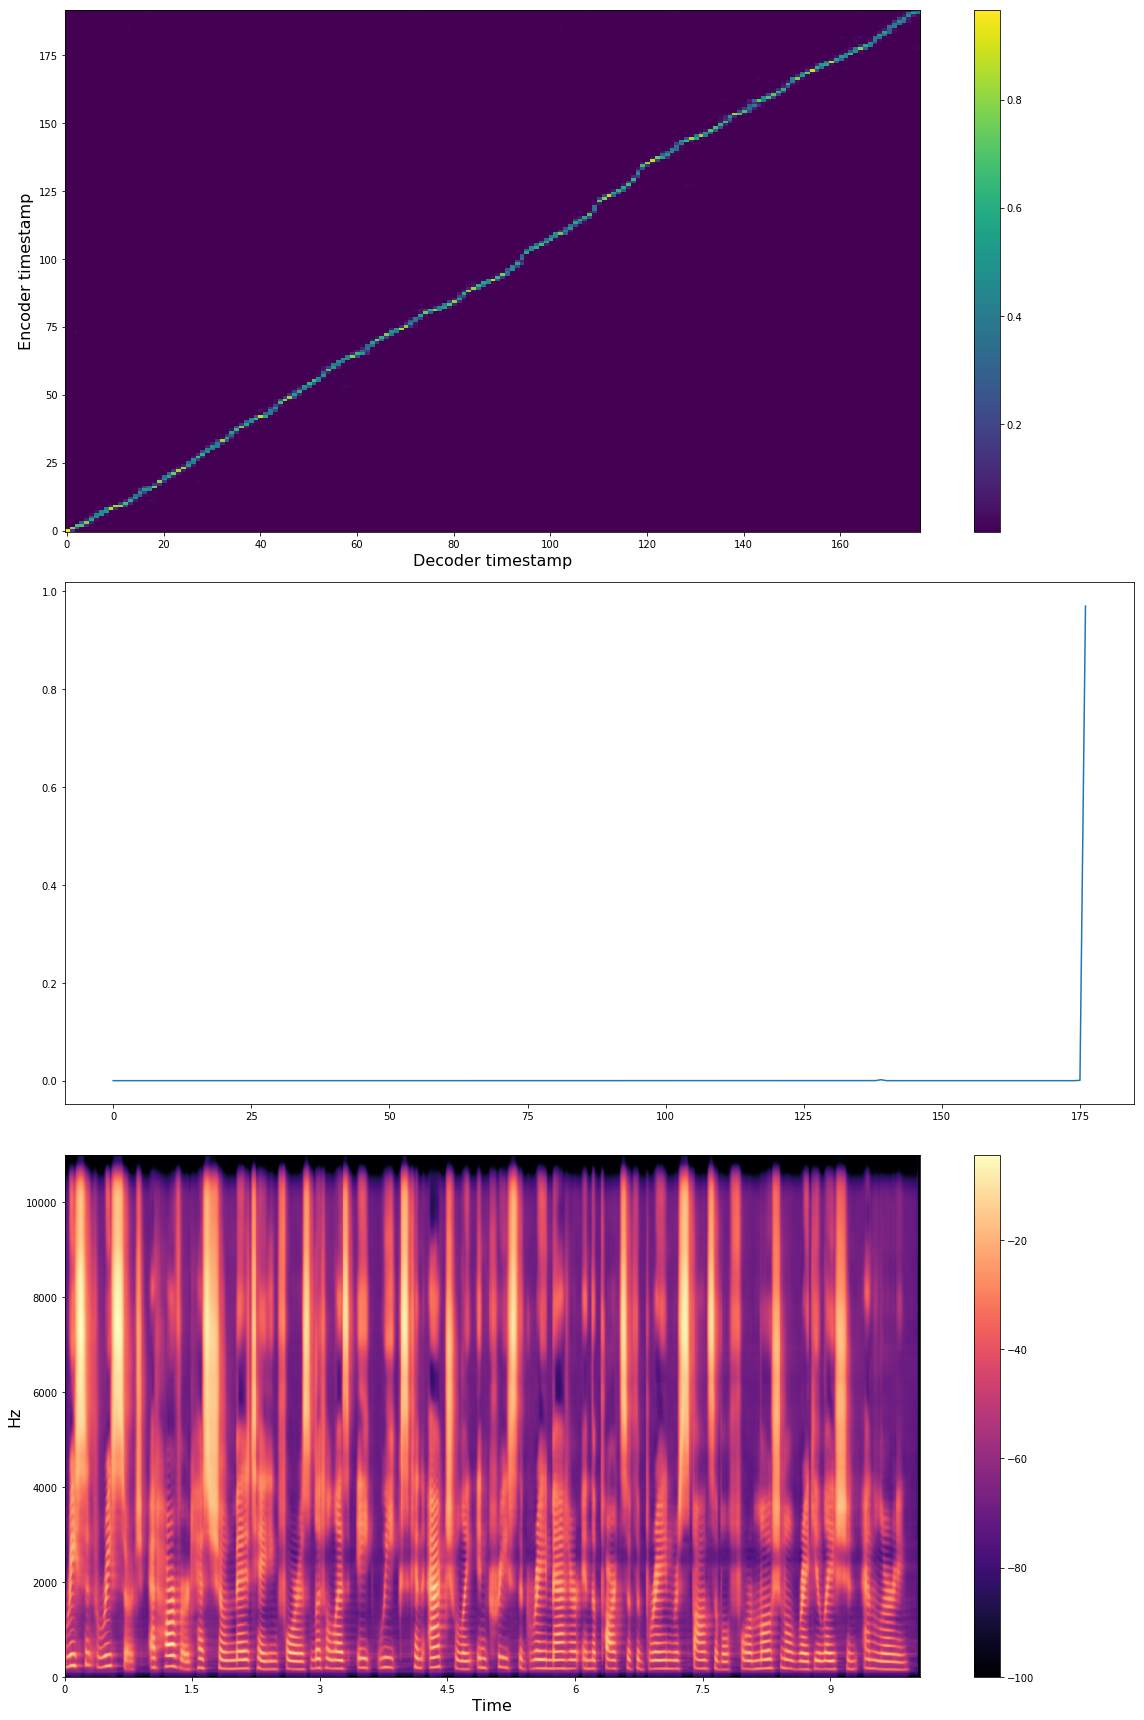
The server starts on port 5002. Access the web demo at http://localhost:5002.
Step 2: Generate Speech via API
Once the server is running, generate speech with curl:
curl -X POST "http://localhost:5002/api/tts" \
  -H "Content-Type: application/json" \
  -d '{"text": "Hello, this is Coqui TTS speaking!","speaker_id": "default"}' \
  --output speech.wav
Step 3: Try Voice Cloning
Coqui TTS supports voice cloning with just a few seconds of reference audio:
curl -X POST "http://localhost:5002/api/tts" \
  -H "Content-Type: application/json" \
  -d '{"text":"This sounds like the reference.","speaker_id":"cloned","reference_wav":"/path/to/reference.wav"}' \
  --output cloned.wav
Running with GPU
For lower latency, use the GPU image with NVIDIA GPUs:
docker run --rm -it --gpus all -p 5002:5002 ghcr.io/coqui-ai/ttsDocker Compose for Production
Create a docker-compose.yml:
version: "3.8"
services:
  coqui-tts:
    image: ghcr.io/coqui-ai/tts-cpu:latest
    restart: unless-stopped
    ports:
      - "5002:5002"
    volumes:
      - ./data/coqui-tts:/data
Then run docker compose up -d for a persistent deployment.
Conclusion
Coqui TTS makes it easy to add high-quality speech synthesis to any application. With Docker, you can be up and running in minutes.