Getting Started with uTask: Build Your First YAML Workflow
Deploy uTask with Docker and define your first declarative workflow in YAML — steps, conditions, retries and tracking, all without glue code.
In this tutorial you will deploy uTask with Docker and create your first declarative workflow — a simple process with two sequential steps, a condition and a retry policy. No glue code required.
🚀 Want to deploy uTask yourself?
Docker configs, system requirements, and installation guides — all on one page.
View uTask Tool Page →Step 1: Run uTask with Docker
The official image ovhcom/utask:latest is all you need:
docker run -d -p 8080:8080 \
  -v ./data/utask:/data \
  ovhcom/utask:latest
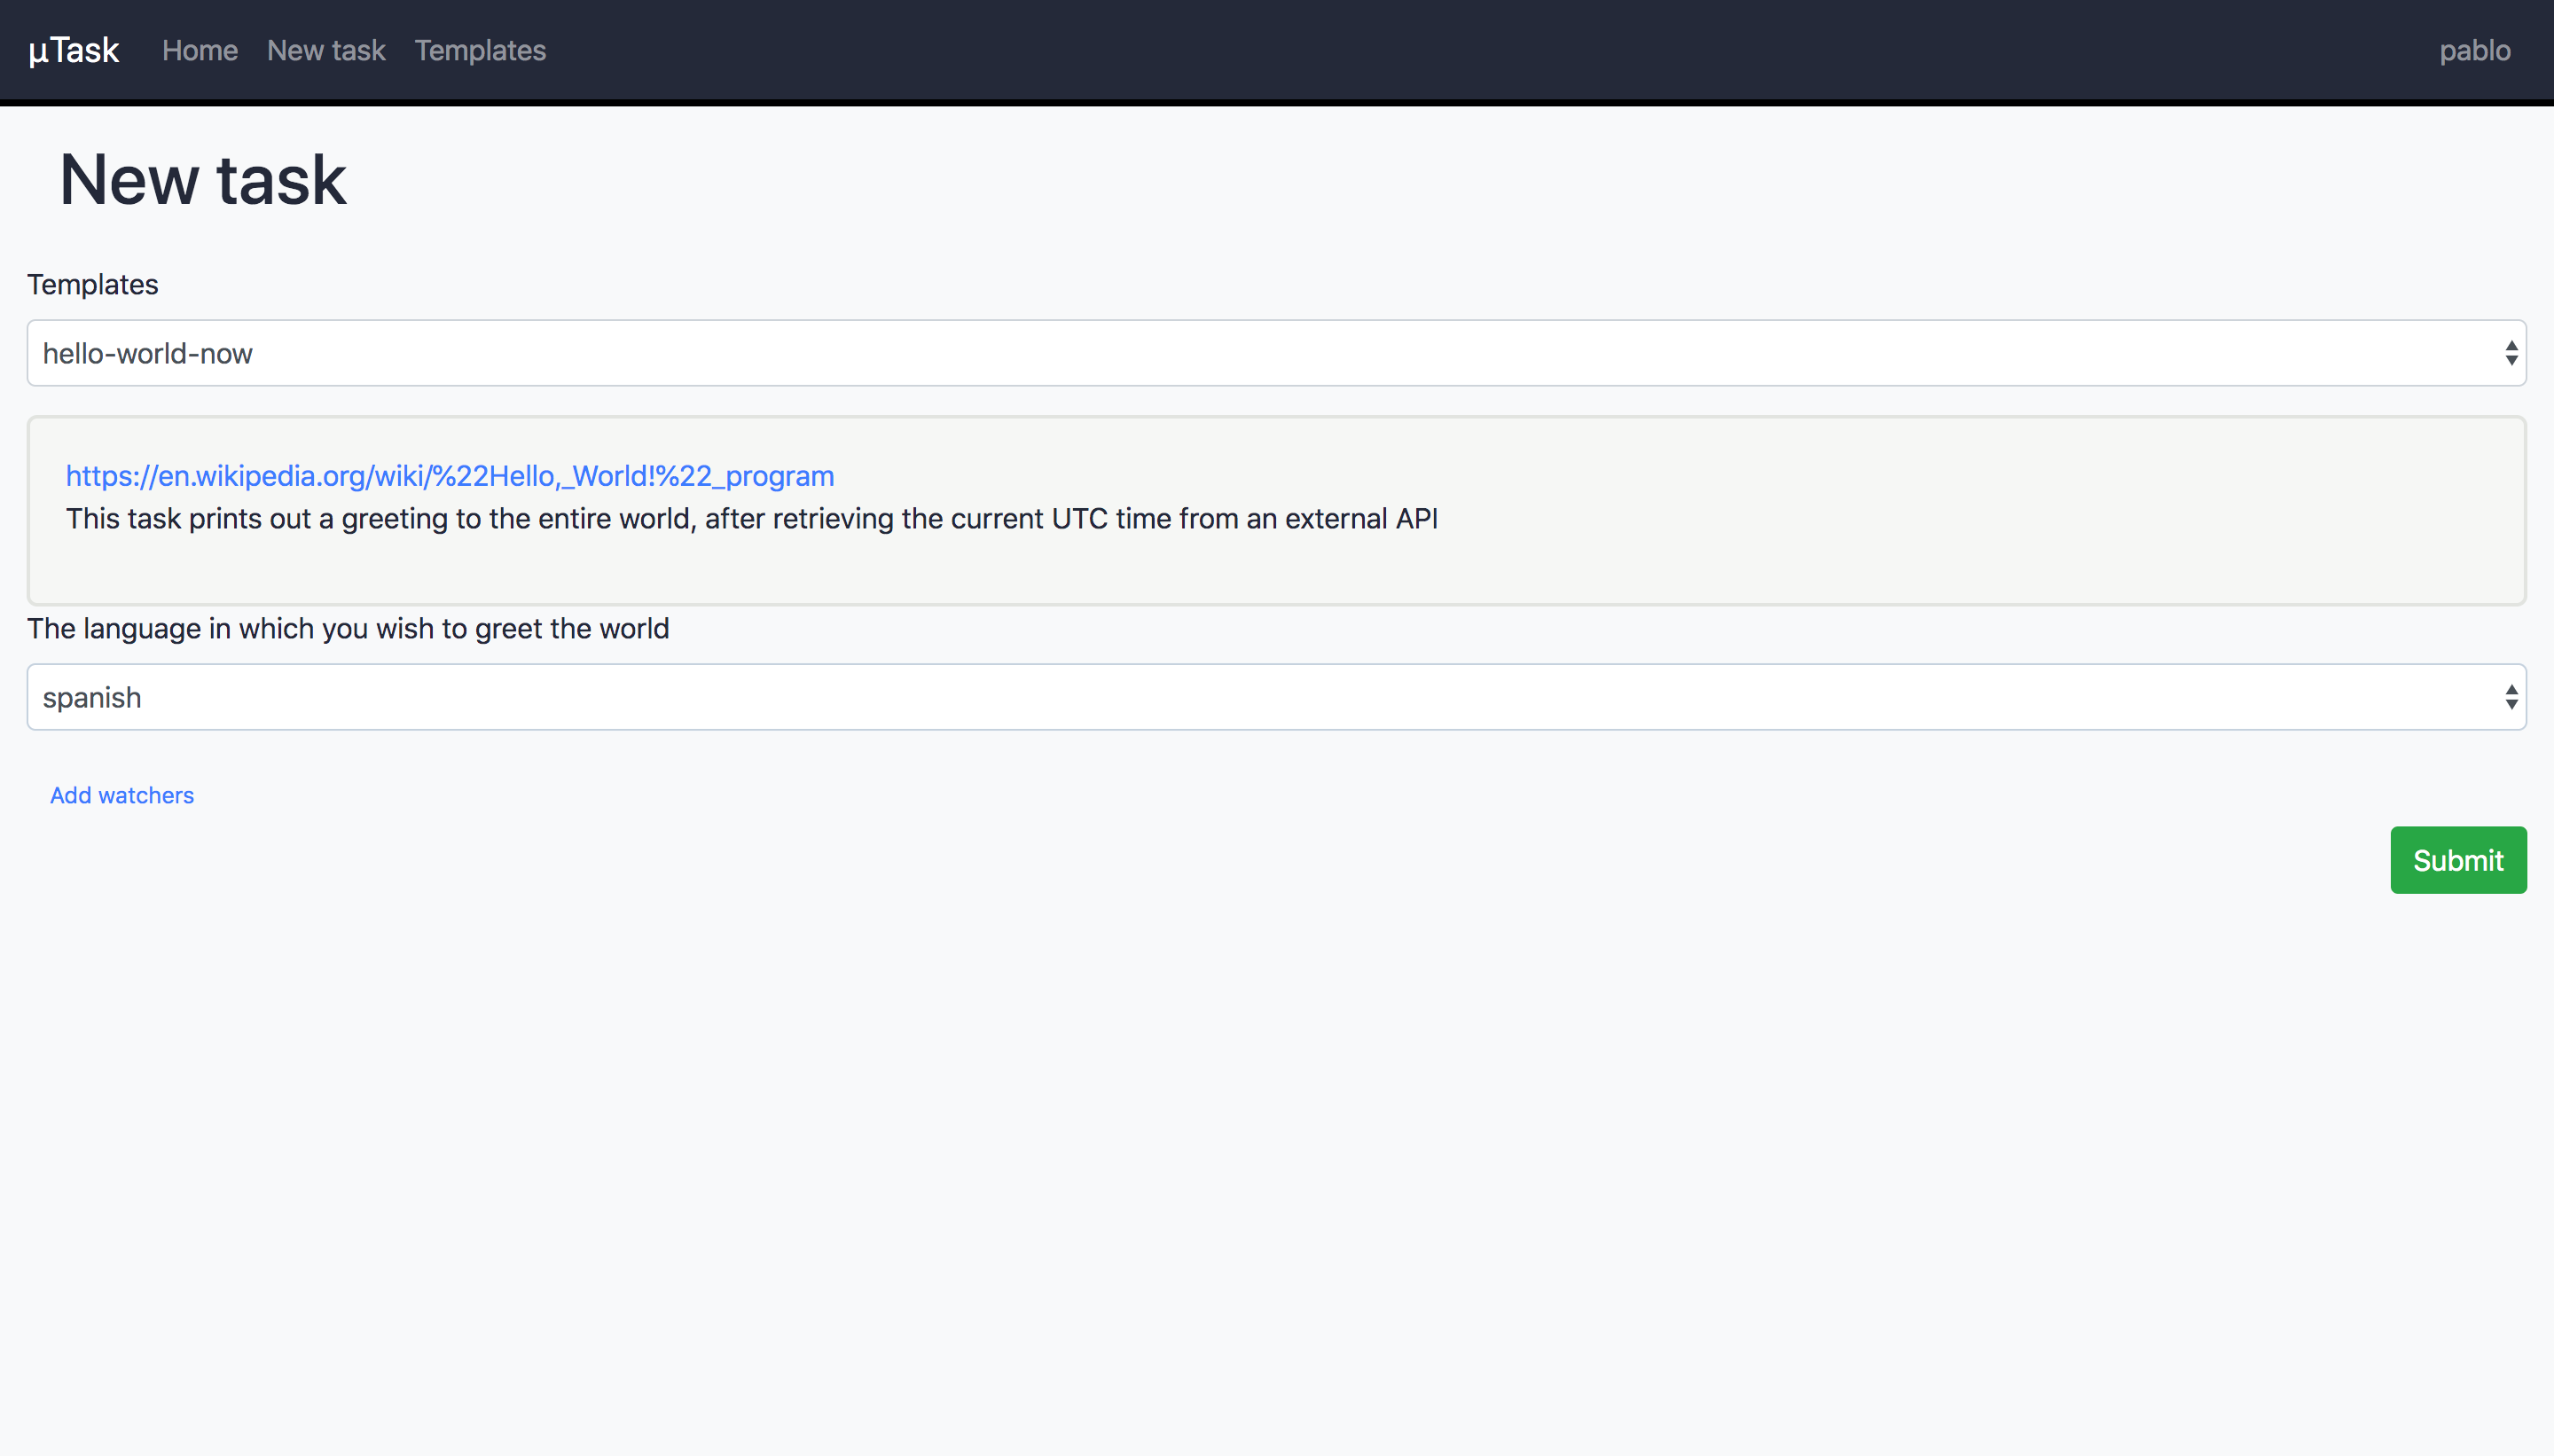
Open http://localhost:8080 — you will see the dashboard where you can create templates and start process instances.
Step 2: Define a Template in YAML
Create a template describing two steps. The second step runs only if the first succeeds, with one retry on failure:
name: my-first-process
description: "Demo process"
templates:
  - name: notify
    description: "Send notification"
    input: {}
    steps:
      - name: send-message
        plugin: http
        input:
          url: "https://example.com/hook"
          method: POST
        retry:
          count: 1
          delay: 5s
Step 3: Key Fields Explained
| Field | Purpose |
|---|---|
steps | Ordered units of work executed by plugins |
retry | Retry count and delay on failure |
input | Parameters passed to each step's plugin |
watchers | Users notified at state transitions |
Step 4: Start and Track
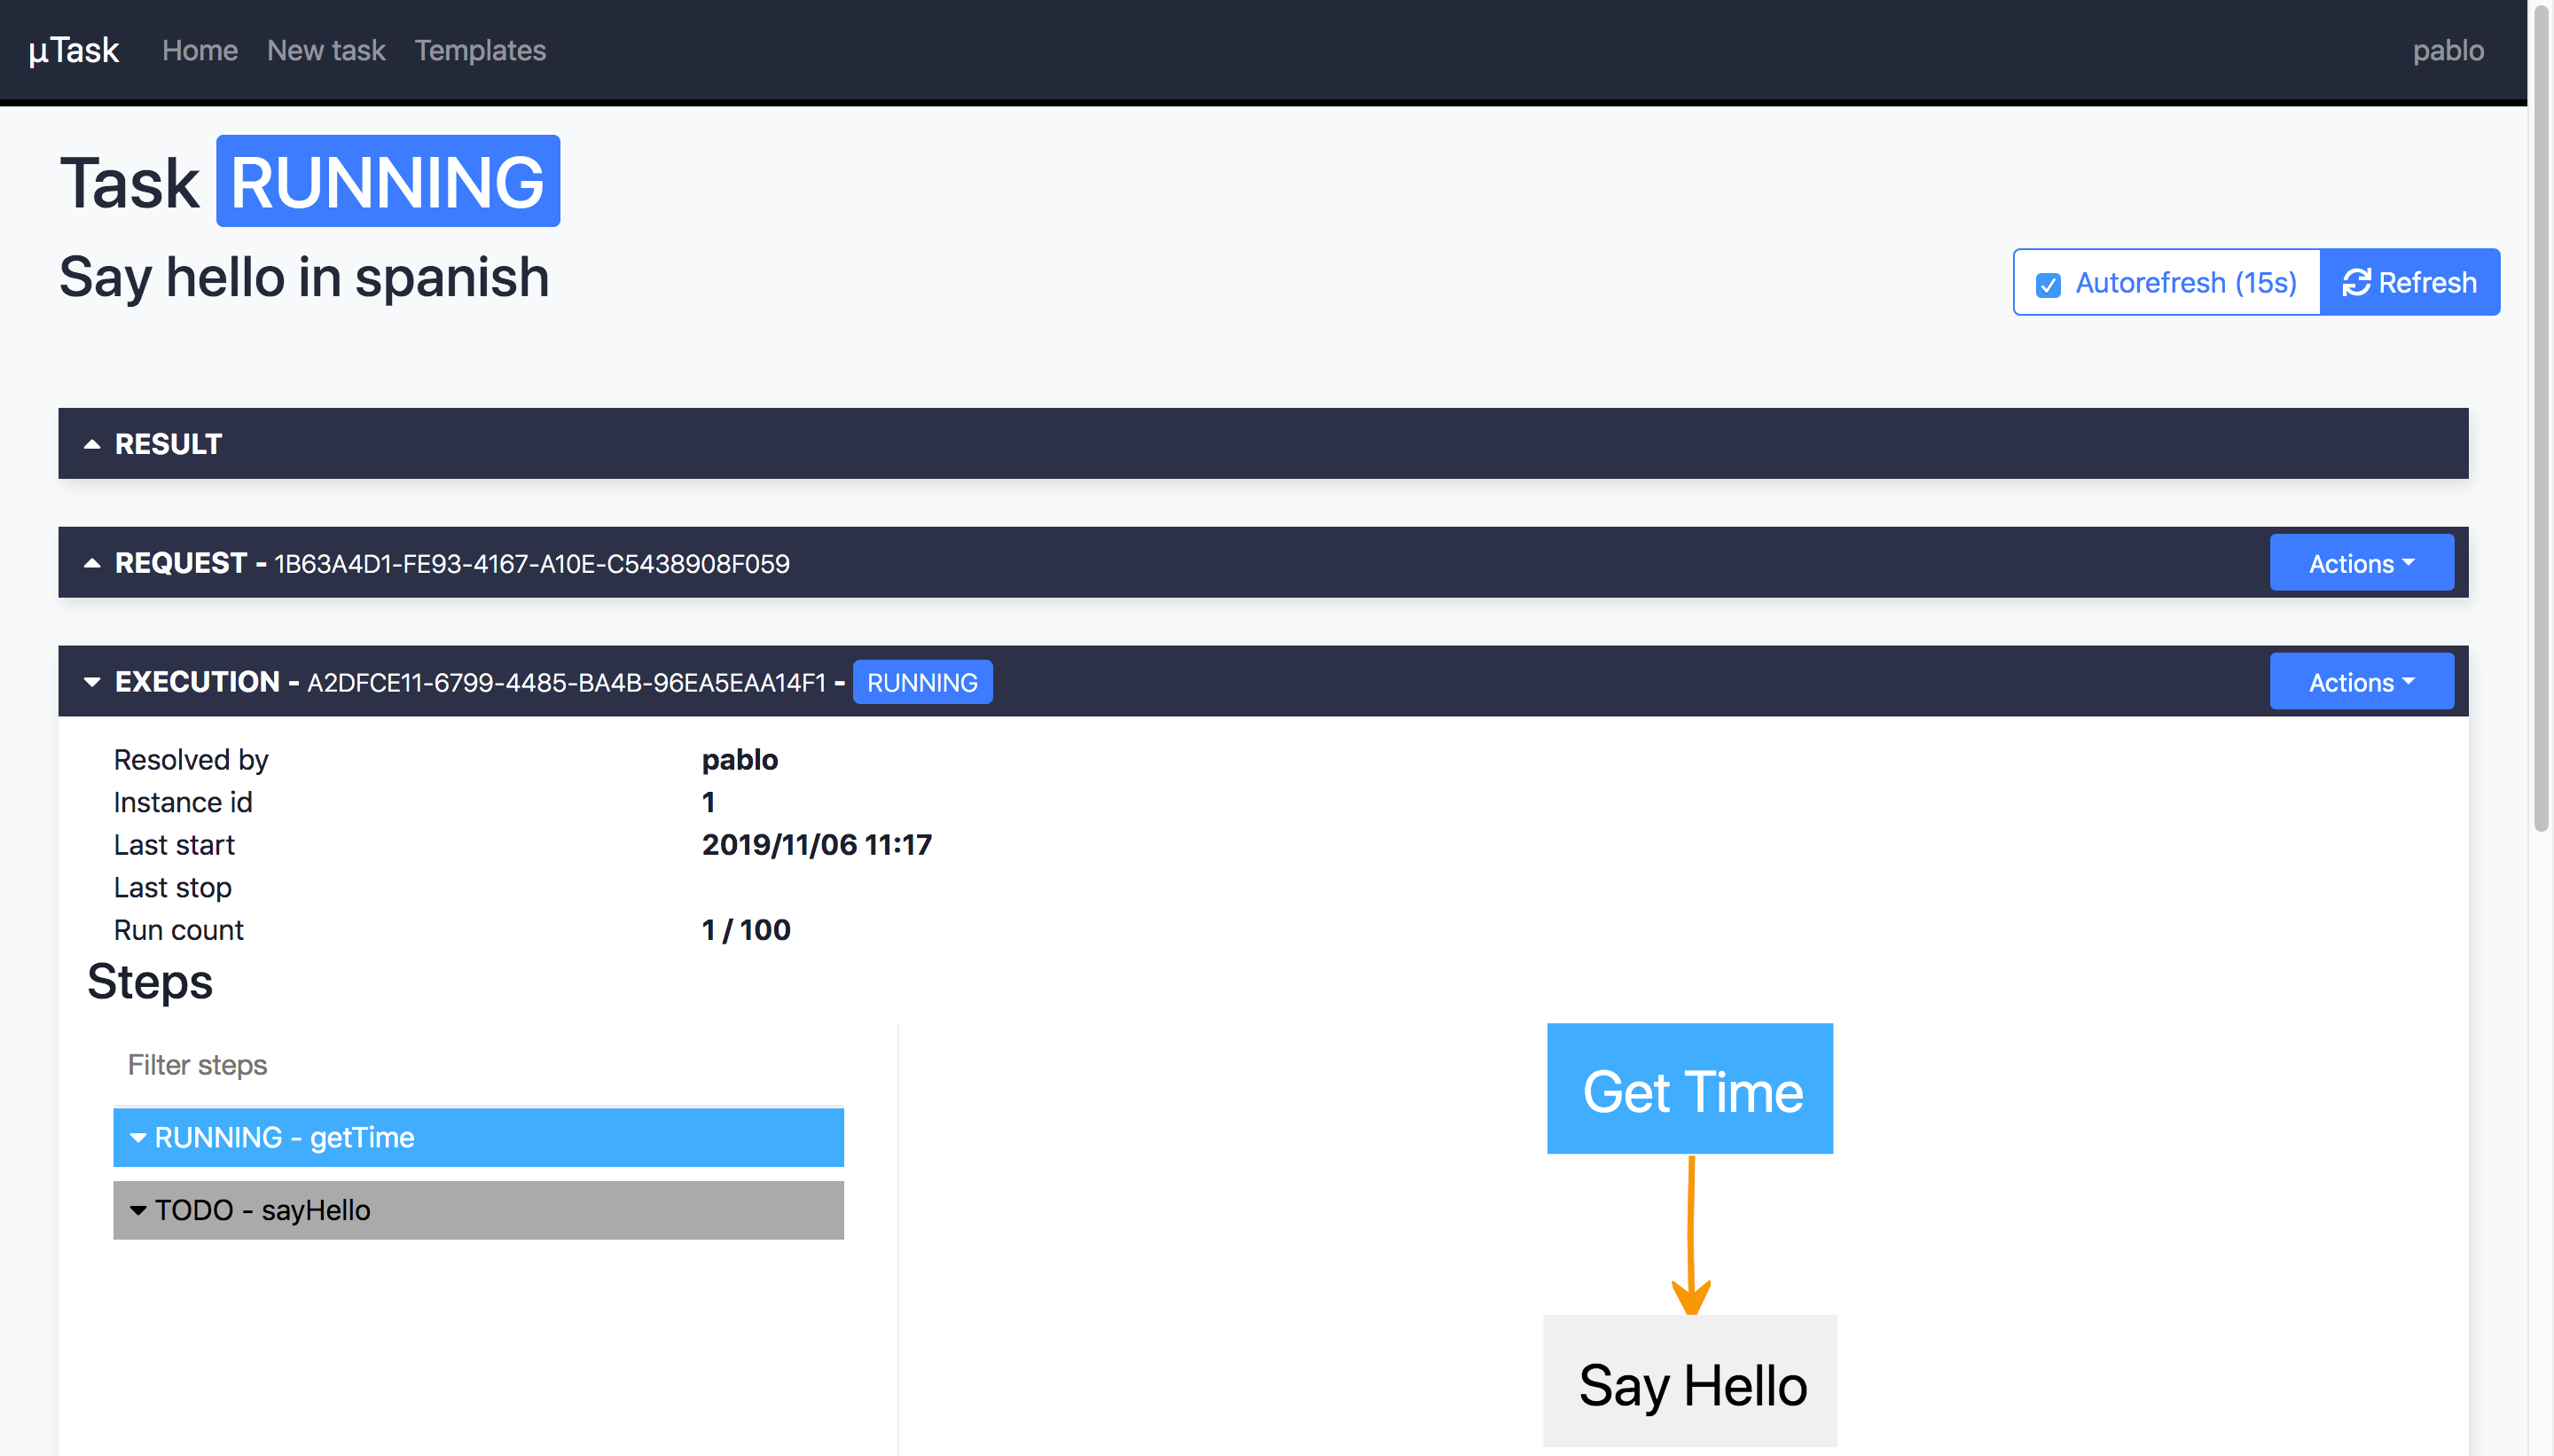
Start an instance from the dashboard, then watch it move through states in real time. uTask shows each step, its status, and the retry history — exactly what you need for debugging human-in-the-loop processes.
✅ Review: uTask shines for declarative, auditable process orchestration. The YAML-first model keeps everything in version control, and the dashboard makes run state transparent. A solid choice for teams wanting self-hosted workflow automation.
🚀 Ready to try uTask?
Get Docker configs, system requirements and installation guides on one page.
View uTask Tool Page →