How to Run PrivateGPT with Docker: A Complete Setup Guide
Step-by-step guide to deploying PrivateGPT with Docker — upload documents and chat with them privately using local LLMs.

Getting Started with PrivateGPT
PrivateGPT lets you chat with your documents using LLMs — completely offline and private. This guide walks you through deploying PrivateGPT with Docker, uploading your first documents, and querying them with natural language. By the end, you will have a fully functional private RAG system running on your own server.
Prerequisites
- Docker and Docker Compose installed on your system
- At least 4 GB of RAM (8 GB recommended for larger models)
- A CUDA-capable GPU (optional but recommended for faster inference)
- An LLM model file (GGUF format) if using LlamaCpp backend, or access to an Ollama instance
Step 1: Quick Start with Docker
The fastest way to get PrivateGPT running is with the official Docker image:
docker pull zylonai/private-gpt:latest
docker run -d --name private-gpt -p 8080:8080 -v ./data:/data zylonai/private-gpt:latest
This starts PrivateGPT on port 8080 with persistent storage at ./data. The first startup downloads default embedding models and prepares the vector store, which may take a minute or two.
Step 2: Configure the LLM Backend
PrivateGPT supports multiple backends. Create a settings.yaml file to configure yours:
# For local LlamaCpp (CPU or GPU):
llm:
  mode: local
  max_new_tokens: 512
  context_window: 3900
  tokenizer: mistralai/Mistral-7B-Instruct-v0.2

# For Ollama:
# llm:
#   mode: ollama
#   model: mistral:7b
#   api_base: http://localhost:11434

embedding:
  mode: local

vectorstore:
  mode: local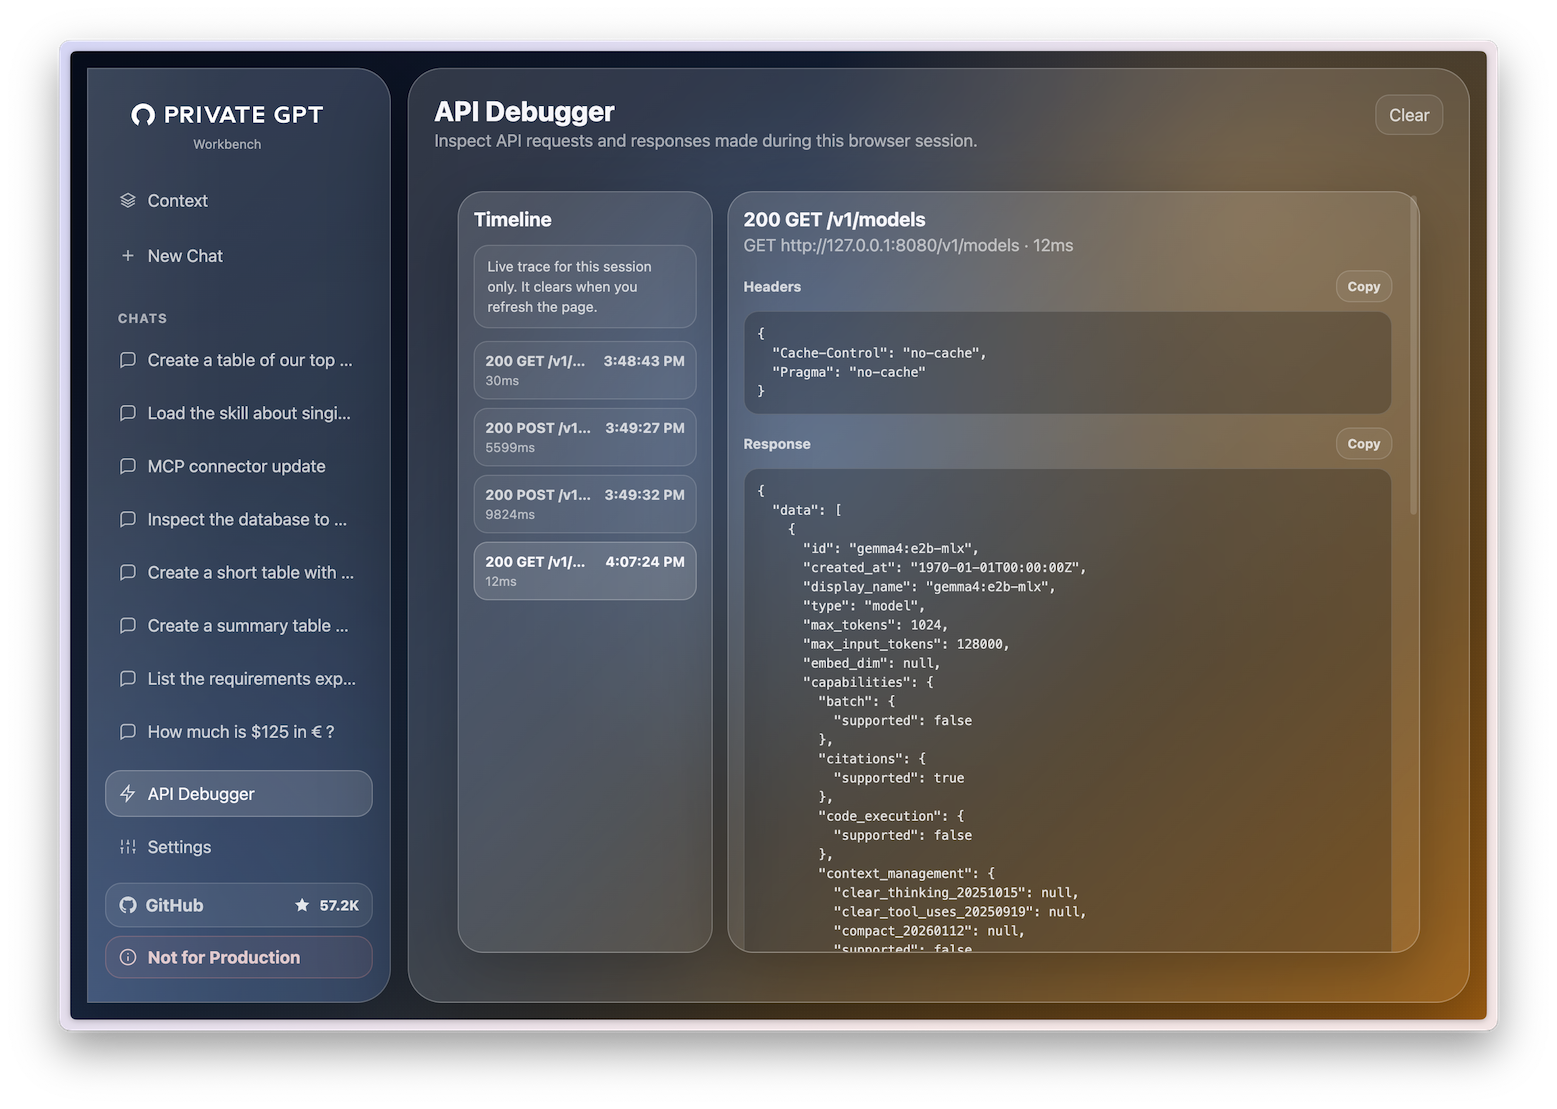
Step 3: Upload Documents and Chat
Once PrivateGPT is running, open http://localhost:8080 in your browser. You will see the PrivateGPT Workbench interface. Upload PDFs, DOCX files, or text files through the UI. PrivateGPT will ingest and embed them automatically.
After ingestion, simply type your questions in the chat interface. PrivateGPT searches the relevant document chunks and generates answers grounded in your content. You can see exactly which source documents were used for each answer, making verification easy.
Step 4: Using the REST API
PrivateGPT provides a full REST API for programmatic access:
# Ingest a document
curl -X POST http://localhost:8080/v1/ingest/document \
  -F "file=@report.pdf"

# Ask a question
curl -X POST http://localhost:8080/v1/completions \
  -H "Content-Type: application/json" \
  -d '{"prompt": "What are the key findings in the report?"}'
Tips for Best Results
For optimal performance: use a GPU-backed LLM (even a 4 GB VRAM card helps significantly), keep documents under 50 MB for faster ingestion, and experiment with chunk sizes in settings.yaml — smaller chunks (256 tokens) work better for precise Q&A, while larger chunks (1024 tokens) are better for summarization tasks.
Conclusion
PrivateGPT is one of the most polished self-hosted RAG platforms available. The Docker setup is straightforward, the REST API is comprehensive, and the privacy guarantees make it ideal for production use with sensitive data. Deploy it today and take control of your document intelligence.