How to Self-Host Budibase with Docker: A Complete Guide
Deploy Budibase on your own server with Docker in under 5 minutes - complete with AI agents, automations, and internal tools.

Getting Started with Budibase
Budibase is one of the easiest self-hosted platforms to deploy. With a single Docker container, you get the full platform - web UI, API server, automation engine, and AI agent runtime. This guide walks you through deploying Budibase on your own server in under 5 minutes.
Prerequisites
Before you start, make sure you have:
- Docker and Docker Compose installed on your server
- At least 2 GB of RAM (4 GB recommended for production)
- A domain name or public IP (optional, for production access)
Quick Start with Docker
The fastest way to get Budibase running is with the official Docker image:
docker run -d --name budibase -p 8080:8080 -v ./budibase-data:/data budibase/budibase:latestOnce the container starts (usually within 30 seconds), open your browser and navigate to http://your-server-ip:8080. You will be greeted by the Budibase setup wizard.
Using Docker Compose (Recommended for Production)
For production deployments, create a docker-compose.yml file:
version: "3.8"
services:
  budibase:
    image: budibase/budibase:latest
    restart: unless-stopped
    ports:
      - "8080:8080"
    volumes:
      - ./data/budibase:/data
    environment:
      - BUDIBASE_ENVIRONMENT=production
      - JWT_SECRET=your-secret-key-here
Run docker-compose up -d to start Budibase in detached mode.
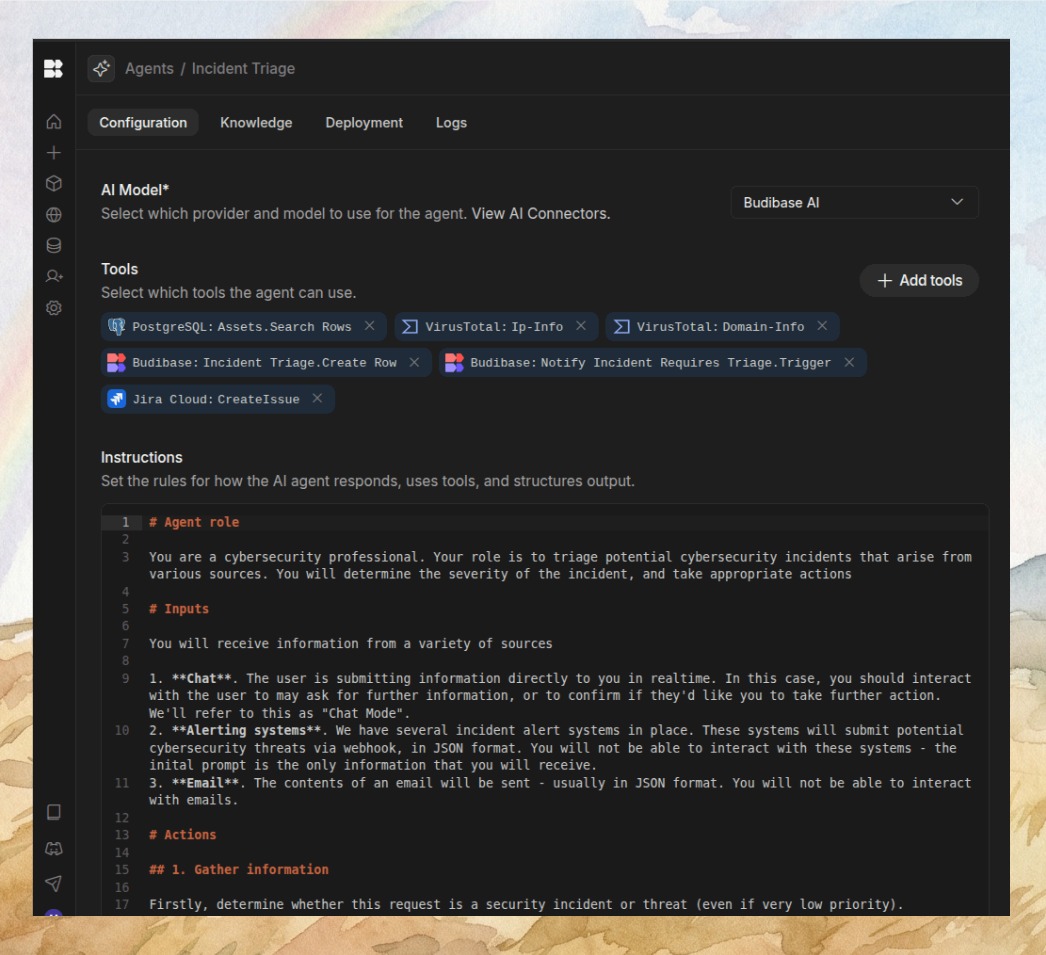
Creating Your First AI Agent
Once Budibase is running:
- Create an account and log in to the admin panel
- Connect your data sources (PostgreSQL, MySQL, or the built-in database)
- Set up channel integrations (Slack, Discord, Teams)
- Create an AI agent by defining its purpose and connected apps
- Test your agent by sending a natural language request via your connected channel
Configuration Tips
Environment Variables: Budibase supports extensive configuration via environment variables. Set BUDIBASE_ENVIRONMENT=production for optimized performance. Configure SMTP settings for email notifications.
Persistence: Always mount the /data volume to persist your databases, app definitions, and agent configurations. Without this, all data is lost on container restart.
Reverse Proxy: For production, put Budibase behind a reverse proxy (Nginx, Caddy, or Traefik) with SSL termination. This enables HTTPS access and custom domain support.
Conclusion
Budibase makes self-hosting an AI operations platform incredibly simple. With just a single Docker command, you get a full-featured platform capable of running AI agents, automating workflows, and building internal tools. Start with the quick Docker run command, then scale up to a production Compose setup as your needs grow.