How to Deploy OpenMemory with Docker: Step-by-Step Tutorial
Deploy OpenMemory with docker-compose in minutes, connect Claude Desktop, Copilot and Codex, and verify persistent memory across sessions.
OpenMemory gives your AI assistants a persistent local memory — and getting it running takes just a few minutes. In this tutorial, you'll deploy OpenMemory with Docker, connect it to your favorite AI tool, and verify it's storing memories correctly.
🚀 Want to deploy OpenMemory yourself?
Docker configs, system requirements, and installation guides — all on one page.
View OpenMemory Tool Page →Step 1: Clone the Repository
The easiest path is the official docker-compose setup from the OpenMemory repo:
git clone https://github.com/CaviraOSS/OpenMemory.git
cd OpenMemory
Step 2: Start the Services
OpenMemory ships a ready-made docker-compose.yml plus a dashboard Dockerfile, so startup is one command:
docker compose up -dStep 3: Open the Dashboard
Once the containers are healthy, open the web dashboard and create your first memory:
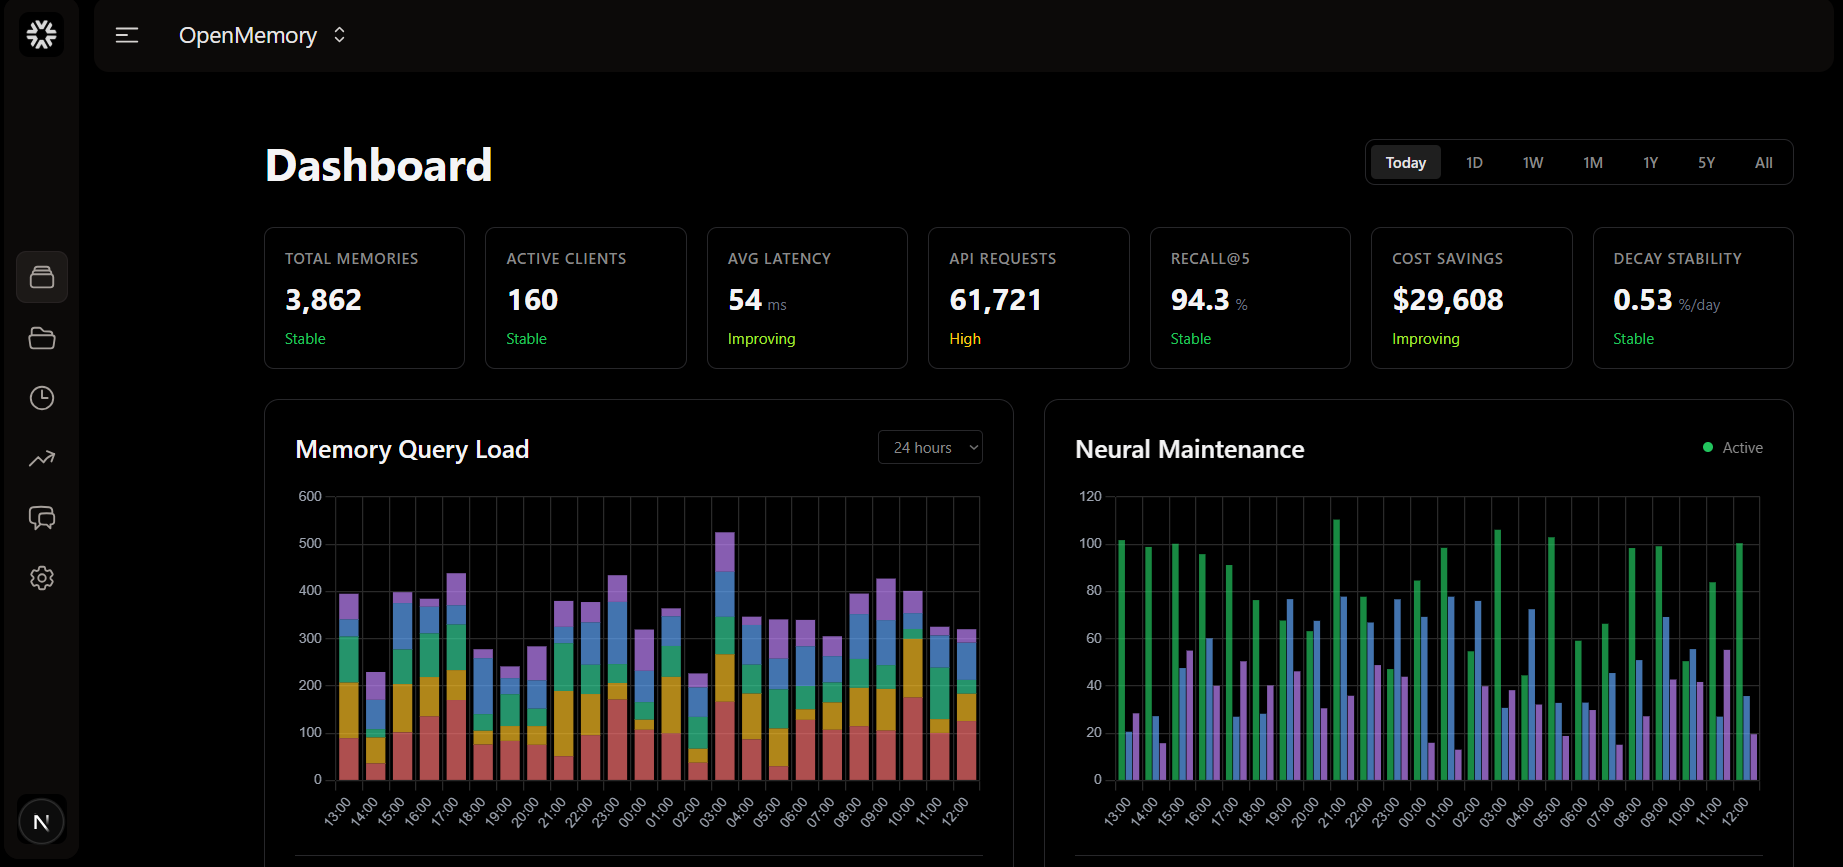
- Open
http://localhost:8080(or the port mapped in your compose file). - Create your user account and API key.
- Store your first fact — for example, a coding convention you want every tool to remember.
Step 4: Connect Your AI Tools
OpenMemory works out of the box with Claude Desktop, GitHub Copilot, Codex, and Antigravity. For each tool, add the OpenMemory endpoint and your API key as its memory backend. The VSCode extension in the repo (apps/vscode-extension) is a great starting point for editor workflows.
Troubleshooting Tips
| Issue | Fix |
|---|---|
| Port already in use | Change the host port mapping in docker-compose.yml. |
| Data lost after restart | Make sure the ./data volume persists — don't use docker compose down -v. |
| Tool can't connect | Verify the API key and use the correct endpoint URL (hostname, not localhost, for containers). |
🚀 Deploy OpenMemory with full Docker configs
System requirements, compose files, and install guides — all on one page.
View OpenMemory Tool Page →