Getting Started with SenseVoice: Docker Setup & WebUI Guide
Step-by-step tutorial to deploy SenseVoice with Docker — build the image, run the WebUI, use the REST API, and get production-ready with Docker Compose.

Getting Started with SenseVoice: Docker Setup & WebUI Guide
This tutorial walks you through setting up SenseVoice on your own server using Docker. Whether you're running on a GPU-accelerated machine or just a CPU, SenseVoice's efficient architecture ensures you get fast, accurate speech understanding in minutes.
🚀 Explore SenseVoice on Run This Ai
Get the complete Docker Compose config and system requirements on the tool page.
View SenseVoice Tool Page →Prerequisites
- Docker 24+ with Docker Compose plugin
- GPU (recommended): NVIDIA GPU with 4GB+ VRAM + NVIDIA Container Toolkit
- CPU (minimum): 4 cores, 8GB RAM — works but slower for real-time use
- Storage: ~5GB for models and dependencies
Step 1: Clone the Repository
git clone https://github.com/FunAudioLLM/SenseVoice.git
cd SenseVoice
Step 2: Build the Docker Image
SenseVoice does not have a pre-built Docker image on public registries, but building from source is straightforward:
# For GPU (NVIDIA)
docker build -t sensevoice .

# For CPU only
docker build --build-arg DEVICE=cpu -t sensevoice .
The build process downloads model weights, installs dependencies (PyTorch, FunASR, modelscope), and sets up the WebUI server. It typically takes 2-5 minutes depending on your internet connection.
Step 3: Run SenseVoice
# GPU mode (recommended)
docker run --gpus all -p 50000:50000 sensevoice

# CPU mode
docker run -e SENSEVOICE_DEVICE=cpu -p 50000:50000 sensevoice
The server starts on port 50000. You'll see log output indicating the model is loaded and ready.
Step 4: Access the WebUI
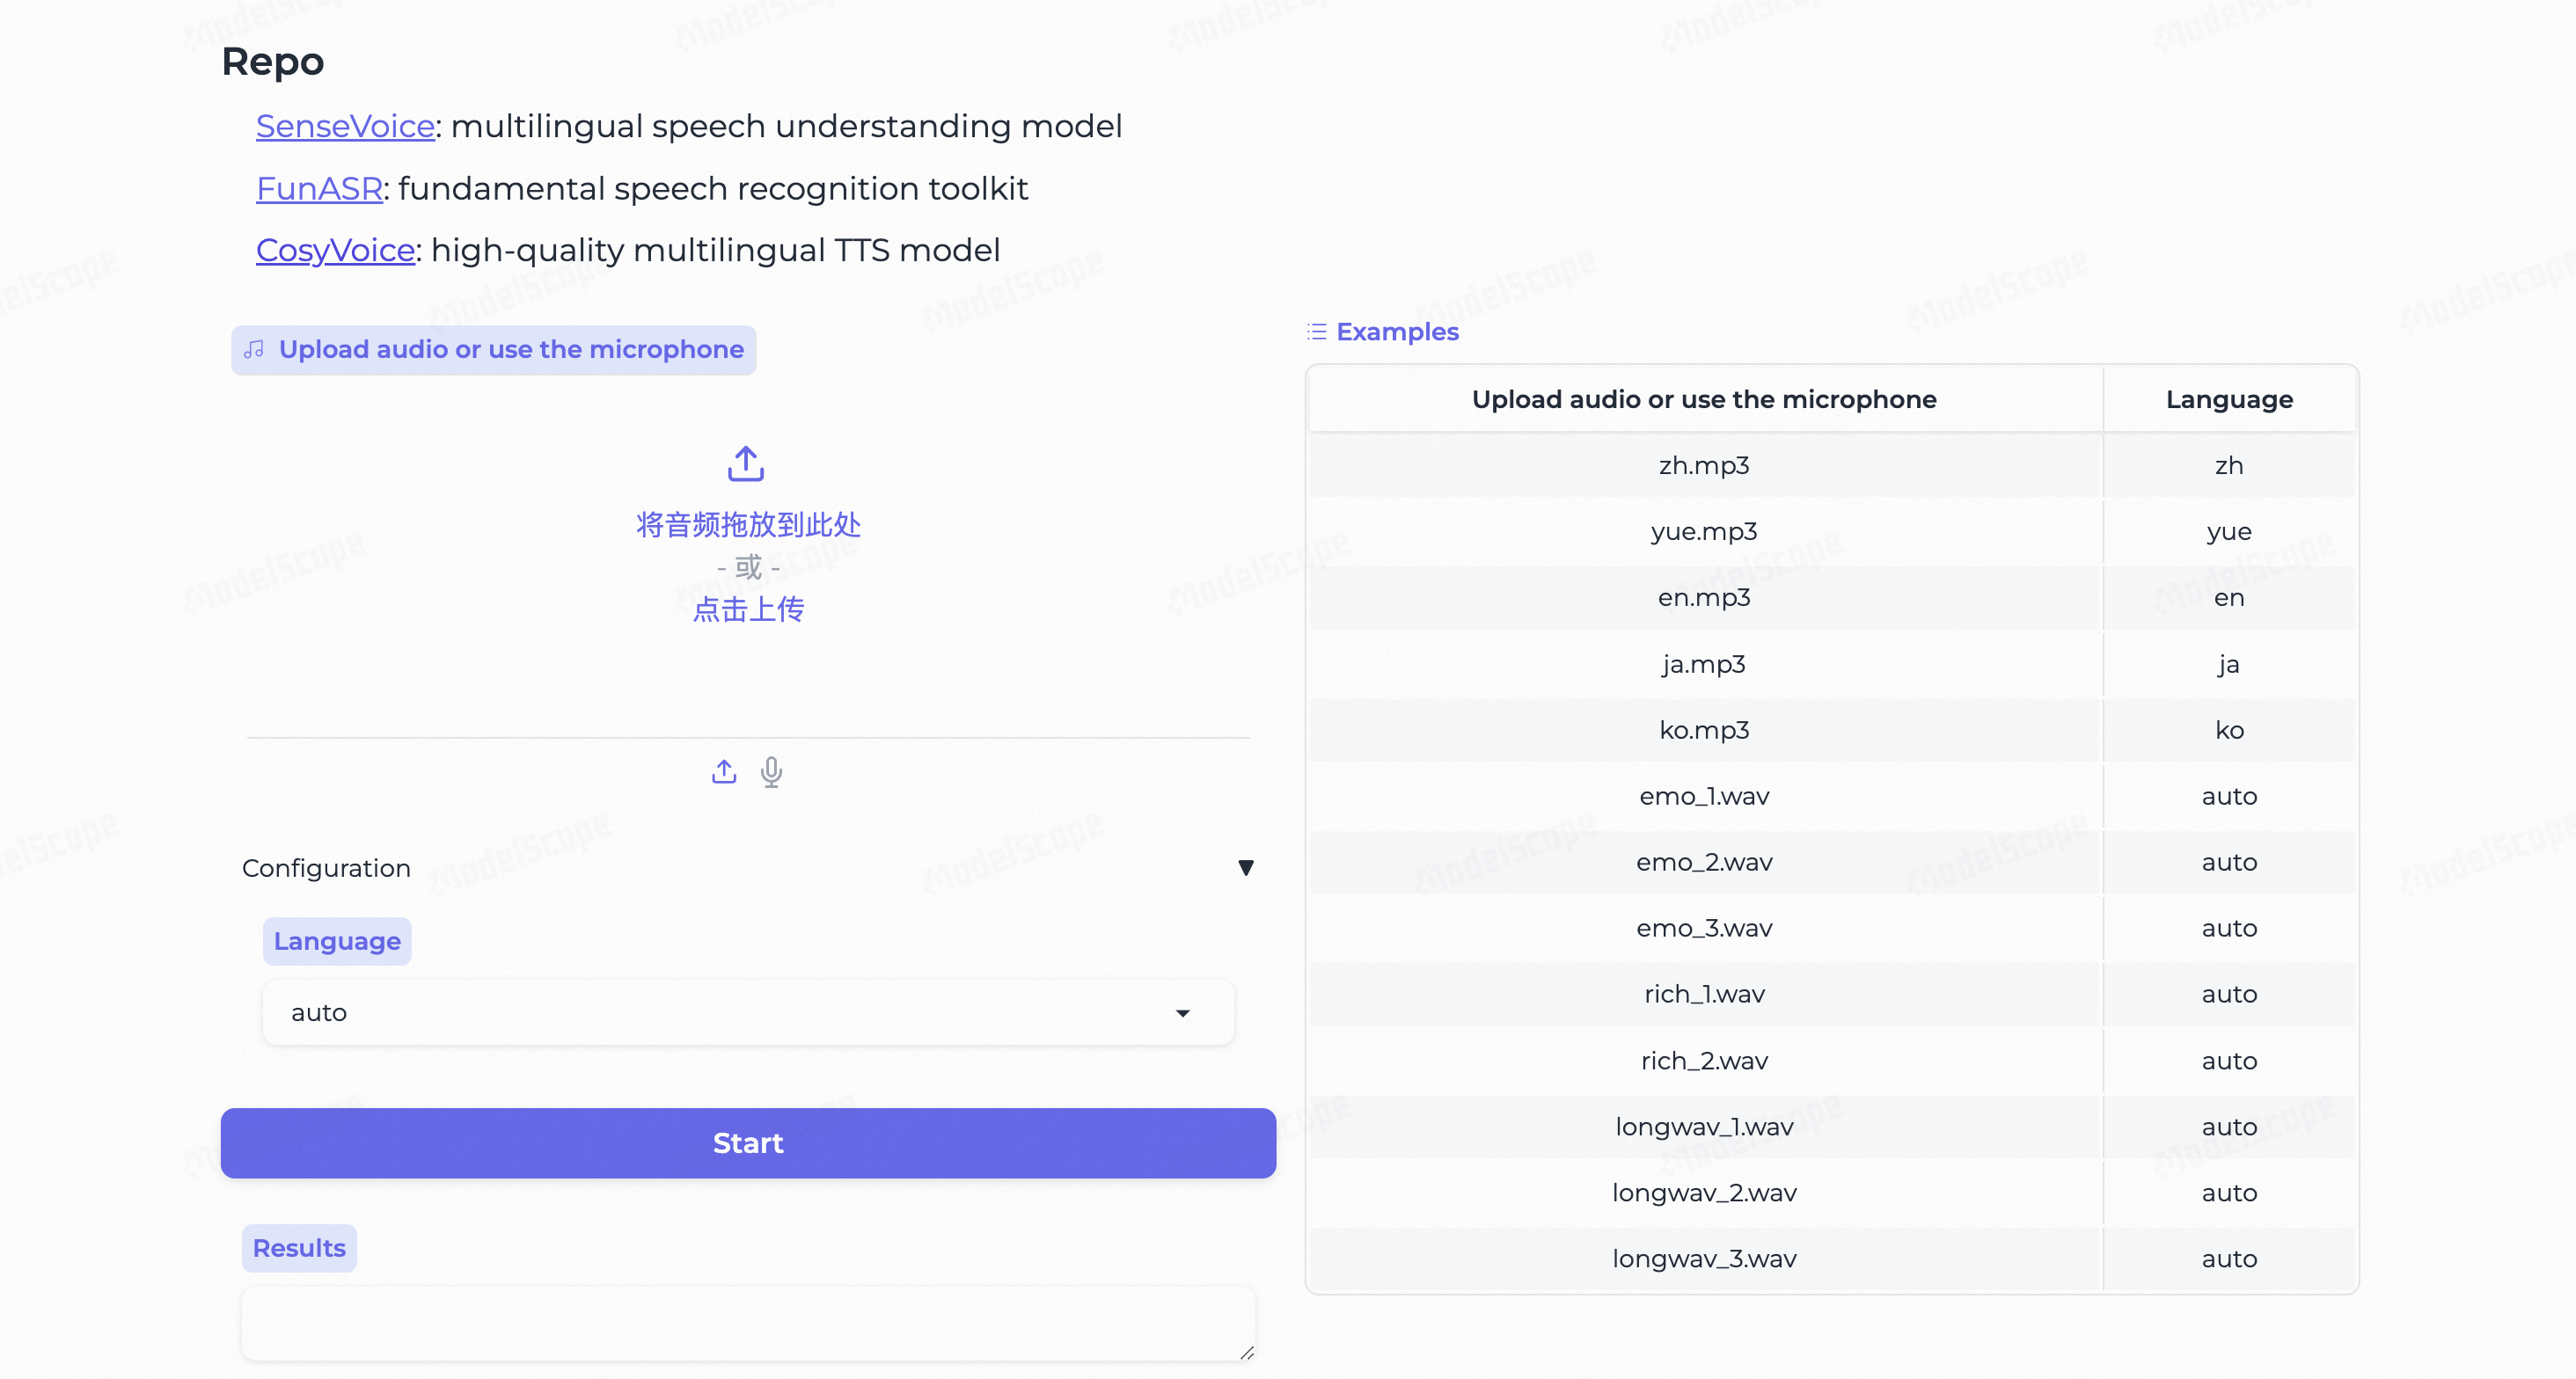
Open your browser and navigate to http://localhost:50000. You'll see the SenseVoice WebUI where you can:
- Upload audio files for transcription
- Record audio directly from your microphone
- View ASR results with emotion labels and timestamps
- See detected audio events highlighted in the transcript
Step 5: Using the API
SenseVoice provides a simple REST API for programmatic access:
# Transcribe an audio file
curl -X POST http://localhost:50000/recognition \
  -F "audio=@speech.mp3" \
  -F "language=auto"

# Response includes: text, emotion, audio_events, timestamps
{
  "text": "I'm really happy with this product!",
  "emotion": "happy",
  "confidence": 0.94,
  "audio_events": ["applause"],
  "timestamps": [{"start": 0.0, "end": 2.5, "text": "I'm really happy with this product!"}]
}
Docker Compose (Production Setup)
For a more robust deployment with persistent model caching:
version: '3.8'
services:
  sensevoice:
    build: .
    image: sensevoice:latest
    restart: unless-stopped
    ports:
      - "50000:50000"
    volumes:
      - sensevoice-models:/root/.cache/modelscope
    environment:
      - SENSEVOICE_DEVICE=cuda  # or "cpu"
    deploy:
      resources:
        reservations:
          devices:
            - capabilities: [gpu]

volumes:
  sensevoice-models:
Performance Tips
- Batch processing: For large volumes, send audio in batches — the non-autoregressive architecture handles parallelism efficiently
- Language selection: Specify the language when known (e.g.,
language=zhfor Chinese) for higher accuracy - Model variants: SenseVoice offers different model sizes — check the GitHub repo for the latest options
- Fine-tuning: The model supports domain adaptation for specialized vocabulary
Conclusion
SenseVoice is remarkably easy to deploy and delivers production-quality speech understanding out of the box. Its combination of ASR, emotion recognition, and audio event detection in a single Docker container makes it one of the most versatile self-hosted speech AI tools available. Try it today and experience the speed difference yourself!
🚀 Deploy SenseVoice on Your Own Server
Get the complete Docker Compose config, system requirements, and more on Run This Ai.
View SenseVoice Tool Page →