Getting Started with Tambo: Build Your First Generative AI Interface
A hands-on tutorial for building your first generative AI interface with Tambo. Create a React app with AI agents that render dynamic UI components in 5 easy steps.
Getting Started with Tambo: A Step-by-Step Tutorial
This tutorial walks you through building your first generative AI interface with Tambo. By the end, you'll have a working React app with an AI agent that renders dynamic UI components.
🚀 Want to deploy Tambo yourself?
Docker configs, system requirements, and installation guides — all on one page.
View Tambo Tool Page →Prerequisites
- Node.js 18+ and npm
- An API key from OpenAI, Anthropic, or another supported provider
- Basic knowledge of React and TypeScript
Step 1: Create a New Project
The fastest way to get started is with the Tambo CLI:
npm create tambo-app my-tambo-app
cd my-tambo-app
npm run dev
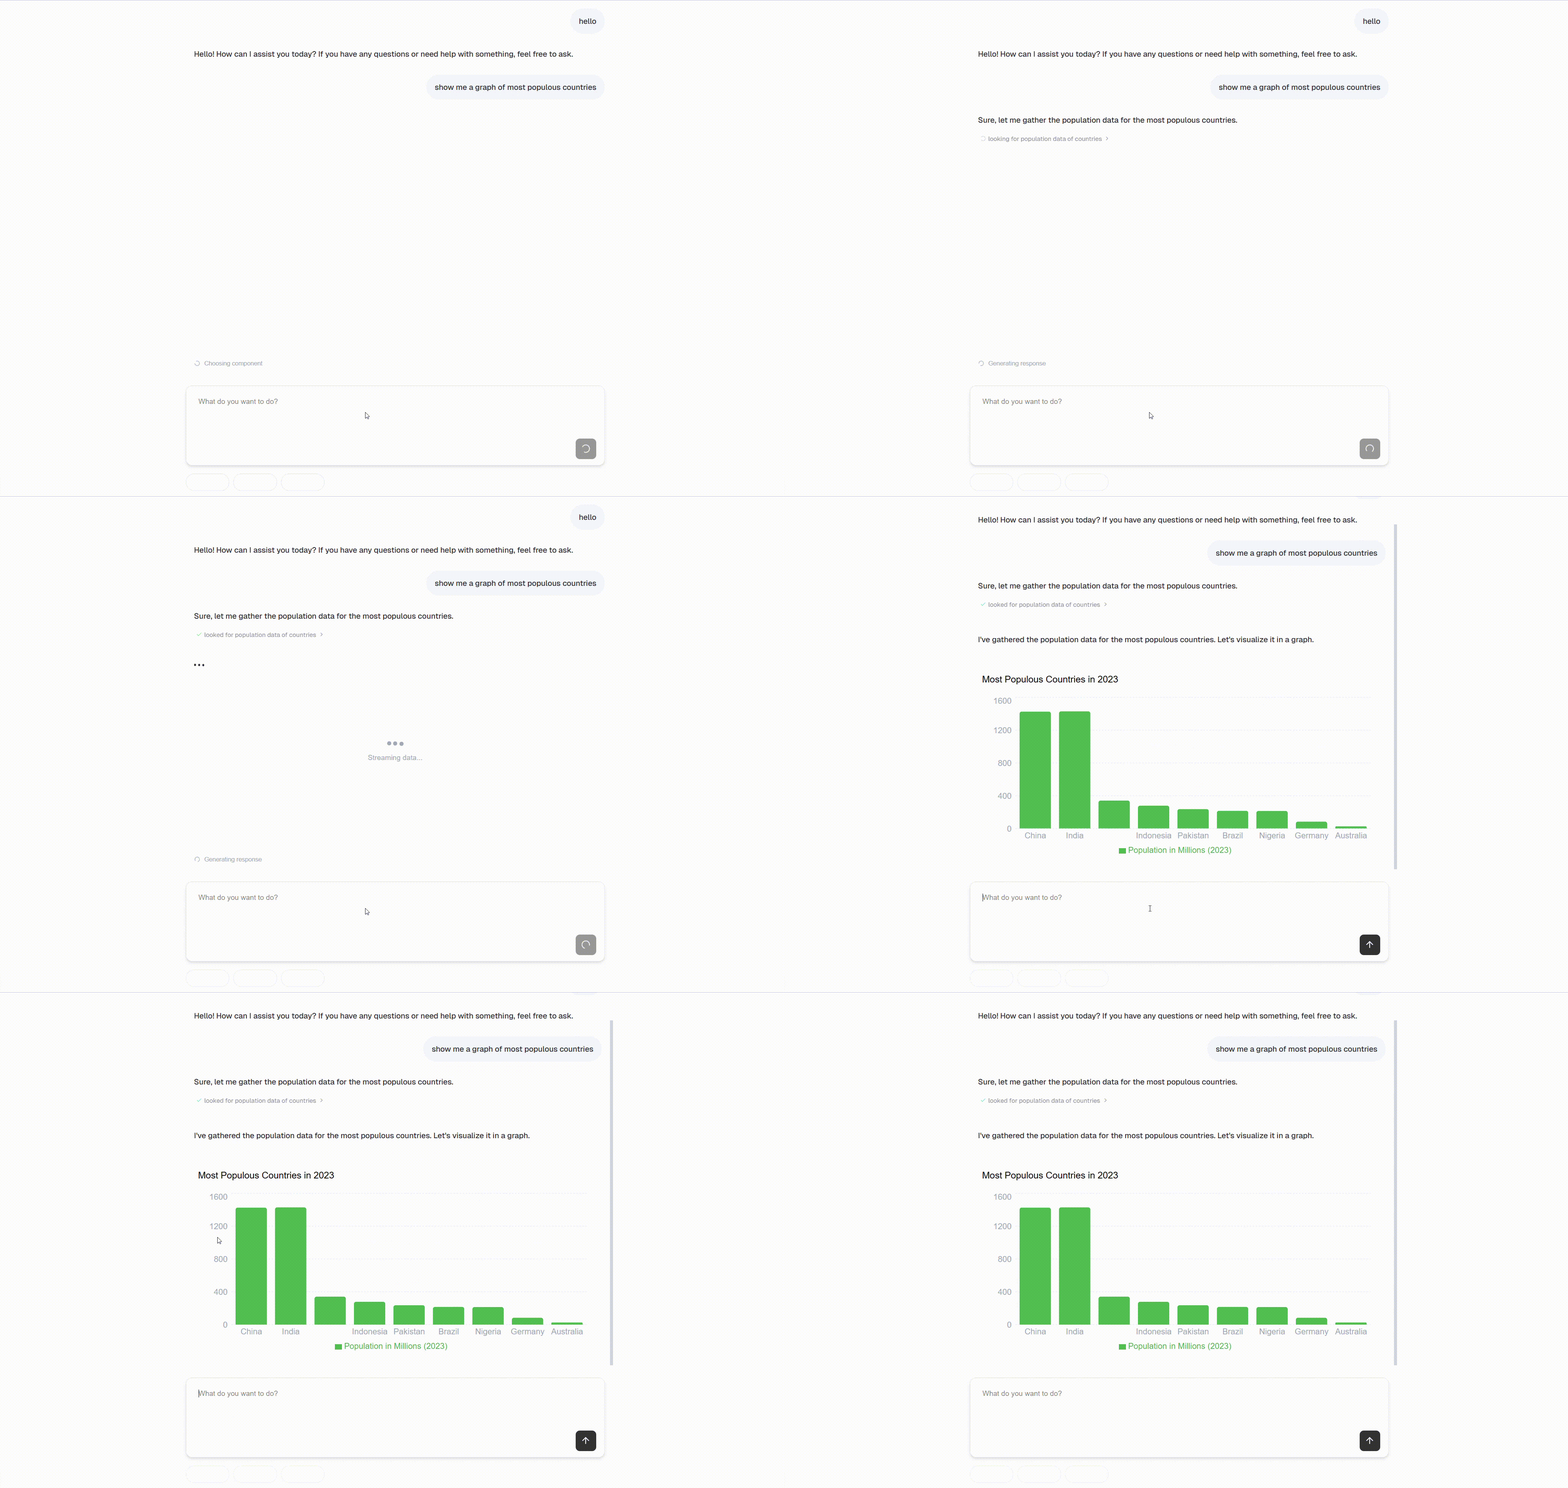
The CLI automatically initializes a Git repository and runs the Tambo setup wizard, which will prompt you for your API key and preferred LLM provider.
Step 2: Register Your First Component
Create a simple component and register it with Tambo using Zod schemas:
import { useTambo } from "@tambo-ai/react";
import { z } from "zod";

// Define your component
function GreetingCard({ name, title }: { name: string; title: string }) {
  return (
    <div style={{
      padding: "20px",
      borderRadius: "12px",
      background: "linear-gradient(135deg, #667eea, #764ba2)",
      color: "white"
    }}>
      <h2>{title}</h2>
      <p>Hello, {name}! Welcome to generative UI with Tambo.</p>
    </div>
  );
}

// Register with Zod schema
const components = [
  {
    name: "GreetingCard",
    description: "Displays a personalized greeting card",
    component: GreetingCard,
    schema: z.object({
      name: z.string().describe("The person's name"),
      title: z.string().describe("The card title"),
    }),
  },
];
Step 3: Connect the Agent
Wrap your app with the Tambo provider and connect it to the AI agent:
import { TamboProvider } from "@tambo-ai/react";

function App() {
  return (
    <TamboProvider
      apiKey={process.env.TAMBO_API_KEY}
      components={components}
      backend="https://api.tambo.co"
    >
      <ChatInterface />
    </TamboProvider>
  );
}
Step 4: Build the Chat Interface
Add a chat interface that renders both text and dynamic components:
function ChatInterface() {
  const { messages, sendMessage } = useTambo();

  return (
    <div>
      <div>
        {messages.map((msg) => (
          <div key={msg.id}>
            {msg.role === "user" ? (
              <p>{msg.content}</p>
            ) : (
              <TamboMessageRenderer message={msg} />
            )}
          </div>
        ))}
      </div>
      <input
        type="text"
        placeholder="Try: Show me a greeting card for Alice..."
        onKeyDown={(e) => {
          if (e.key === "Enter") sendMessage(e.currentTarget.value);
        }}
      />
    </div>
  );
}
Step 5: Run and Test
Try these prompts to see generative UI in action:
- "Show me a greeting card for Alice with the title 'Welcome Aboard'"
- "Create a data chart showing sales growth"
- "Add a task to review the quarterly report"
Each prompt will render the appropriate component with streamed props — no manual state management required.
💡 Pro Tip: Tambo's streaming infrastructure handles cancellation, error recovery, and reconnection automatically. If a component fails to render, the agent recovers gracefully.
Self-Hosting with Docker
Tambo supports self-hosting via Docker for complete control over your data. The runthisai.com tool page includes a ready-to-use docker-compose.yml with system requirements:
- Minimum: 2 CPU cores, 4 GB RAM
- Recommended: 4 CPU cores, 8 GB RAM
🚀 Want to deploy Tambo yourself?
Docker configs, system requirements, and installation guides — all on one page.
View Tambo Tool Page →Next Steps
- Explore the Tambo documentation
- Check out pre-built components at ui.tambo.co
- Fork the AI Chat template
- Try the Analytics Dashboard template