How to Set Up ClawX: Run OpenClaw AI Agents on Your Desktop (Step-by-Step)
A practical step-by-step tutorial: install ClawX, connect your AI provider, chat with agents, schedule cron tasks, and manage channels — all without touching the terminal.
Getting an OpenClaw AI agent running has traditionally meant installing Node.js, cloning repositories, and editing JSON config files by hand. This tutorial shows you how to skip all of that: ClawX packages the entire OpenClaw runtime into a desktop app with a guided setup wizard. By the end of this guide you will have a working AI agent on your desktop, talking to you in a modern chat interface.
🚀 Want to deploy ClawX yourself?
Docker configs, system requirements, and installation guides — all on one page.
View ClawX Tool Page →Step 1: Install and Launch
Download the latest release for your platform from the GitHub Releases page. ClawX supports macOS 11+, Windows 10+, and Linux (Ubuntu 20.04+). You need at least 4 GB of RAM (8 GB recommended) and 1 GB of free disk space. On first launch, the Setup Wizard walks you through language, AI provider, skill bundles, and a final connection test — no terminal involved.
Step 2: Connect Your AI Provider
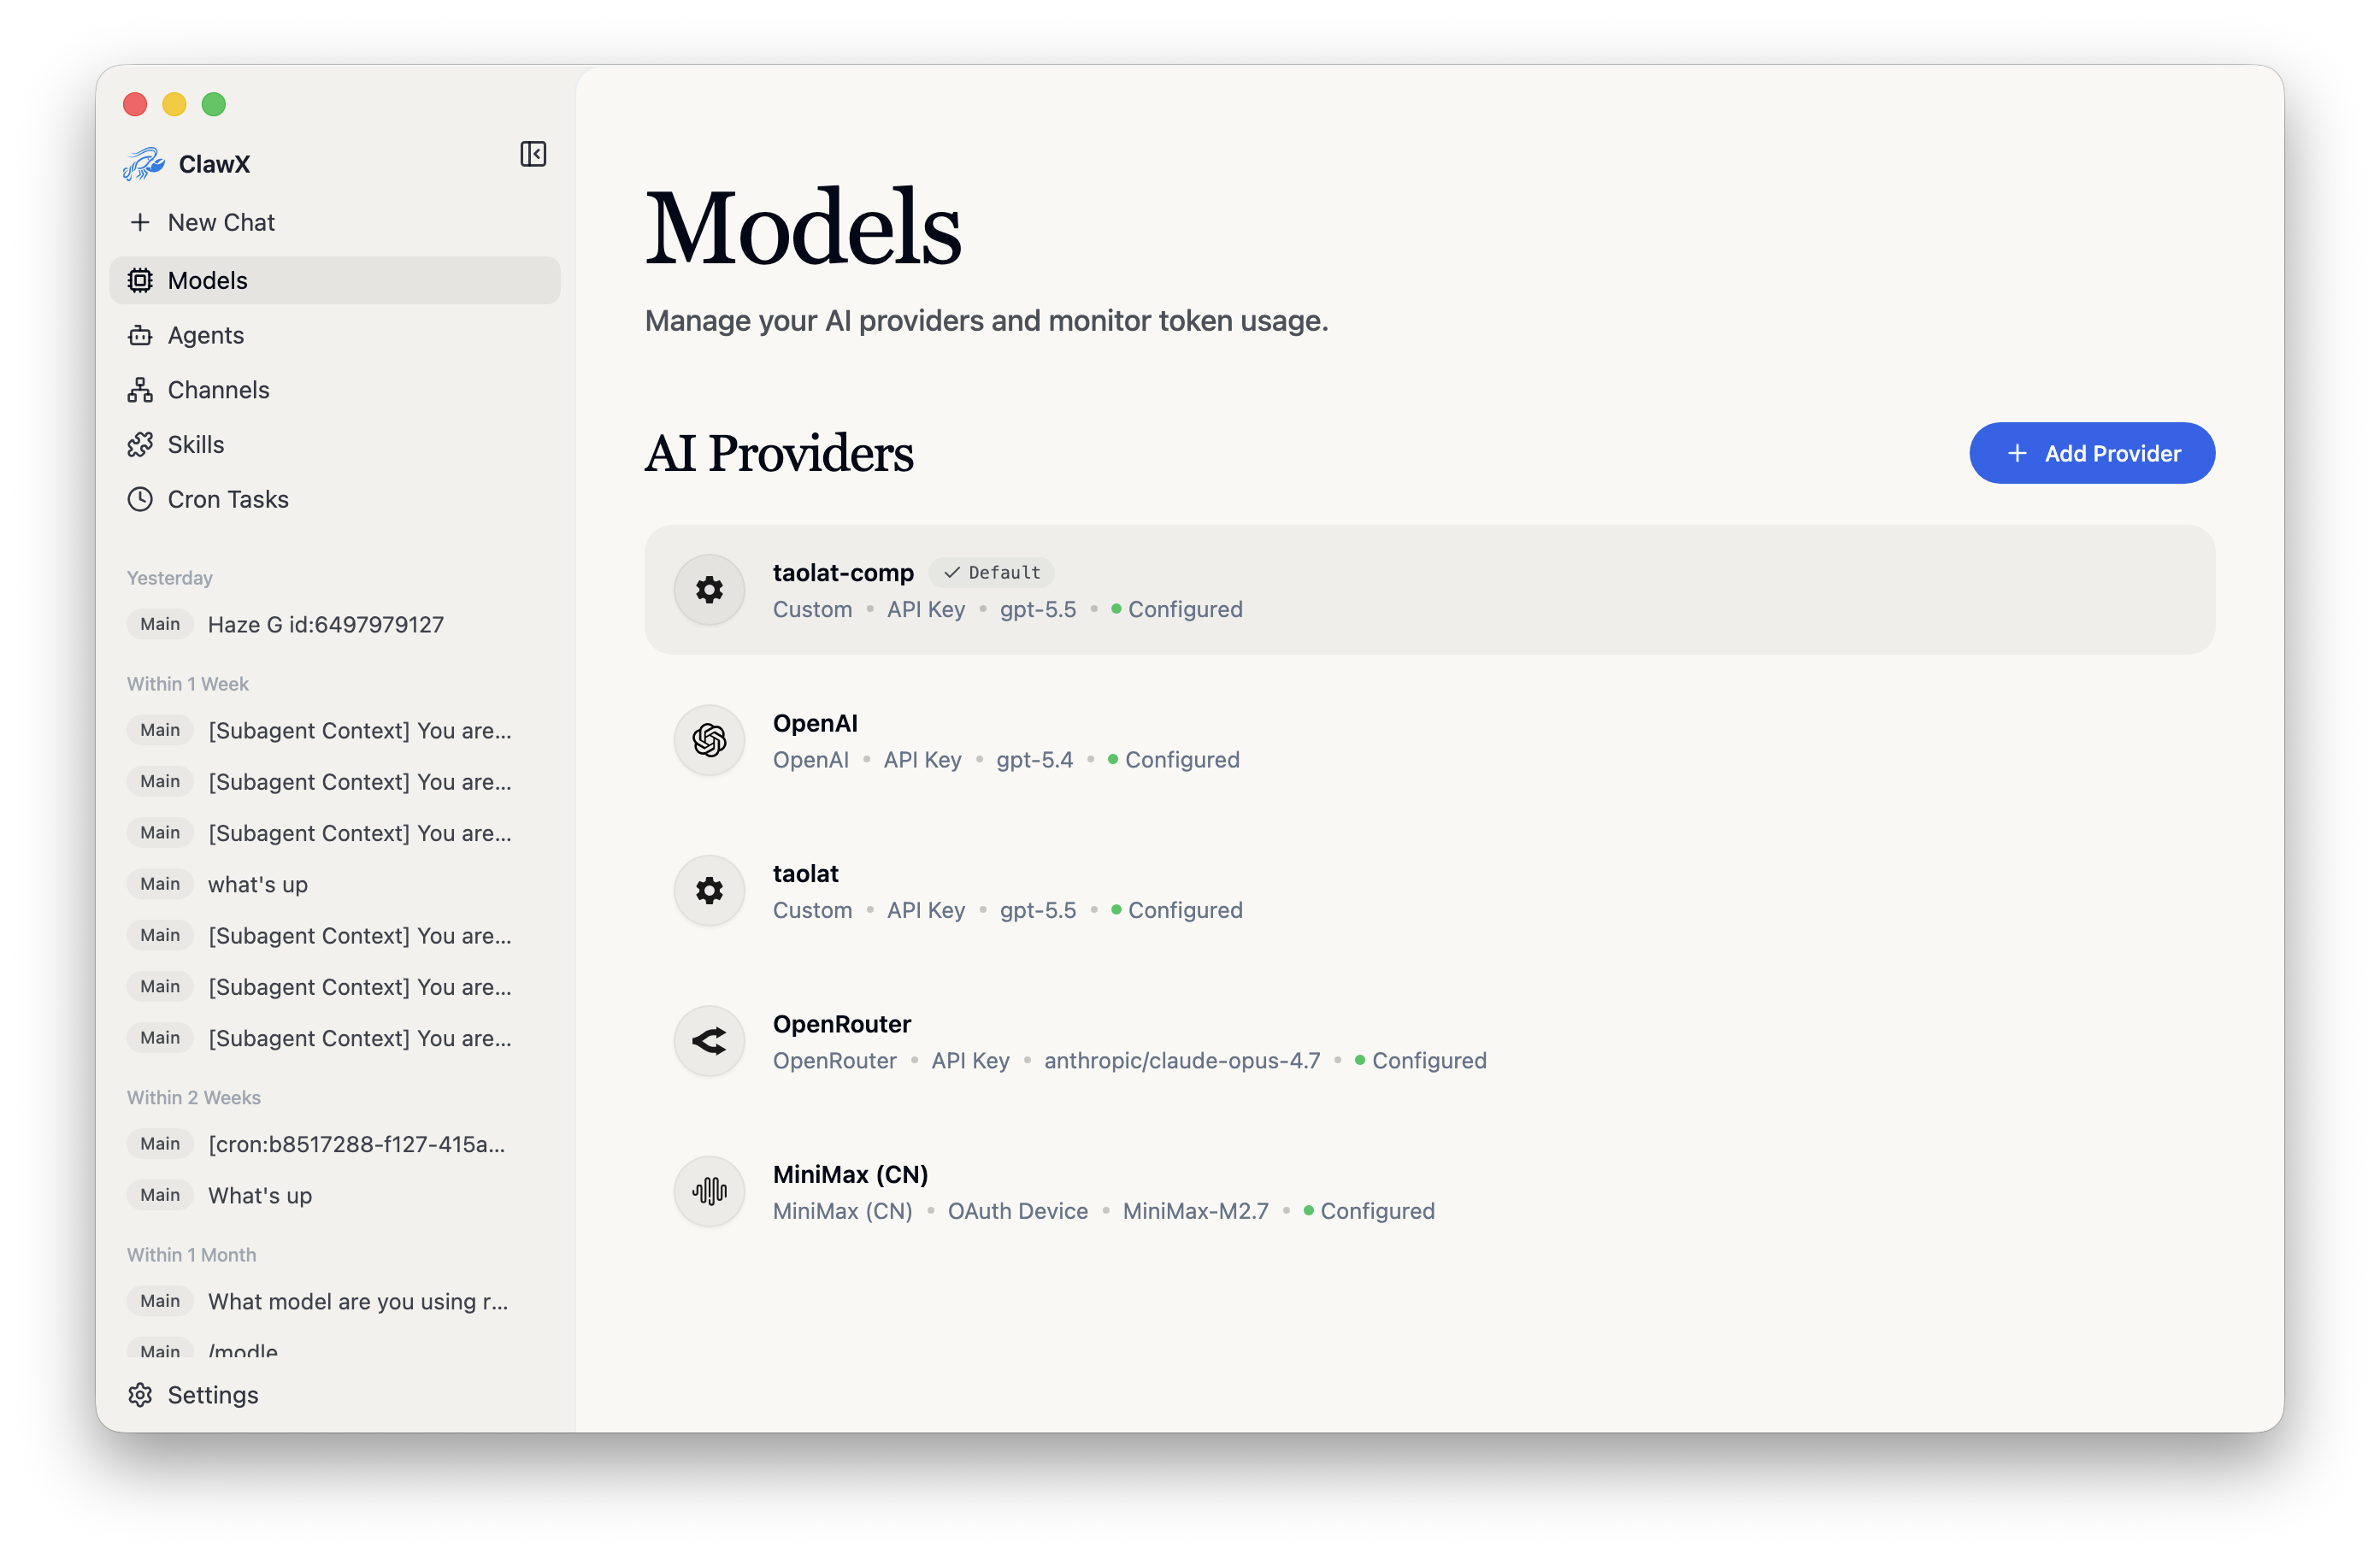
Add a provider such as OpenAI (API key or browser OAuth for Codex subscriptions), Anthropic, or Z.AI / GLM. Credentials are stored securely in your system's native keychain, and ClawX validates keys automatically — falling back to a lightweight chat probe when a gateway rejects the models endpoint.
Step 3: Chat with Your Agent
The main composer supports @agent routing to switch contexts between multiple agents, and /skill chips to insert skills directly into a conversation. Replies render Markdown, GitHub-flavored tables, and even KaTeX LaTeX math. Each agent can override its own provider and model when you need a specialized setup.
Step 4: Automate with Cron and Channels
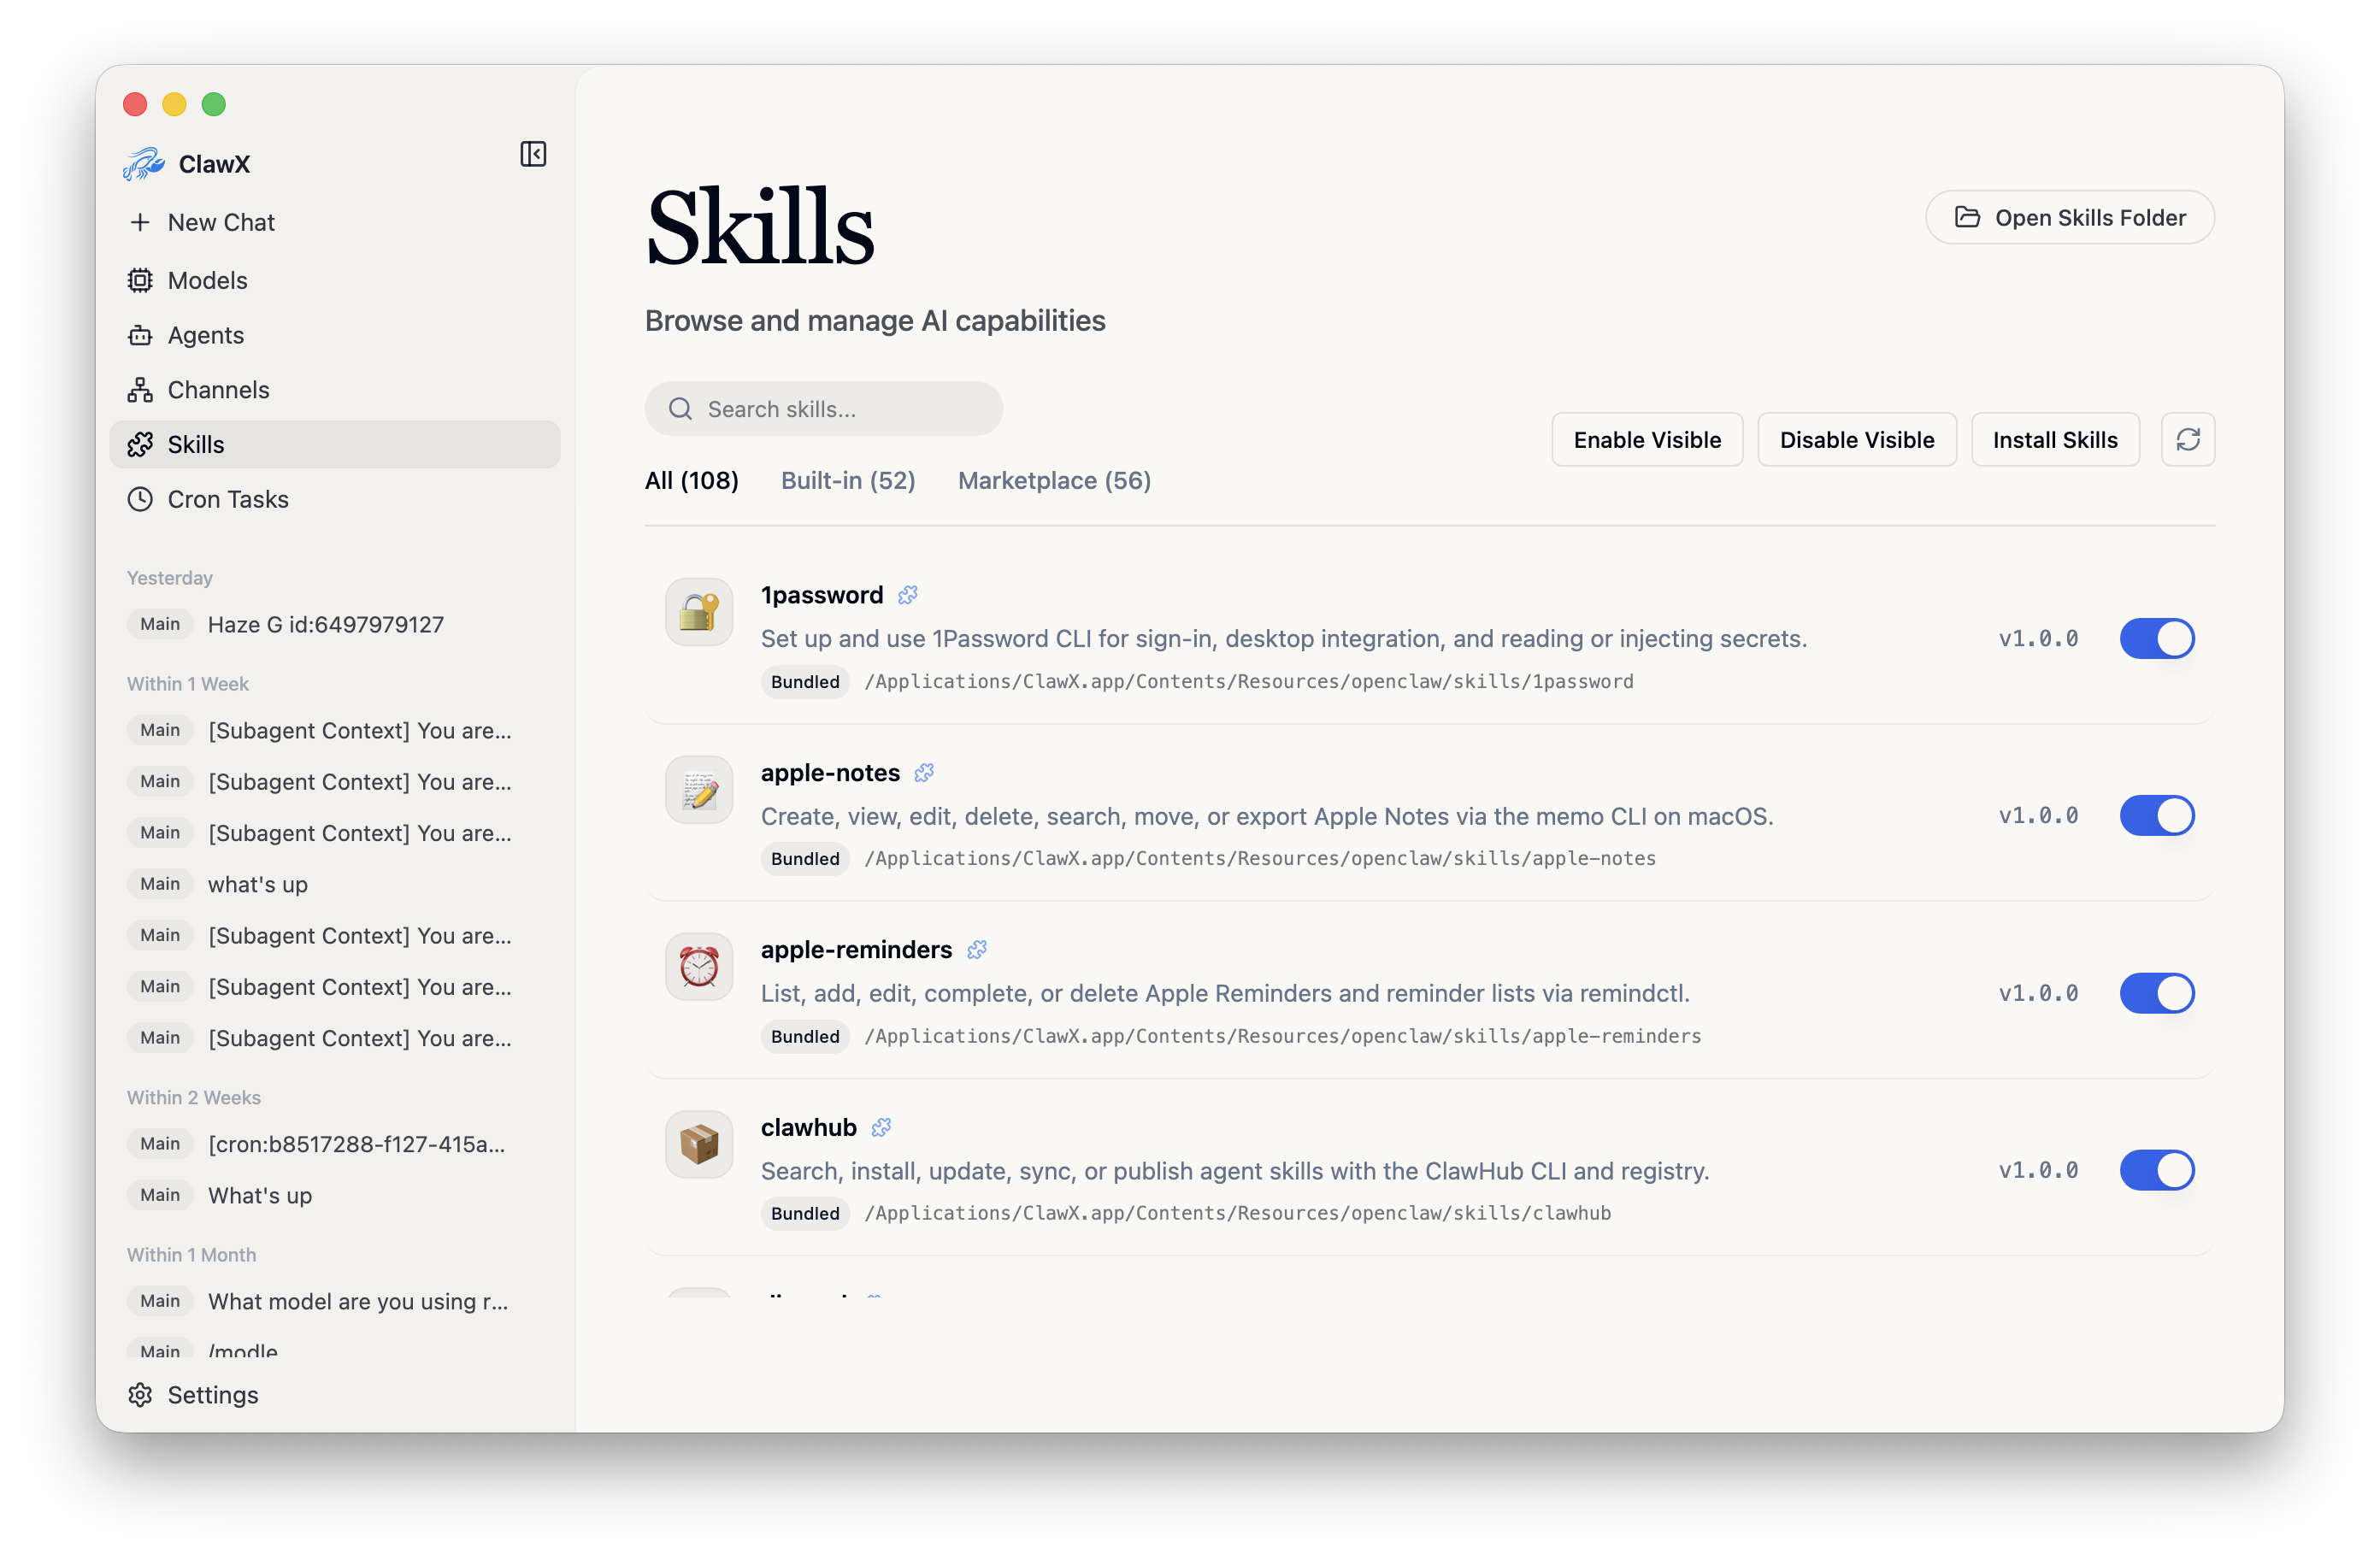
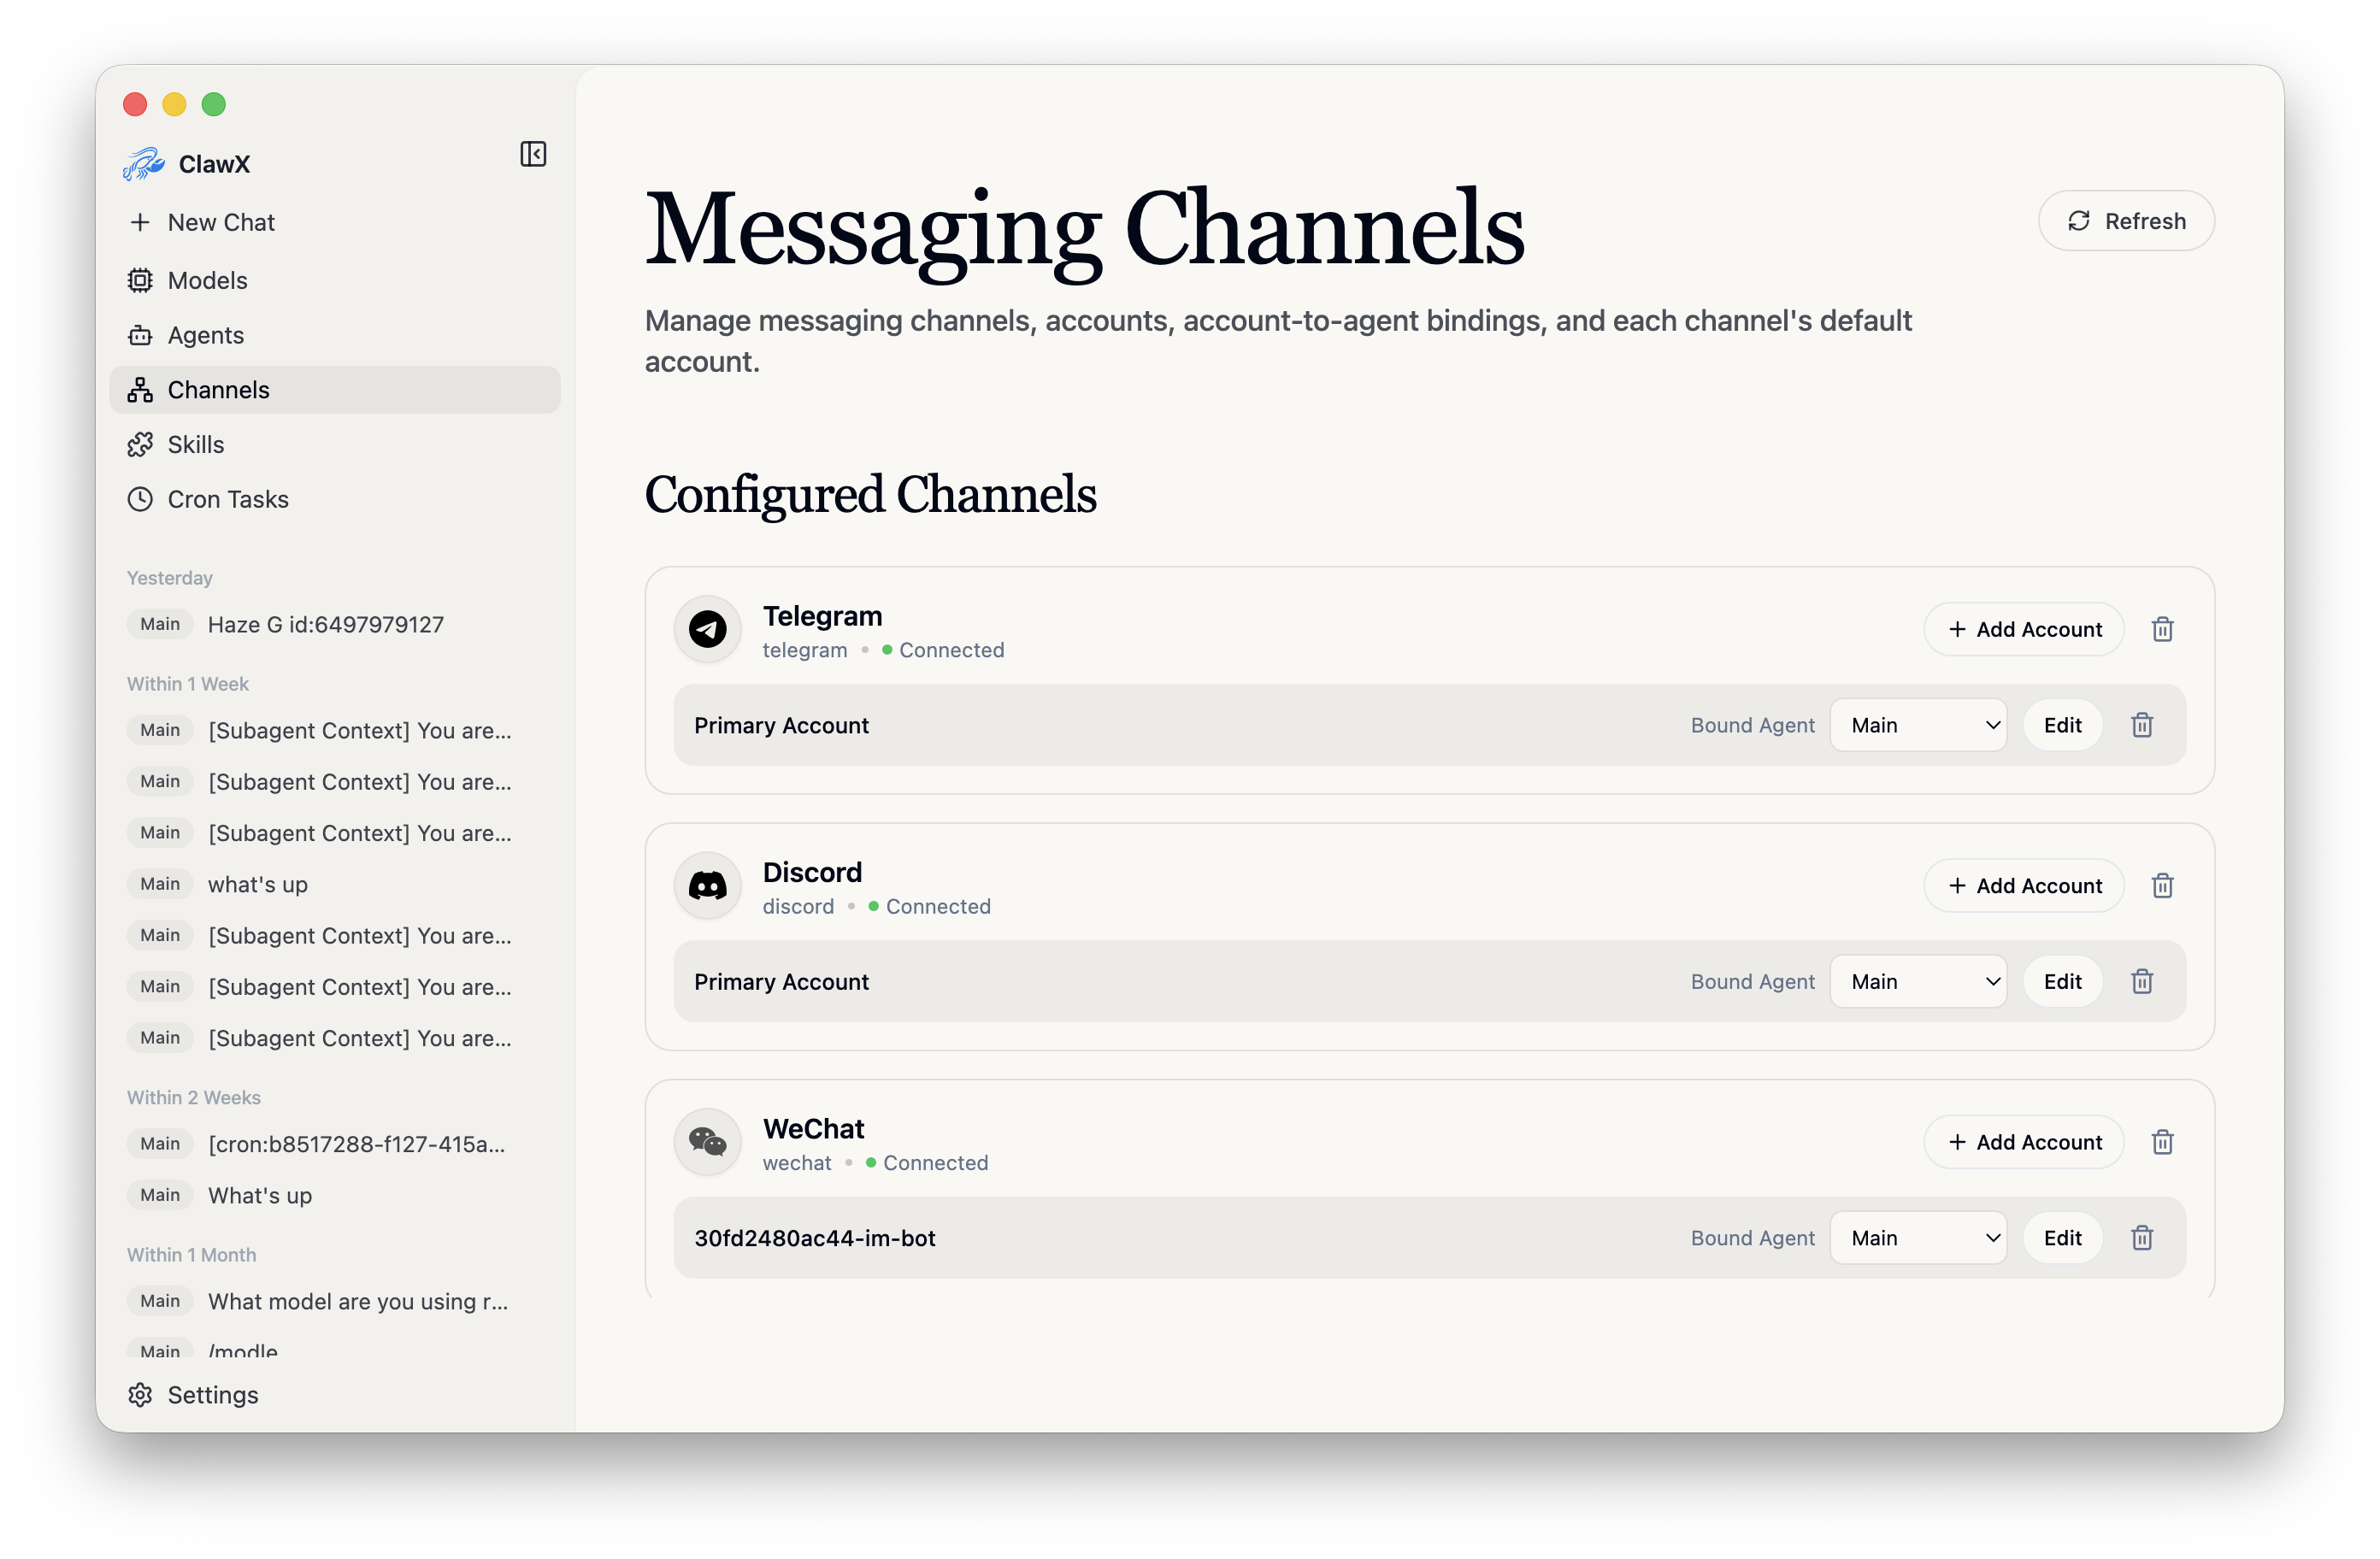
Use the Cron page to schedule recurring or one-time AI tasks with a visual picker, and deliver results to Telegram, WeChat, or email-style targets discovered automatically. The Channels page lets you bind multiple accounts per channel, so specialized agents can each run on their own connection.
Step 5: Go Further
Enable Developer Mode in Settings → Advanced to fine-tune OpenClaw config, access the image generation page, or open the Dreams page for memory review. ClawX also checks for updates on startup and lets you choose when to download — updates never happen behind your back.
🚀 Deploy ClawX in minutes
Find Docker compose templates, requirements, and installation help on the tool page.
View ClawX Tool Page →