Getting Started with Bionic GPT: Docker Deployment Guide
Get Bionic GPT running in under 5 minutes with Docker Compose. Connect local or cloud LLMs, create AI assistants with RAG, and deploy securely on your own infrastructure.

Introduction
Bionic GPT is an on-premise ChatGPT alternative that runs entirely on your infrastructure. This guide will walk you through deploying Bionic GPT using Docker Compose — the fastest way to get a fully functional AI chat platform with RAG, team collaboration, and enterprise security running on your own machine or server.
Prerequisites
- Docker and Docker Compose installed on your machine
- At least 8GB of RAM (16GB recommended for production use)
- A working internet connection to pull images
- (Optional) Ollama or another LLM backend for local model inference
Quick Start with Docker Compose
Step 1: Pull the Images
Bionic GPT uses multiple containers working together. Start by cloning the repository or creating a docker-compose.yml file:
git clone https://github.com/bionic-gpt/bionic-gpt.git
cd bionic-gpt/infra-as-code
Step 2: Start the Stack
Launch all Bionic GPT services using Docker Compose:
docker compose up -dThis starts the following services:
- Postgres (pgVector): Database with vector search capabilities for embeddings
- Migrations: Sets up database tables and schemas
- RAG Engine: Document processing and embedding generation
- App Server: The main Rust web server with the chat interface
Step 3: Access the UI
Once all containers are healthy, open your browser and navigate to:
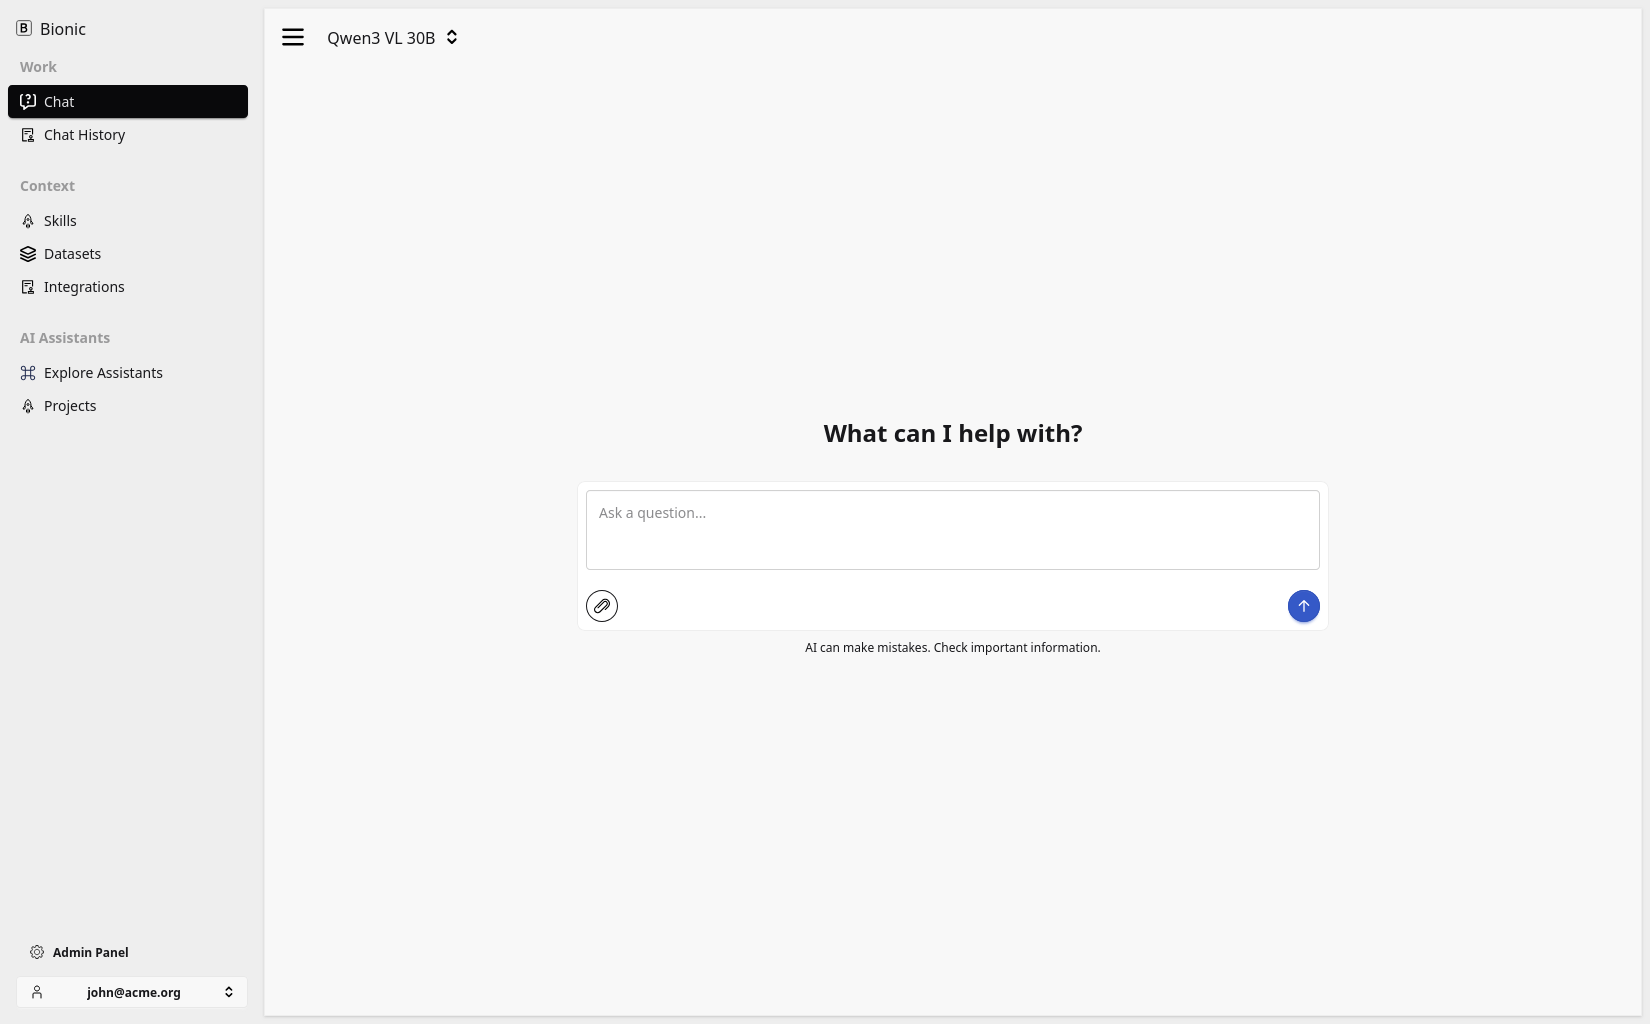
http://localhost:3000You should see the Bionic GPT login screen. The default setup uses an example JWT override for local testing. For production, configure SSO with your identity provider.
Connecting an LLM
Bionic GPT works with local and remote LLMs. For local inference, the easiest setup is with Ollama:
# Pull a model with Ollama (on the same machine)
ollama pull llama3.2

# In Bionic GPT settings, add Ollama endpoint:
# URL: http://host.docker.internal:11434
You can also connect to OpenAI, Anthropic, or any OpenAI-compatible API endpoint.
Creating Your First AI Assistant
- Log into Bionic GPT
- Navigate to the Assistants section
- Click "New Assistant" and give it a name
- Configure the system prompt to define your assistant behavior
- Upload documents to create a RAG dataset for context-aware answers
- Select which model the assistant should use
- Save and start chatting!
Configuration Tips
Environment Variables
APP_BASE_URL: Public URL of your Bionic server (important for OAuth2 callbacks)DATABASE_URL: PostgreSQL connection stringDANGER_JWT_OVERRIDE: For local testing only — never use in production
Production Deployment
For production, Bionic recommends deploying on Kubernetes (k3s, EKS, AKS, or GKE) with proper SSO configuration, SSL certificates, regular backups, and resource limits. See the official documentation for a complete production deployment guide.
Conclusion
With Docker Compose, Bionic GPT can be up and running in under 5 minutes. It is one of the most complete on-premise ChatGPT alternatives available, offering everything from basic chat to advanced agentic RAG pipelines with enterprise-grade security. Try it today and take control of your AI data.