Getting Started with CapRover: Deploy Your First App in Minutes

Why CapRover for Self-Hosting?
If you have ever tried to deploy a web application on your own server, you know the pain: install Docker, configure nginx as a reverse proxy, set up Let’s Encrypt SSL, manage multiple containers, handle port conflicts, restart services on crash. CapRover automates all of this so you never touch a config file again.
This guide walks you through deploying CapRover on a fresh Ubuntu VPS and launching your first app — all in under 10 minutes.
Prerequisites
- A Linux VPS (Ubuntu 20.04+) with root or sudo access
- A domain name pointing to your server’s IP
- Docker installed on the server
Step 1: Install CapRover
SSH into your server and run the one-line installer:
docker run -p 80:80 -p 443:443 -p 3000:3000 \
    -v /var/run/docker.sock:/var/run/docker.sock \
    -v /captain:/captain \
    caprover/caprover:latest
This starts the CapRover instance. The web interface will be available on port :3000.
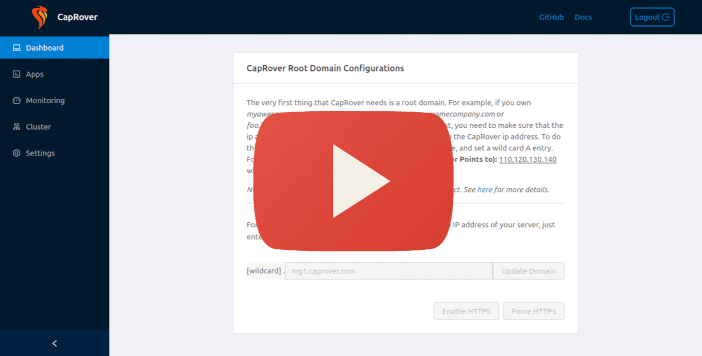
Step 2: Configure Your Domain
- Open your browser and go to
http://YOUR_SERVER_IP:3000 - Log in with the default password:
captain42 - Go to Settings and enter your root domain (e.g.,
caprover.mydomain.com) - Set up DNS: point
*.caprover.mydomain.comto your server IP - Click Update Domain — CapRover automatically provisions SSL via Let’s Encrypt
Step 3: Deploy an App
CapRover supports two deployment methods:
Via the Web Dashboard (No CLI Required)
- Click Apps → Create New App
- Enter your app name (e.g.,
my-api) - Set the container image (e.g.,
nginx:alpinefor a static site) - CapRover auto-assigns a subdomain and provisions HTTPS
- Your app is live at
https://my-api.caprover.mydomain.com
Via the CapRover CLI (CI/CD Ready)
npm install -g caprover
caprover login --host https://captain.caprover.mydomain.com --password captain42
caprover deploy --app-name my-api --branch main
This packages your code, pushes it to CapRover’s private registry, and deploys it — all from a single command.
Step 4: Launch a Database
Go to Apps → One-Click Database. Select MySQL, PostgreSQL, MongoDB, or Redis. CapRover spins up a containerized database with persistent storage. Connection details (host, port, user, password) are shown instantly.
Production Tips
- HTTPS Only: CapRover auto-enables SSL for every app and subdomain.
- Auto-Restart: Containers restart automatically on crash or reboot.
- Zero-Downtime Deployments: Use the CLI for rolling updates.
- Monitoring: CapRover integrates with NetData for real-time metrics.
Conclusion
CapRover makes self-hosting genuinely accessible. With its one-line installer, automatic SSL, and intuitive web interface, you can stop wrestling with configuration files and start focusing on building applications. Whether you are running AI inference servers, web APIs, databases, or static sites, CapRover handles the infrastructure so you do not have to.