Getting Started with Dockge: Install and Manage Docker Stacks with Ease
A step-by-step tutorial on installing Dockge, creating your first Docker Compose stack, and managing multiple Docker hosts from a single beautiful dashboard.

Getting Started with Dockge: Install and Manage Docker Stacks with Ease
Dockge makes Docker Compose stack management visual, real-time, and a joy to use. In this tutorial, we will walk through installing Dockge on any Linux server with Docker, creating your first stack, and exploring the key features that make Dockge indispensable for self-hosters.
Prerequisites
Before we begin, you will need:
- A Linux server (or any system) with Docker installed
- Docker Compose (V2, built into modern Docker)
- Port 8080 available on your host (or change the port mapping)
- Basic familiarity with the command line
Step 1: Create a Directory
mkdir -p /opt/dockge
cd /opt/dockge
Step 2: Create the Compose File
Create a file called compose.yaml with the following content:
services:
  dockge:
    image: louislam/dockge:latest
    restart: unless-stopped
    ports:
      - 8080:8080
    volumes:
      - /var/run/docker.sock:/var/run/docker.sock
      - ./data:/app/data
      - /opt/stacks:/opt/stacks
    environment:
      - DOCKGE_STACKS_DIR=/opt/stacks
Step 3: Start Dockge
docker compose up -dWait a few seconds for the container to start. You can watch the logs with docker compose logs -f to confirm everything is running smoothly.
Step 4: Access the Web UI
Open your browser and navigate to http://YOUR_SERVER_IP:8080. You will see the Dockge dashboard — a clean, card-based interface showing your stacks.
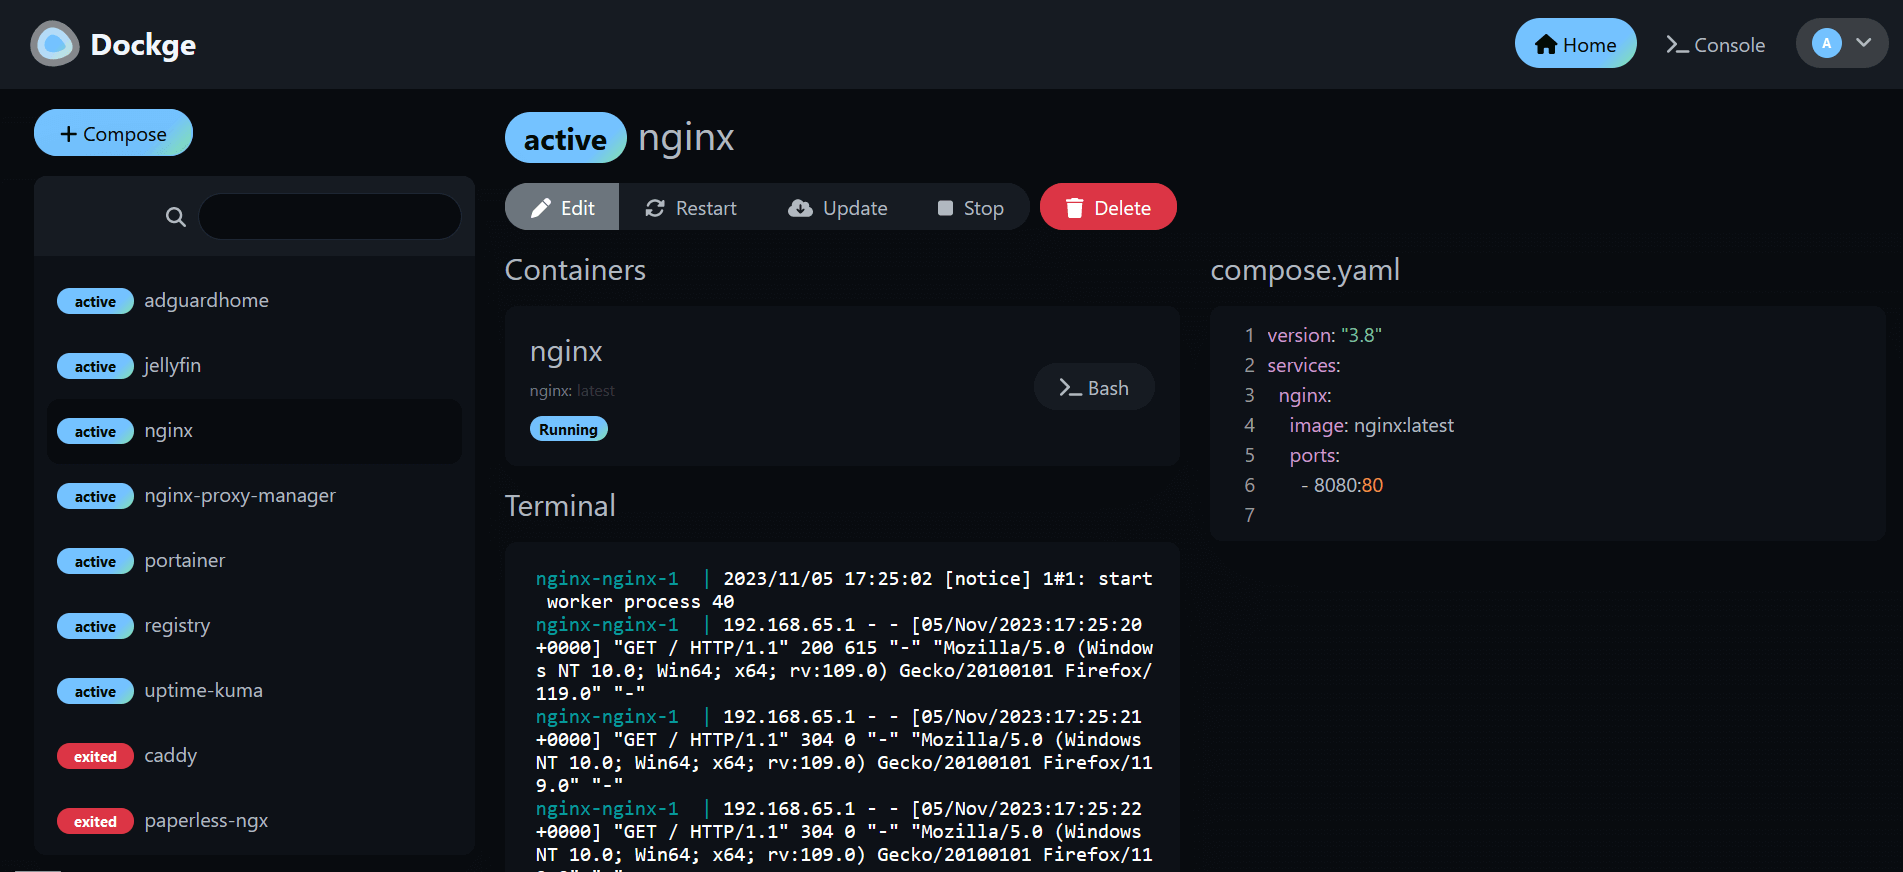
Step 5: Create Your First Stack
Click the "Create Stack" button. Give your stack a name (e.g., nginx-test) and paste in a compose configuration:
services:
  nginx:
    image: nginx:latest
    ports:
      - 8081:80
Click "Deploy". Watch as Dockge pulls the image and starts the container — all in real-time inside the browser terminal. You will see the logs streaming live, from "Pulling nginx:latest" to "Container started".
Step 6: Manage Your Stack
Once deployed, you can:
- Start / Stop / Restart with single clicks
- Update the Docker image when new versions are released
- Edit the compose file directly in the browser
- Delete the stack entirely
- Open Terminal for interactive shell access to any container in the stack
Advanced: Managing Multiple Hosts
Dockge 1.4.0+ supports agents — lightweight companion containers that you install on other Docker hosts. Dockge connects to them via a single token, giving you a unified dashboard for all your servers. This is perfect for homelabs with a Raspberry Pi cluster or multiple VPS instances.
Tips for Self-Hosters
- Set
DOCKGE_STACKS_DIRto/opt/stacksor any path you prefer — Dockge will use that directory to store compose files. - Mount your stacks directory as a bind mount so you can edit files directly when needed.
- Back up the
./datadirectory regularly — it contains Dockge's internal database.
Conclusion
Dockge is one of those rare tools that immediately feels like it should have existed all along. Simple to deploy, beautiful to use, and deeply practical — if you self-host anything with Docker Compose, give it a try. You will wonder how you managed without it.