How to Set Up Chatbot UI Locally: Step-by-Step Guide
A complete step-by-step guide to setting up Chatbot UI locally. Learn how to clone, install dependencies, configure Supabase, and connect AI providers.
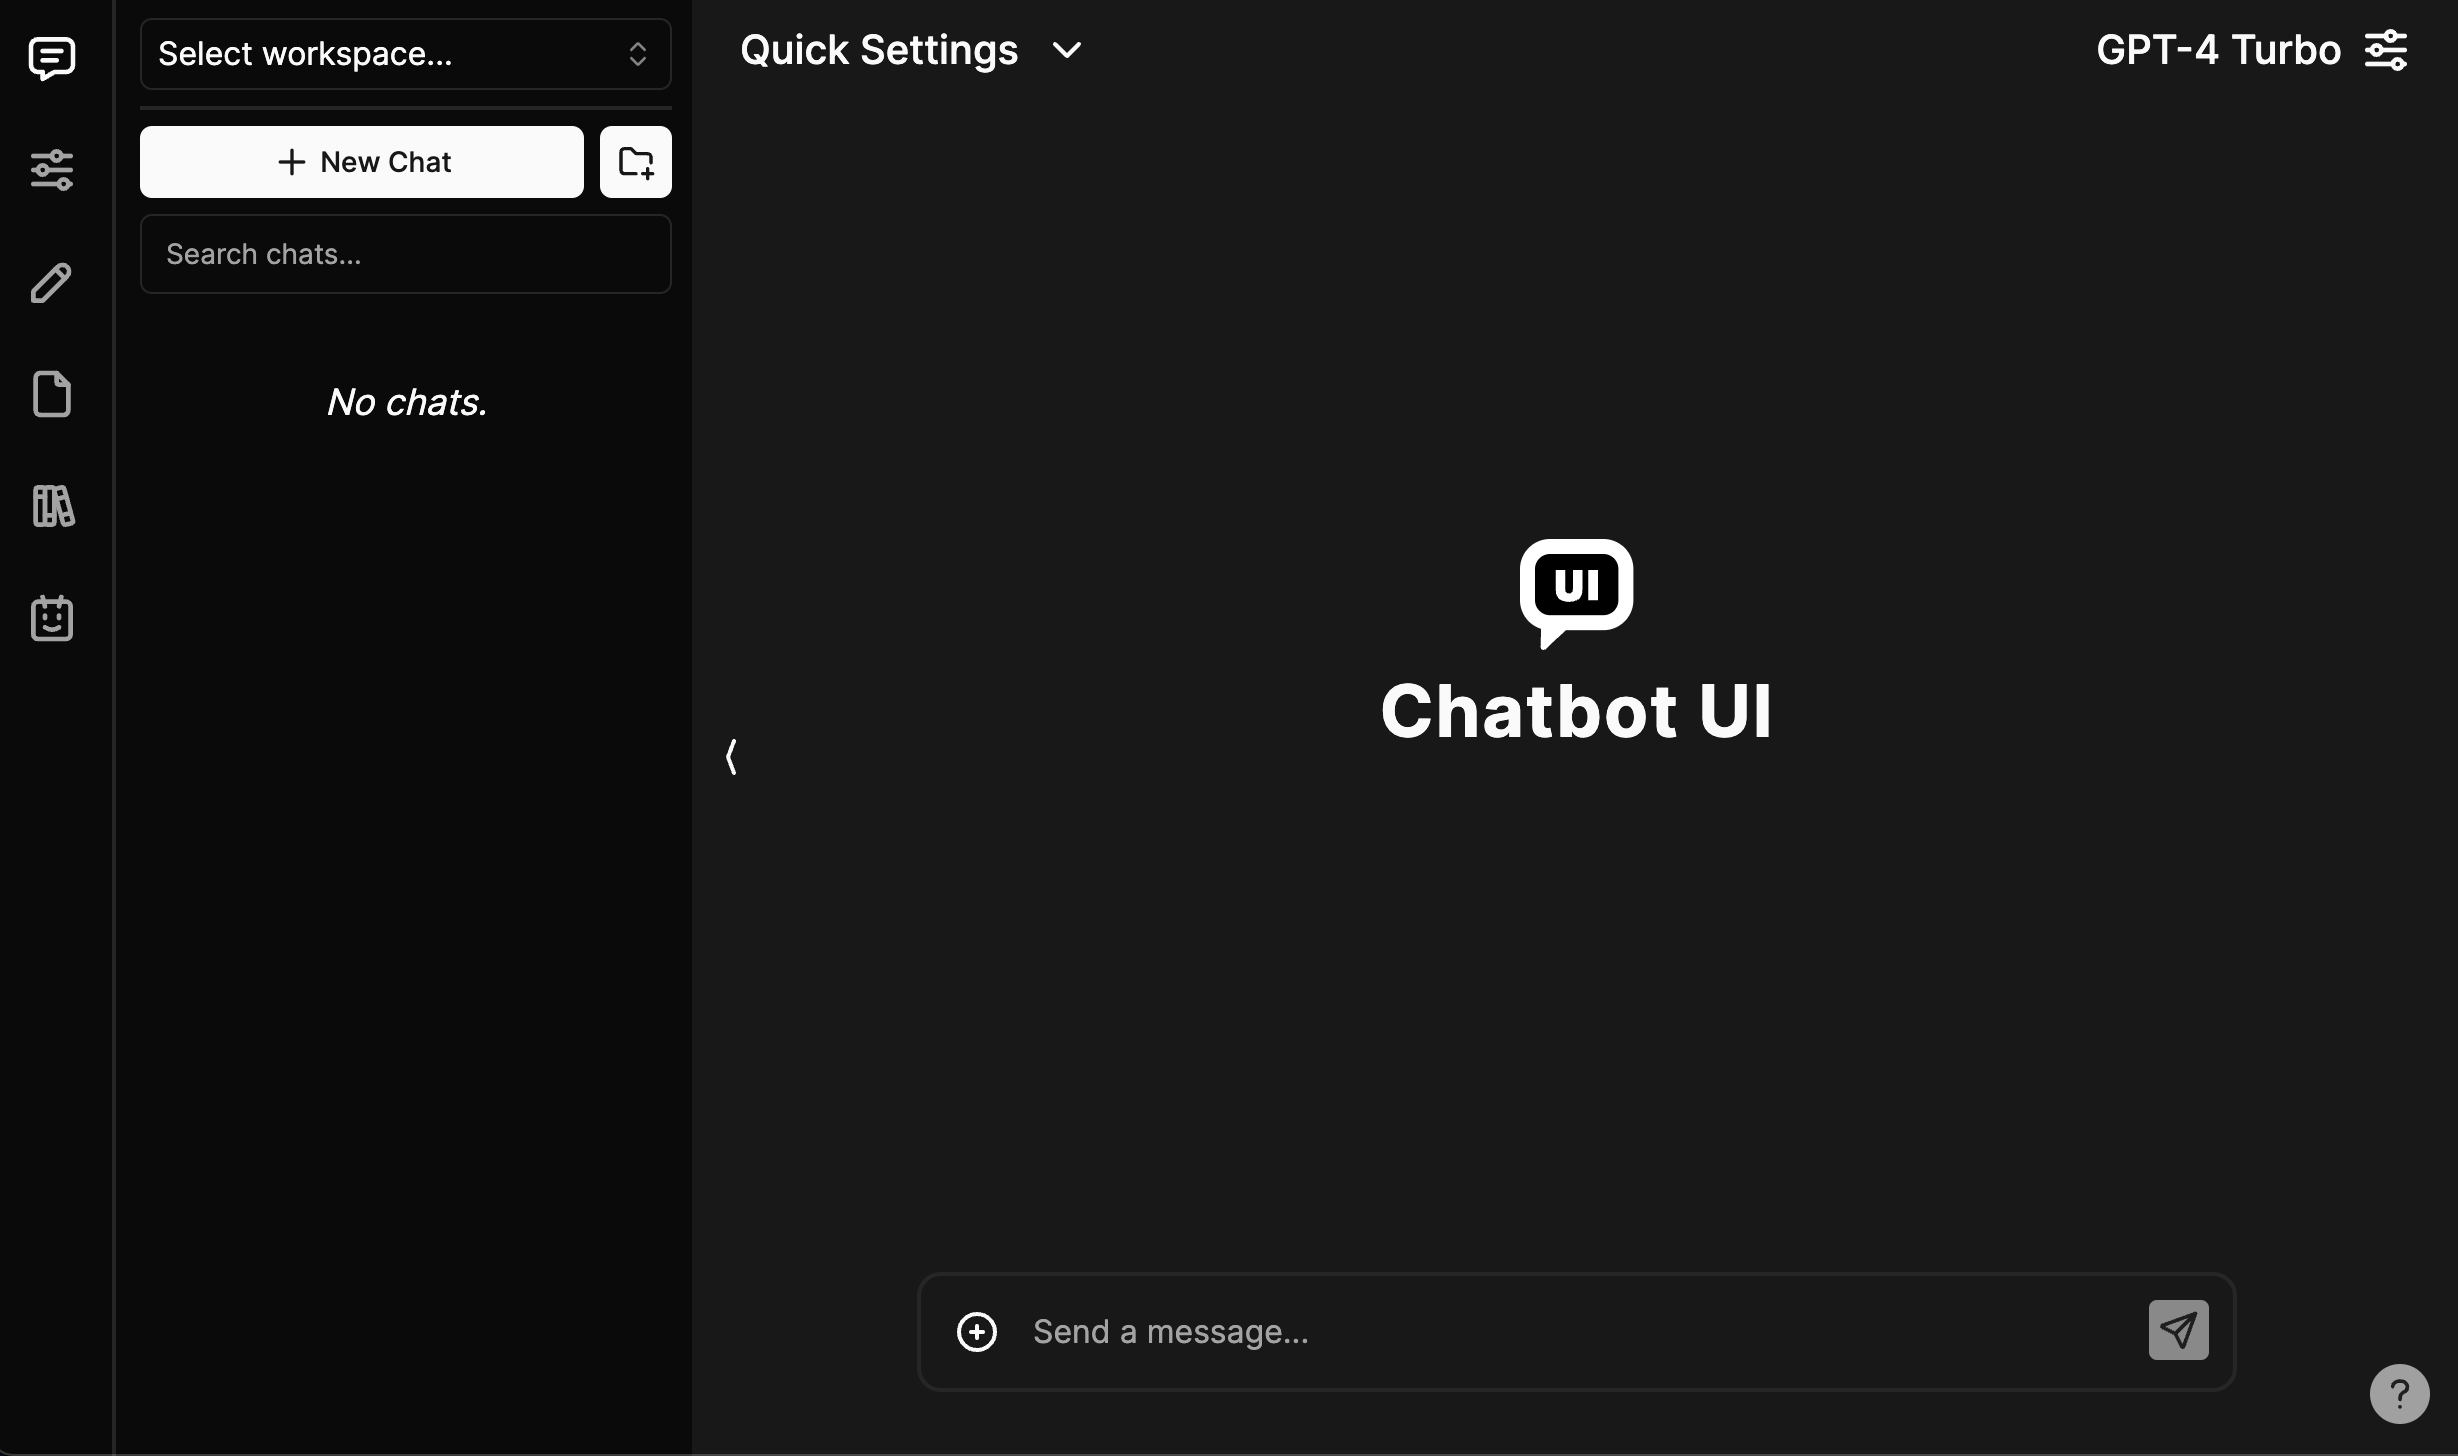
Getting Started with Chatbot UI
Chatbot UI is a Next.js application that uses Supabase for authentication and data storage. Setting it up locally is straightforward. This guide walks you through the entire process from cloning the repo to running your first conversation.
Prerequisites
Before you begin, ensure you have the following installed on your system:
- Node.js (v18 or later) and npm
- Docker — required for running Supabase locally
- Git — for cloning the repository
Step 1: Clone the Repository
git clone https://github.com/mckaywrigley/chatbot-ui.git
cd chatbot-ui
Step 2: Install Dependencies
npm installThis installs all required packages including Next.js, Supabase client, Tailwind CSS, and other dependencies.
Step 3: Set Up Supabase Locally
Chatbot UI uses Supabase for its backend. You need Docker to run Supabase locally:
- Make sure Docker is running on your machine
- Start Supabase:
npx supabase start - Copy the local Supabase credentials (anon key, service role key, and database URL) from the output
Step 4: Configure Environment Variables
Copy the example environment file and fill in the values:
cp .env.local.example .env.localEdit .env.local and add your Supabase credentials and any API keys for the AI providers you want to use (OpenAI, Anthropic, etc.).
Step 5: Run the App
npm run devYour Chatbot UI instance will be available at http://localhost:3000. Open your browser, create an account, and start chatting with AI models right away.
Step 6: Apply Database Migrations
When you update Chatbot UI, run migrations to keep your database schema in sync:
npm run db-pushConnecting AI Providers
Chatbot UI supports 80+ AI models. Add your API keys in the settings panel:
- OpenAI: Set your OpenAI API key in the settings
- Anthropic: Add your Anthropic API key for Claude models
- Google: Configure Google AI API key for Gemini models
- Custom: Point to any OpenAI-compatible endpoint (Ollama, vLLM, etc.)
Conclusion
Setting up Chatbot UI locally takes about 15 minutes. Once running, you get a powerful, customizable AI chat interface with complete control over your data and model choices. It is an excellent starting point for building AI-powered applications or for personal use with multiple AI providers.