How to Self-Host InsForge: A Step-by-Step Docker Compose Guide
Learn how to set up your own self-hosted InsForge instance with Docker Compose. Complete step-by-step guide with screenshots and one-click deployment options.
How to Self-Host InsForge on Your Own Server
InsForge turns your AI coding agent into a full-stack engineer by providing database, auth, storage, compute, and a model gateway — all through a single MCP interface. In this tutorial, I'll walk you through setting up your own self-hosted InsForge instance using Docker Compose.
🚀 Want to deploy InsForge yourself?
Docker configs, system requirements, and installation guides — all on one page.
View InsForge Tool Page →Prerequisites
Before you begin, make sure you have:
- Docker (20.10+) and Docker Compose installed
- Node.js 18+ (for the CLI setup script)
- At least 4 GB RAM (8 GB recommended)
- 2+ CPU cores
- Git to clone the repository
Step 1: Clone and Configure
Start by cloning the InsForge repository and setting up your environment:
git clone https://github.com/InsForge/InsForge.git
cd InsForge
cp .env.example .env
Open the .env file and configure your installation. The defaults work for local development, but for production you'll want to set secure passwords and adjust port mappings.
Step 2: Start with Docker Compose
InsForge ships with a production-ready Docker Compose configuration. Start it with:
docker compose -f docker-compose.prod.yml up -d
This will start all the required services: PostgreSQL database, the InsForge API server, authentication service, storage service, and the MCP server.
Wait a few moments for all services to become healthy, then verify everything is running:
docker compose -f docker-compose.prod.yml ps
Step 3: Connect Your Coding Agent to InsForge
Once InsForge is running, open http://localhost:7130 in your browser. You'll see the connection setup screen where you can configure the MCP server to communicate with your AI coding agent.
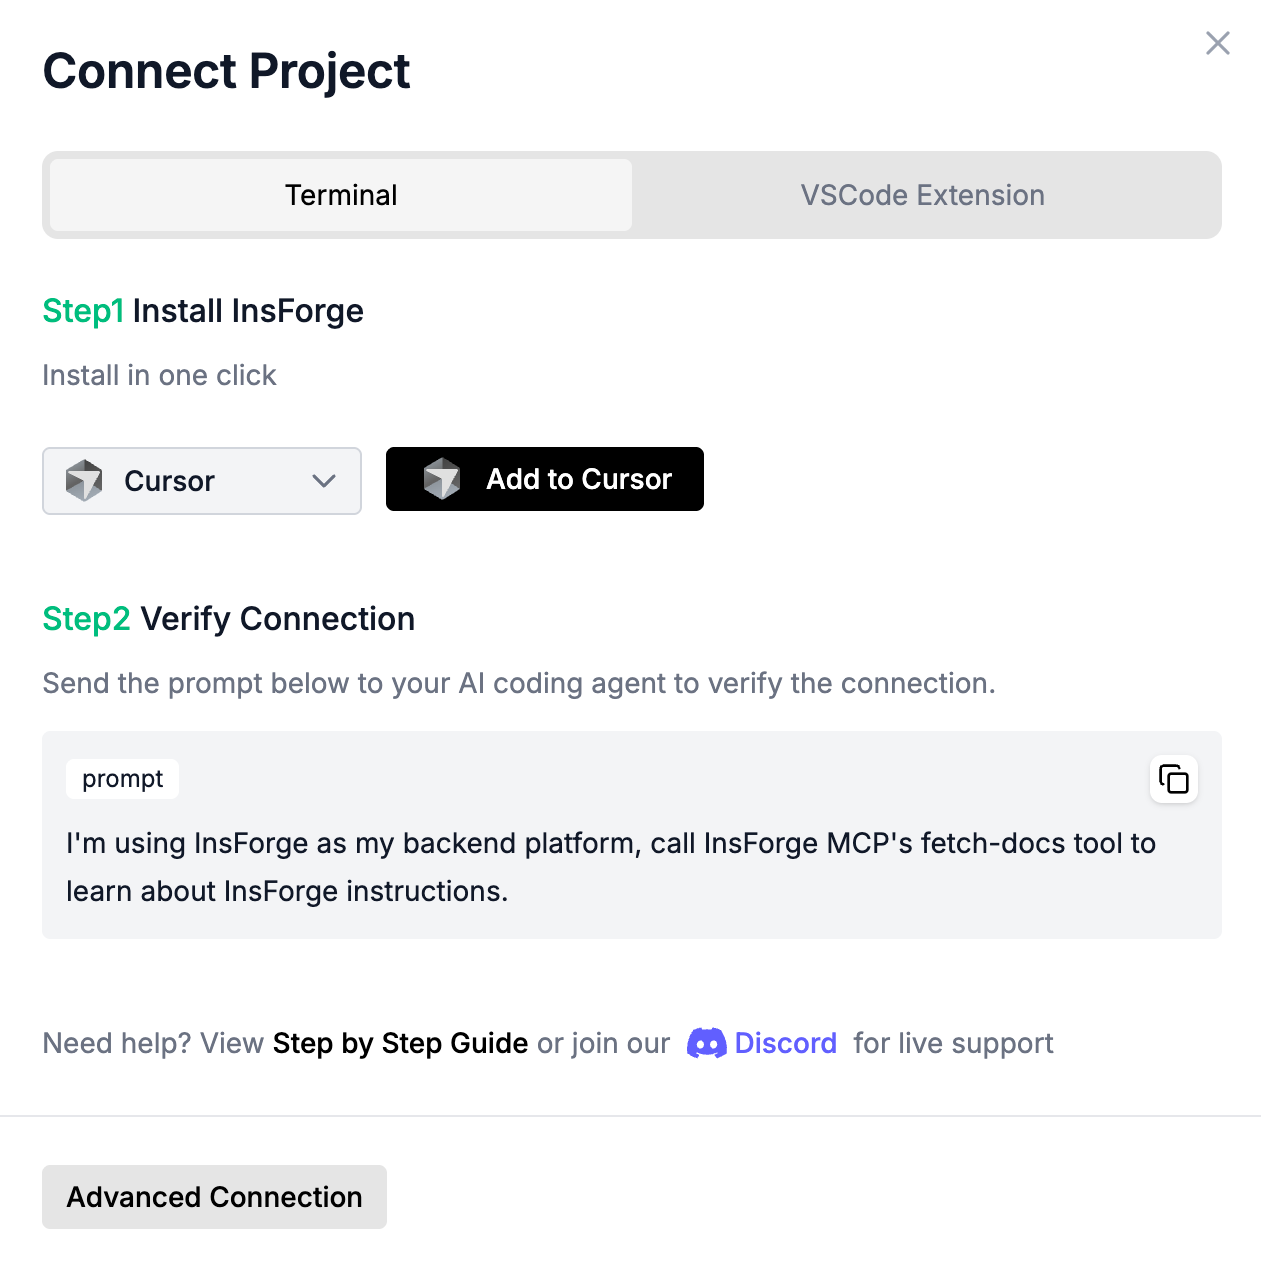
To verify the connection, send this prompt to your agent:
I'm using InsForge as my backend platform, call InsForge MCP's fetch-docs tool to learn about InsForge instructions.
Step 4: Running Multiple Projects
Need to run multiple InsForge instances? Create separate environment files for each project:
cp .env.example .env.project1
cp .env.example .env.project2
Edit each .env.project* with unique ports:
POSTGRES_PORT=5442APP_PORT=7230AUTH_PORT=***(auto-generated)
Start each with its project name:
docker compose -f docker-compose.prod.yml --env-file .env.project1 -p project1 up -d
docker compose -f docker-compose.prod.yml --env-file .env.project2 -p project2 up -d
One-Click Deployments
Prefer not to manage your own infrastructure? InsForge supports one-click deploys:
- Railway — Deploy with the Railway button
- Zeabur — One-click template
- Sealos — Deploy via App Store
These managed options handle networking, SSL, and scaling automatically — perfect for production use.
🚀 Get started with InsForge today
System requirements, Docker configs, and more on the tool page.
View InsForge Tool Page →