How to Set Up Jean for AI-Assisted Development — A Step-by-Step Tutorial
Learn how to install and configure Jean for multi-project AI-assisted development. Step-by-step guide covering Homebrew setup, worktree management, AI backend config, and power user tips.
Setting Up Jean: A Step-by-Step Tutorial for AI-Assisted Development
Let me walk you through getting Jean up and running with your first project. I'll show you exactly what I did — including the mistakes I made so you don't repeat them.
🚀 Want to deploy Jean yourself?
Docker configs, system requirements, and installation guides — all on one page.
View Jean Tool Page →Installation — Pick Your Path
Option 1: Homebrew (macOS, easiest)
Took me 30 seconds:
brew tap coollabsio/jean
brew install --cask jean
Jean appears in your Applications folder. Double-click and you're in. If you see a security warning on macOS, go to System Settings → Privacy & Security → click "Open Anyway". This caught me off guard my first time.
Option 2: Download from GitHub Releases
Grab the latest .dmg from GitHub Releases. This works for any platform including Linux (AppImage).
Option 3: Headless Server via Docker
If you want remote web access without the desktop UI:
docker pull crackheadcode/jean:latest
docker run -d --name jean -p 3456:3456 crackheadcode/jean:latest jean --headless --host 0.0.0.0 --port 3456
Then open http://localhost:3456 in your browser. Worth noting: the Docker image is a community build, so it works but the main recommended path is the native desktop app.
First Project Setup — Step by Step
1. Add a Project
Click the "+" button in the sidebar. Point Jean to an existing Git repository on your machine. It scans the repo, picks up the branch structure, and lists all available worktrees. I made the mistake of pointing it to a monorepo root — it works fine, but if you only work in one package, set the jean.json config to limit scope.
2. Set Up Your AI Backend
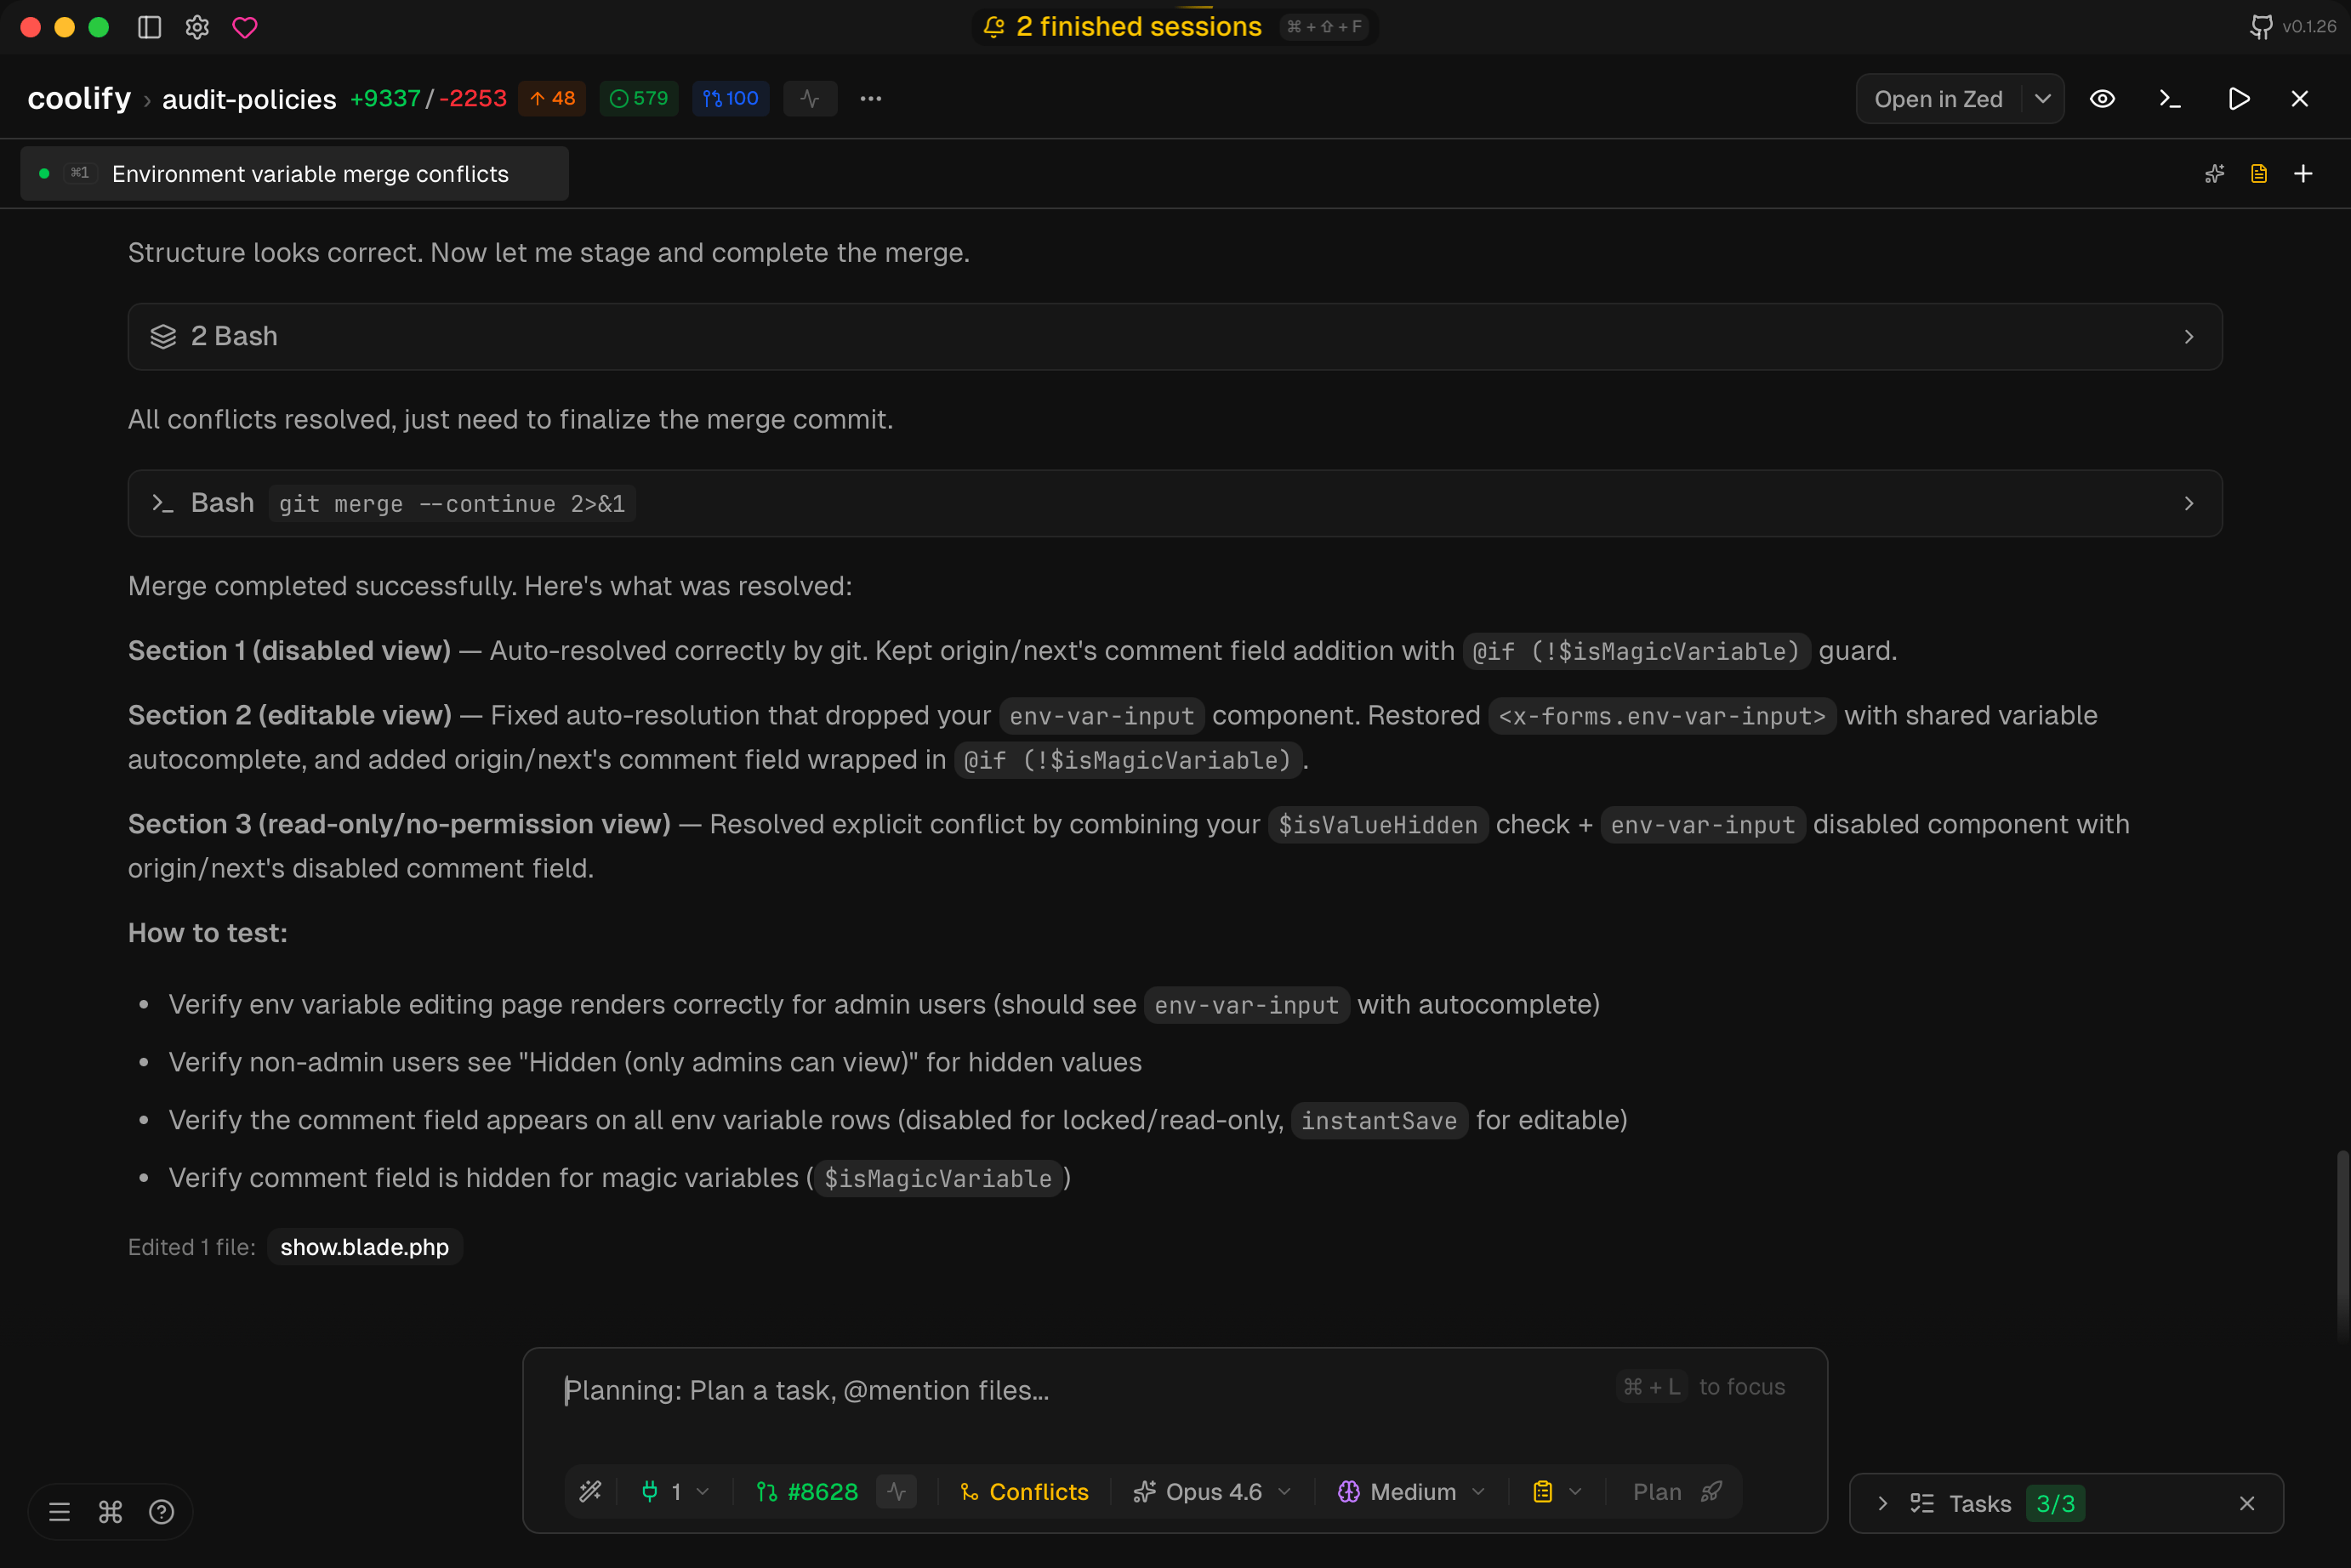
Go to Settings → AI Providers. You'll see options for Claude CLI, Codex CLI, Cursor CLI, and OpenCode. I already had Claude CLI installed globally, so Jean detected it automatically. If it doesn't, check your $PATH — I spent 20 minutes debugging this before realizing I'd installed Claude CLI in a .local/bin that wasn't sourced properly.
For each provider, you can set:
- Model — Opus 4.5, Opus 4.6, Sonnet 4.6, or Haiku
- Thinking level — Low, Medium, High (per-mode overrides available)
- Custom system prompts — I added "Always suggest terminal commands" for my workflow
3. Create Your First Worktree
In the project view, click "New Worktree" → enter a branch name like feature/add-search → pick the base branch. Jean creates the worktree in under 2 seconds. A new tab opens showing that worktree's session panel.
4. Start a Chat Session
Click inside the chat input. Select which AI backend to use (I keep Claude for this). Type your prompt — "Add a search bar to the header component." Jean streams the response in a CodeMirror panel with syntax highlighting. This is where you can approve, reject, or ask for modifications before applying changes.
Power User Tips From My First Week
| Tip | Why It Helps |
|---|---|
| Use Plan mode for architecture changes | Jean shows the full plan before applying code — catches design mistakes early |
| Enable auto-archive for merged PRs | Keeps your worktree list clean without manual cleanup |
| Use the command palette (Cmd+K) | Fastest way to switch worktrees, run git commands, or open settings |
| Set custom CLI profiles per project | Different projects need different system prompts — save them per-project |
| Try headless mode with Tailscale | Access your Jean sessions from another machine via tailscale IP |
What I Wish I'd Known Sooner
Don't ignore the session recap feature. After you've been away for a few hours, Jean generates a digest of what happened in your sessions. I initially dismissed it as noise; turns out it's great for catching up after lunch or a meeting.
GitHub integration needs a token. First time you click the GitHub tab, Jean asks for a personal access token. Generate one from GitHub Settings → Developer Settings → Fine-grained tokens with repo scope. This stumped me for a few minutes.
Troubleshooting
If Jean doesn't detect your AI CLI tools, check: which claude in your terminal. If it returns nothing, install the CLI first. For Codex: npm install -g @openai/codex. For Cursor CLI, it's bundled with Cursor editor.
If the Docker container doesn't start: make sure port 3456 isn't already in use. Check with lsof -i :3456.
🚀 Explore Jean on Run This Ai
Docker Compose configs, system requirements, installation guides, and more — all in one place.
View Jean Tool Page →