Omnigent Tutorial: Connect Claude Code, Codex, and Cursor in 15 Minutes
Step-by-step tutorial: deploy Omnigent with Docker, register Claude Code, Codex, and Cursor agents, apply sandboxing policies, and collaborate in real time.
🚀 Want to deploy Omnigent yourself?
Docker configs, system requirements, and installation guides — all on one page.
View Omnigent Tool Page →What you will build
In this tutorial you will connect Claude Code, Codex, and Cursor to a self-hosted Omnigent instance and drive all three from one dashboard. The whole setup takes about 15 minutes and requires only Docker and a GitHub account.
Step 1 — Start Omnigent
Run the official image and map the web UI to port 8080:
docker run -d --name omnigent -p 8080:8080 \
  -v ./data/omnigent:/data jniemer/omnigent:latest
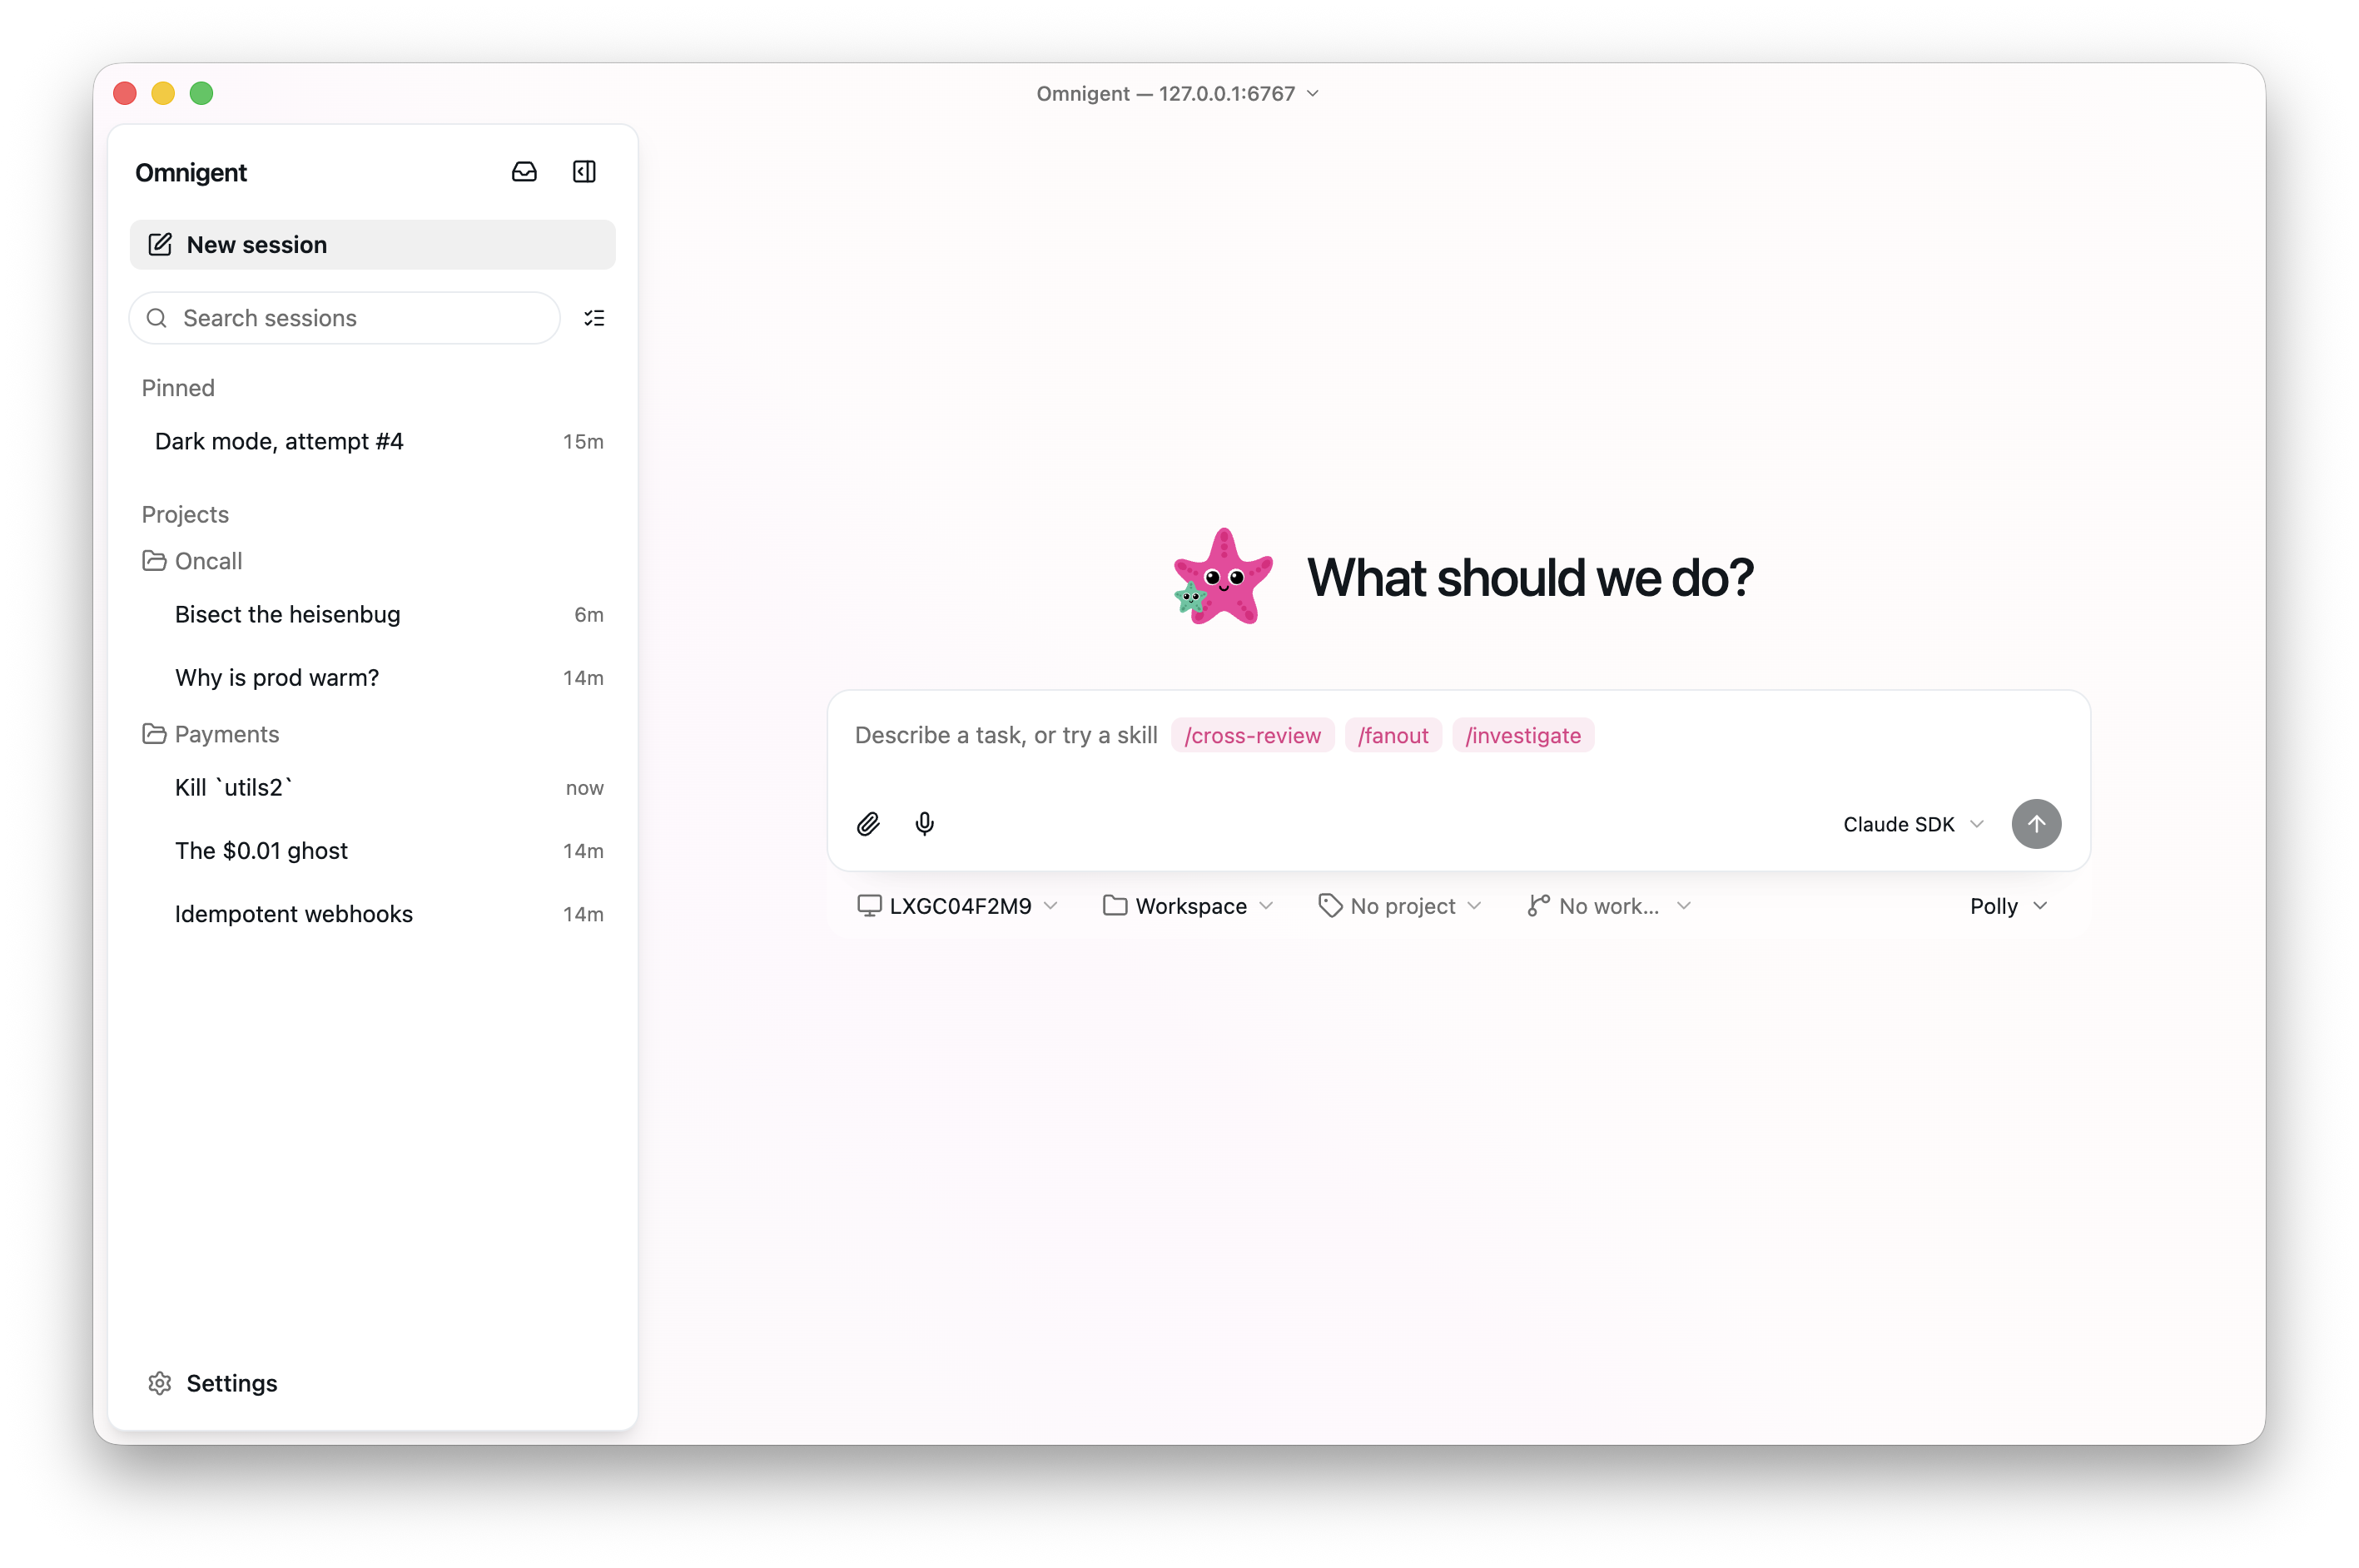
Open http://localhost:8080 and complete the one-time setup wizard.
Step 2 — Register your first agent
In the dashboard, click Add Agent and pick a harness, e.g. Claude Code. Omnigent walks you through the API key or CLI integration for that specific harness, so you never have to guess the config format. Repeat for Codex and Cursor.
Step 3 — Apply a policy
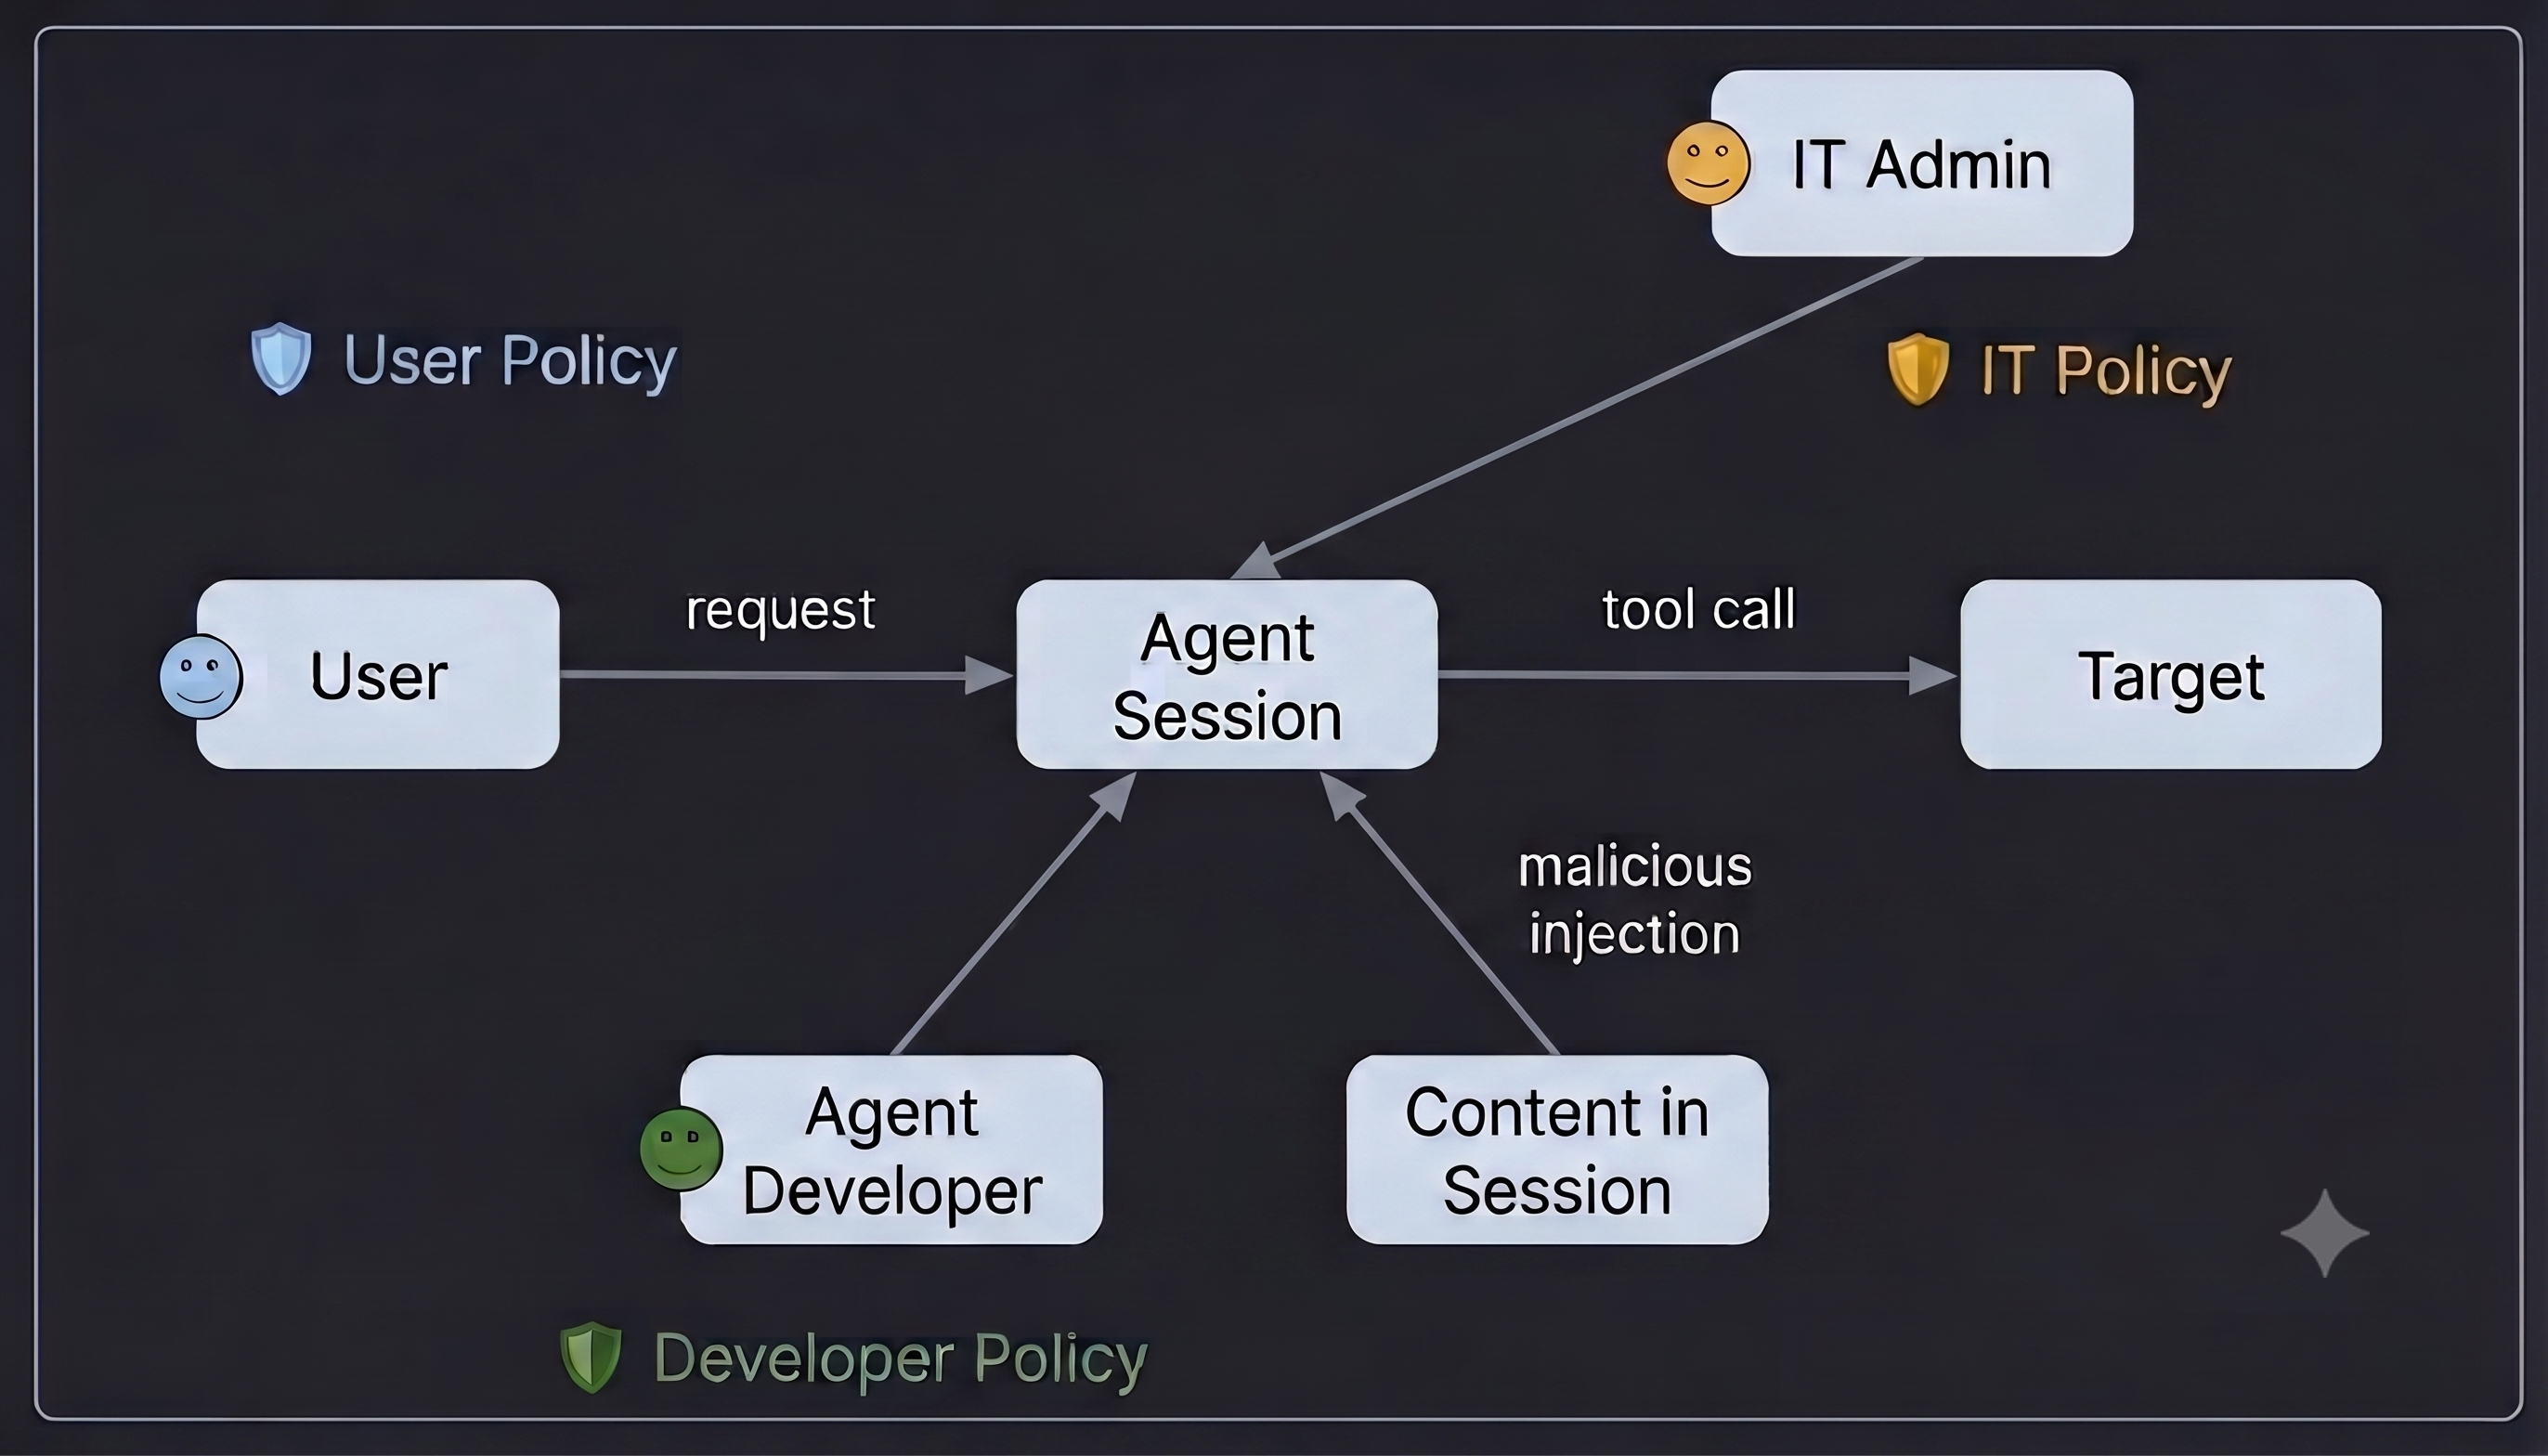
Create a policy that applies to all three agents, for example: never auto-merge pull requests or restrict file writes to the workspace. Omnigent enforces the sandboxing rules at the harness level, so a rule you write once is honored by every connected agent.
Step 4 — Collaborate in real time
Assign a task to one agent or fan it out across all three. You can watch progress live from the dashboard and jump in mid-run — pause an agent, adjust the prompt, or hand the task to a different harness without restarting.
Result
- ✅ Three harnesses connected to one control plane
- ✅ One policy set governing all agents
- ✅ Live collaboration from any device
🚀 Ready to try Omnigent yourself?
Get the Docker compose file, hardware requirements, and install guide on the tool page.
View Omnigent Tool Page →