How to Deploy Open Connector and Connect AI Agents to Gmail in Minutes
A step-by-step tutorial: run Open Connector with Docker, create a runtime token, connect Gmail, and call it from your agent via MCP.
In this tutorial, you will deploy Open Connector with Docker, create a runtime token, and connect an AI agent to Gmail — in about five minutes. The whole flow uses OAuth 2.0 under the hood, so no provider-specific code is needed.
🚀 Want to deploy Open Connector yourself?
Docker configs, system requirements, and installation guides — all on one page.
View Open Connector Tool Page →Step 1 — Run the Gateway
Start the server with a single container:
docker run -d --name open-connector -p 8080:8080 \
  -v ./data/open-connector:/data \
  nickhalden007/open-connector:latest
Then open http://localhost:8080 — the web console greets you with a clean overview page.
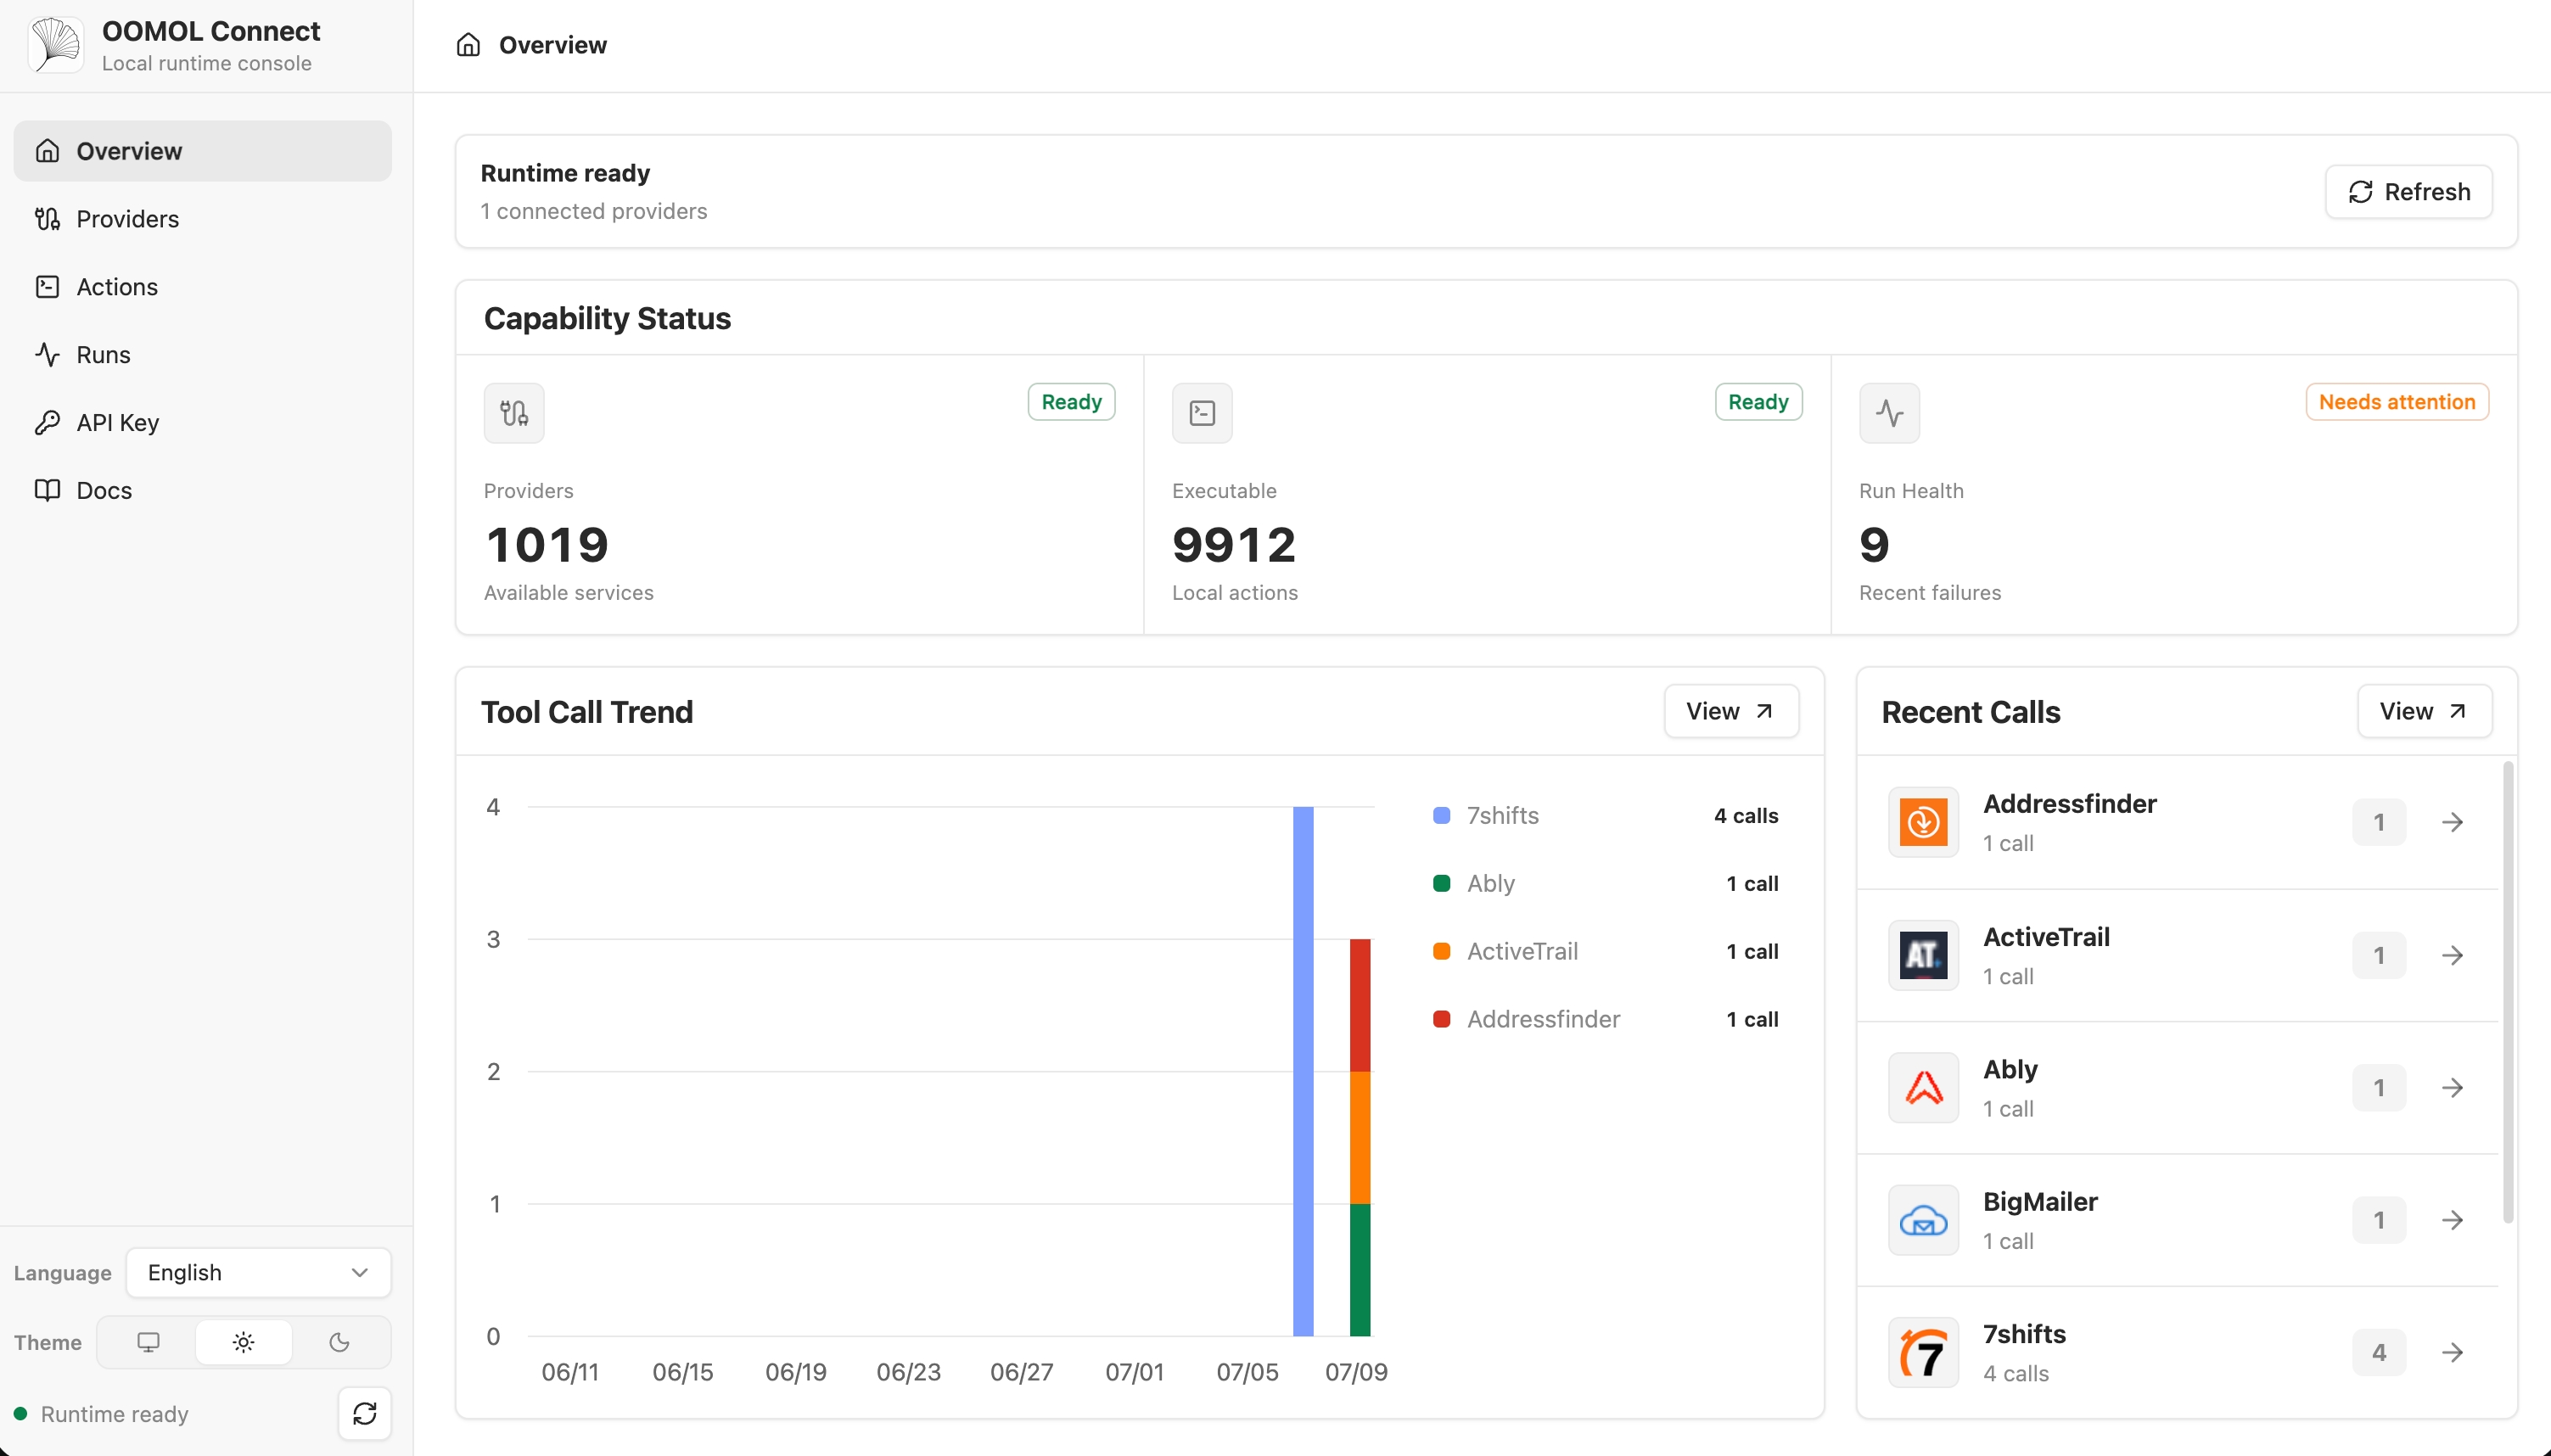
Step 2 — Create a Runtime Token
Runtime tokens are scoped, short-lived credentials your agent uses instead of user passwords. In the console, navigate to Runtime Tokens and create a new one:
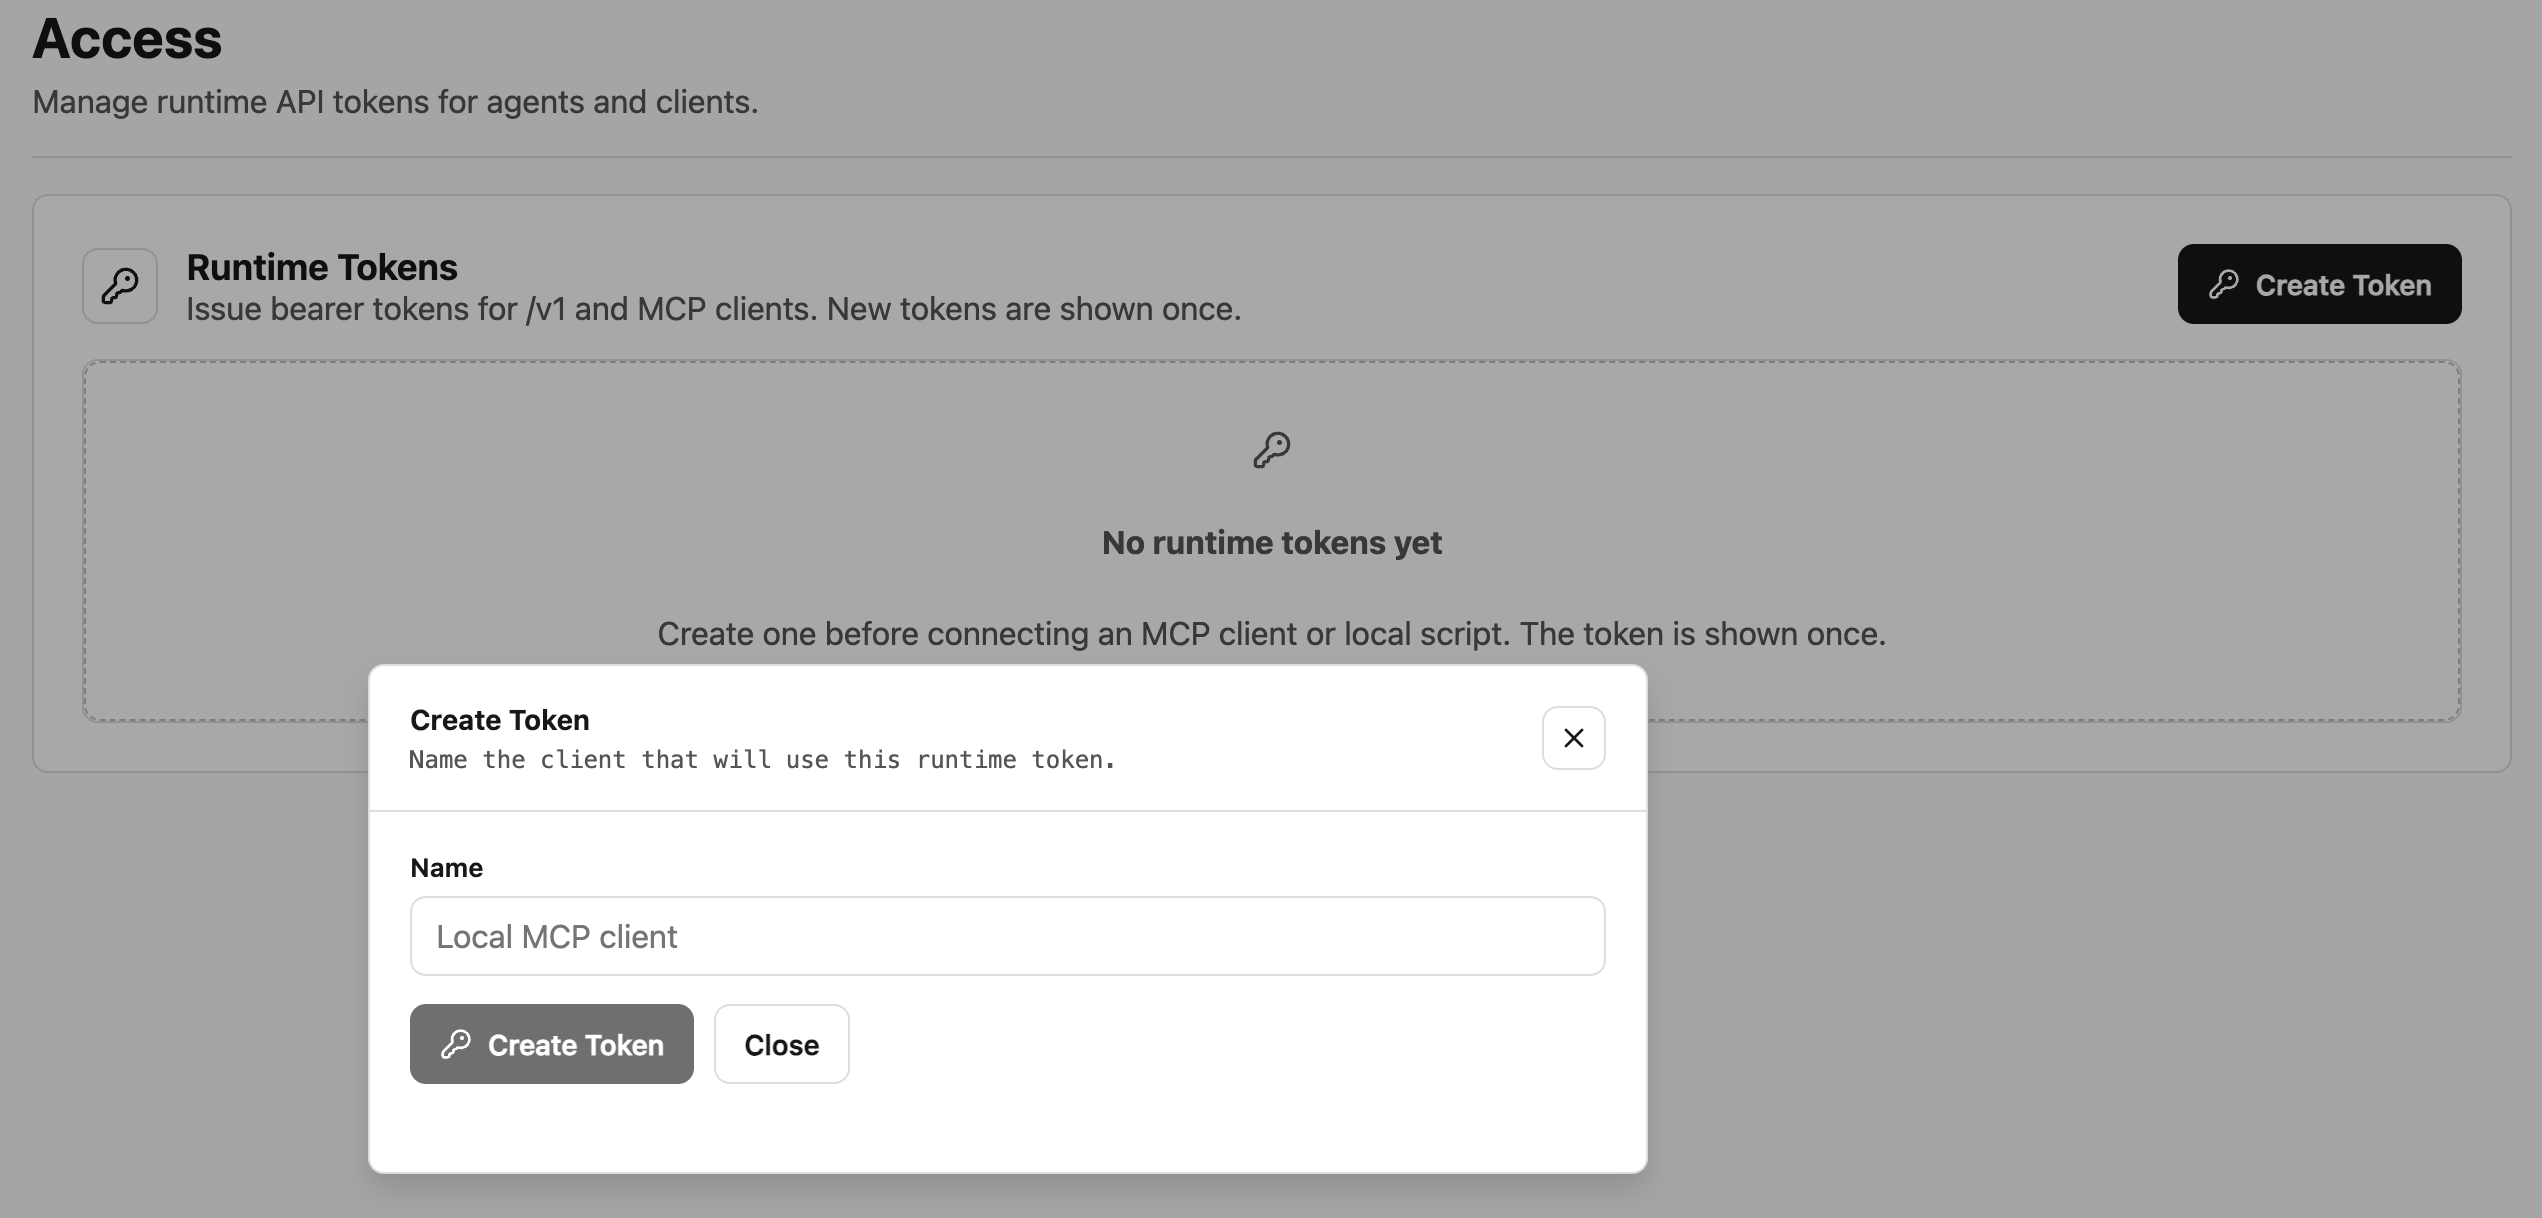
Give it a name, pick an expiry, and save. Copy the token — it is shown only once.
Step 3 — Connect a SaaS Provider
Pick Gmail from the provider catalog and authorize. Open Connector handles the redirect, consent screen, and token storage for you:
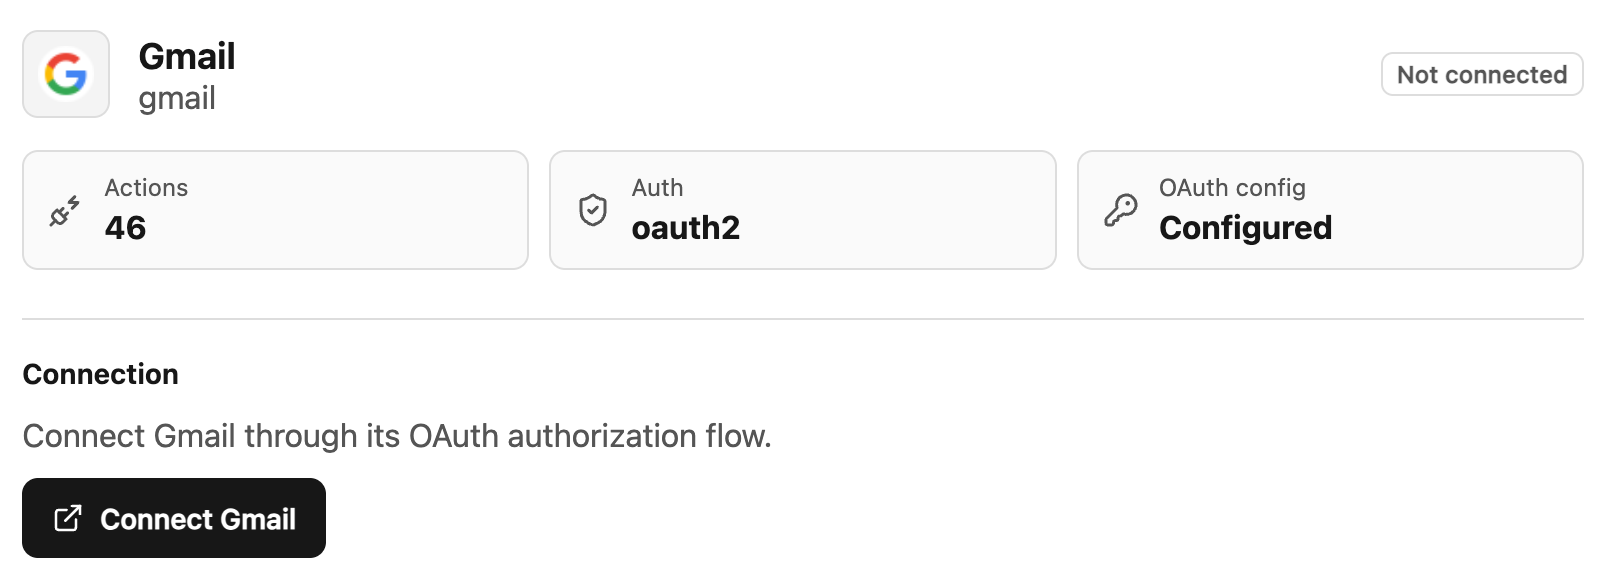
Once connected, the provider shows as connected and the gateway manages refresh tokens automatically.
Step 4 — Use It From Your Agent
Through the MCP server, your agent calls a tool like send_email and the gateway attaches the right credentials — no OAuth logic in your codebase:
# Your agent (any MCP client)
tools: open_connector.send_email(to, subject, body)
That is it: one gateway, one integration, 1000+ services. The same pattern works for Notion, Slack, Google Calendar, and every other supported provider.
🚀 Want to deploy Open Connector yourself?
Docker configs, system requirements, and installation guides — all on one page.
View Open Connector Tool Page →