Getting Started with PySpur: Build Your First Agent Workflow in 10 Minutes
Step-by-step tutorial for running PySpur with Docker and building a research agent workflow with LLM nodes, web search, and human-in-the-loop.

🧪 Getting Started with PySpur: Build Your First Agent Workflow in 10 Minutes
I'm going to show you how to get PySpur running and build your first working agent workflow — not a hello-world demo, but something actually useful: a research agent that searches the web, summarizes findings, and generates a report. All from a visual graph.
This took me about two hours the first time (mostly because I kept overcomplicating things). Once you see the pattern, you'll be able to build similar workflows in under 10 minutes.
🚀 Want to deploy PySpur yourself?
Docker configs, system requirements, and installation guides — all on one page.
View PySpur Tool Page →📦 Step 1: Launch PySpur
The quickest way to get started is with Docker. The PySpur team provides a GHCR image, so all you need is one command:
docker run -d --name pyspur \
  -p 6080:8000 \
  ghcr.io/pyspur-dev/pyspur-backend:latest
⏱️ Time: About 30 seconds to pull the image. Grab a coffee.
⚠️ What I learned the hard way: Make sure port 6080 is free. I had something running on it and spent 10 minutes wondering why it wouldn't start. `docker ps -a` is your friend.
🔧 Step 2: Configure Your LLM Provider
Once PySpur is running, open http://localhost:6080 in your browser. You'll see the settings panel. Click "Providers" and add at least one API key:
- OpenAI: Set
OPENAI_API_KEYin environment variables - Anthropic: Set
ANTHROPIC_API_KEYfor Claude models - Ollama: If you're running Ollama locally, PySpur auto-detects it
I went with GPT-5 for the reasoning nodes and saved some costs by using Ollama (with Qwen 2.5) for simpler processing steps. PySpur handles mixing providers seamlessly — just assign a different model to each node in the graph.
🎨 Step 3: Build Your First Graph
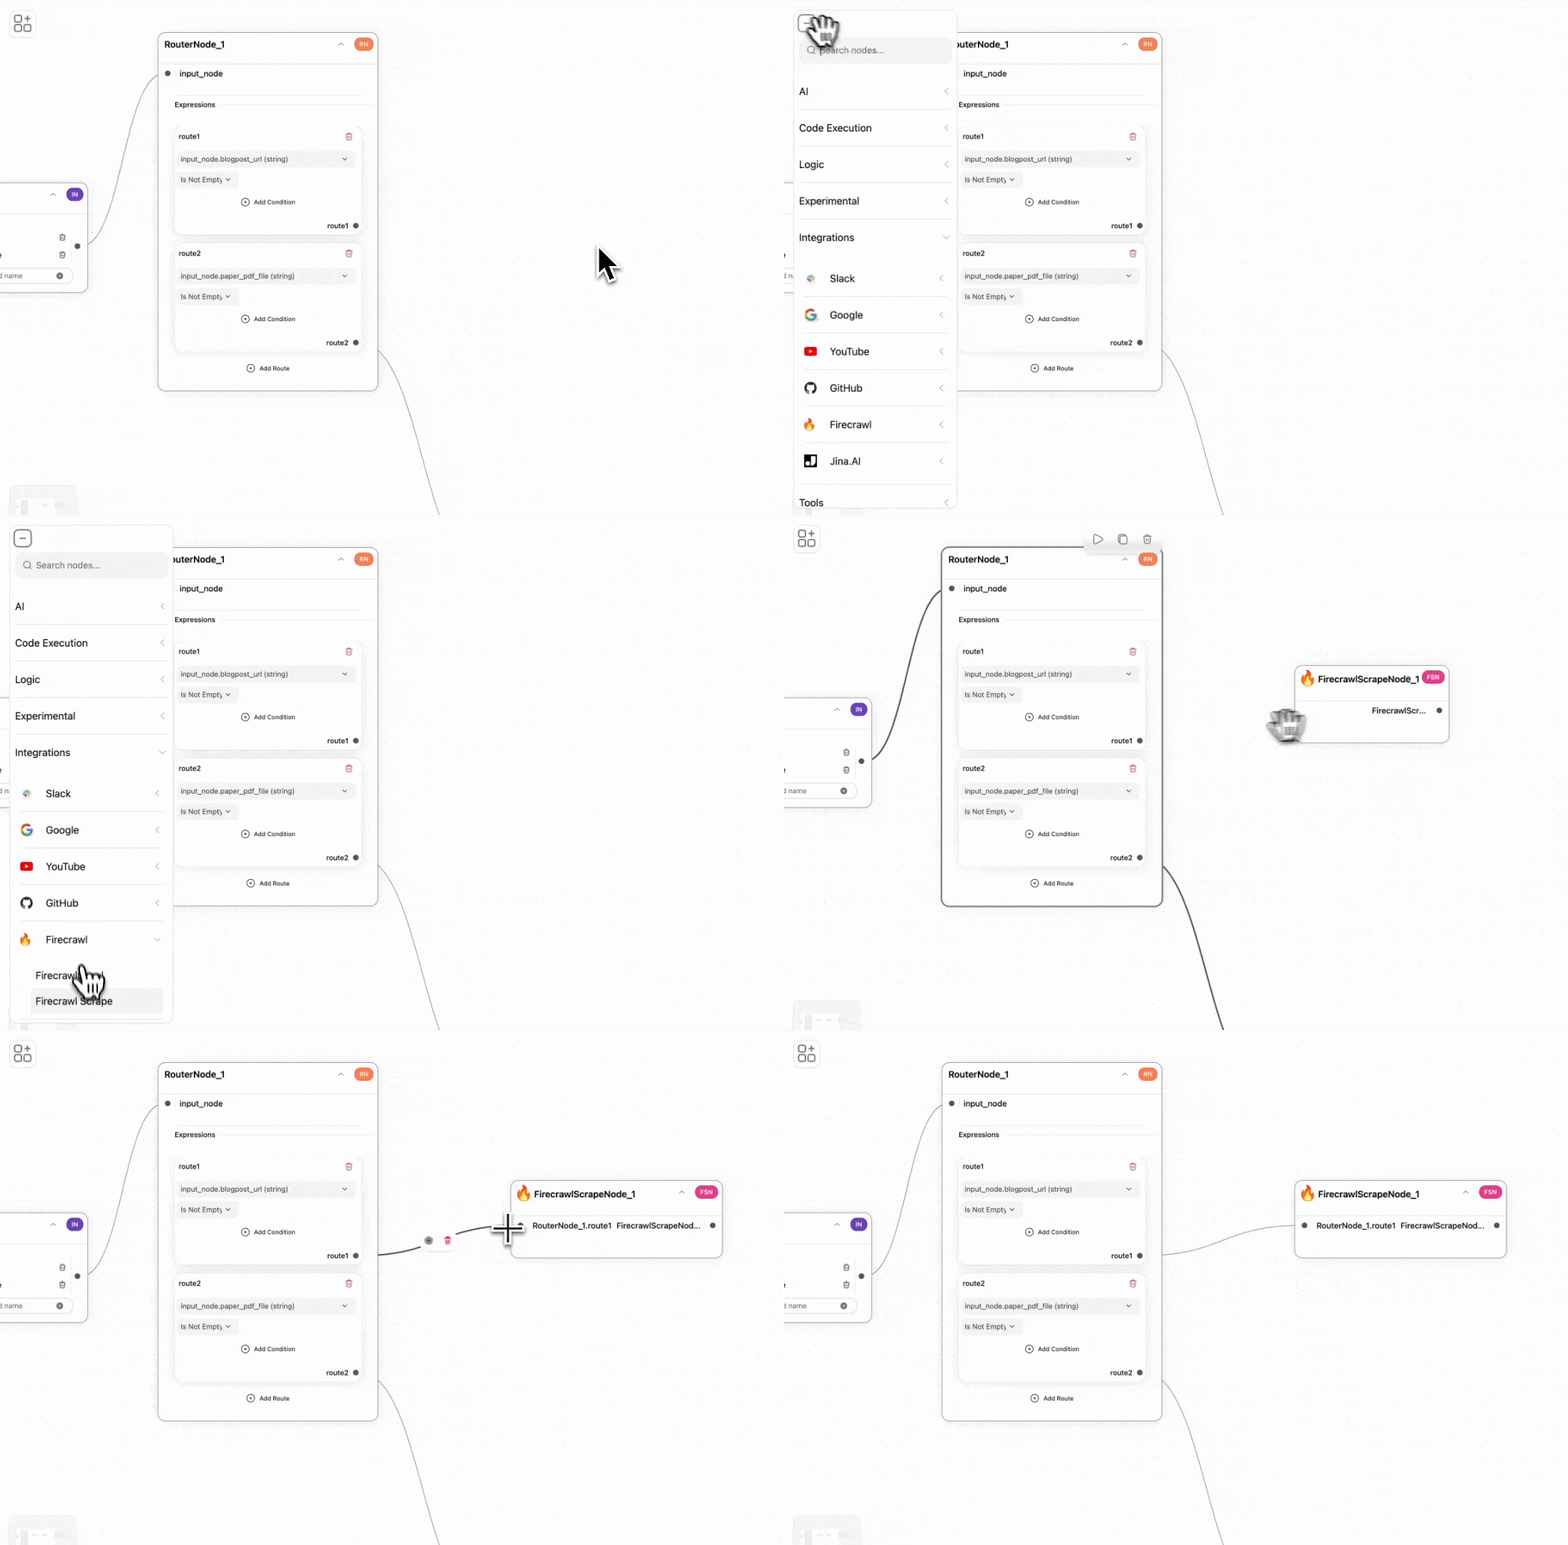
Here's the fun part. Click "New Workflow" and you'll see a blank canvas with a node palette on the left.
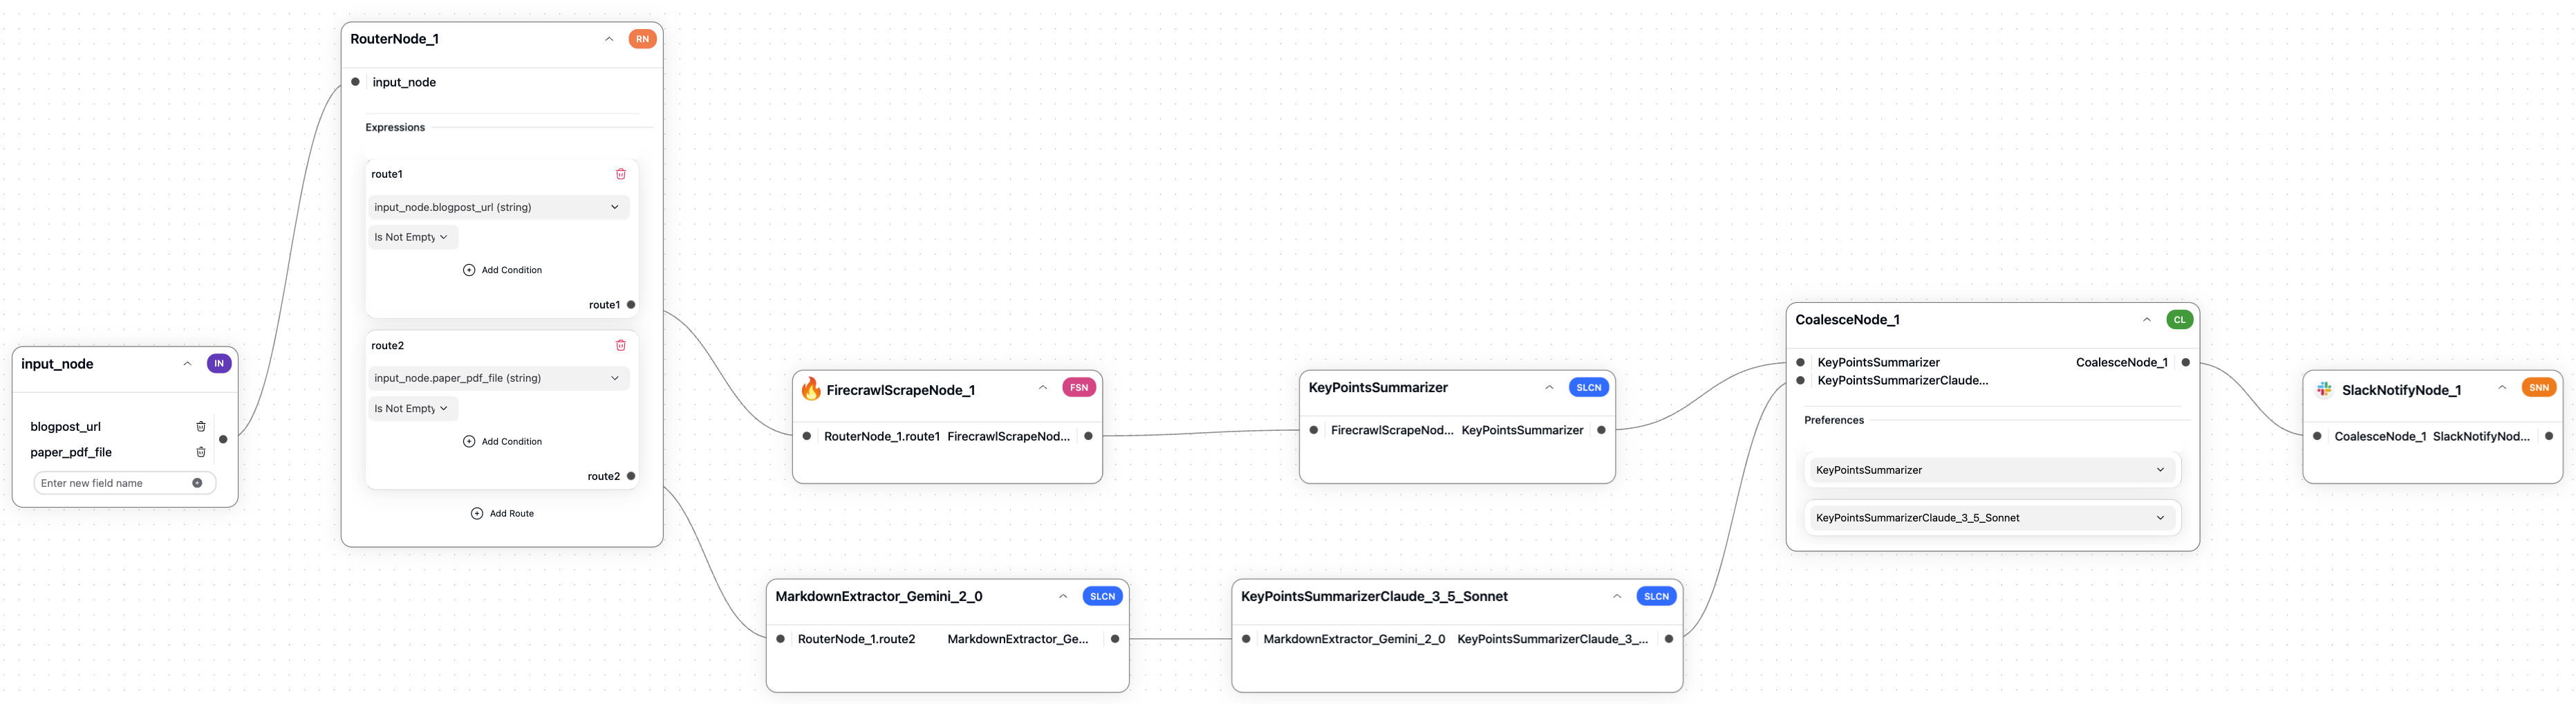
For our research agent, add these nodes:
- Input Node — the question/topic you want researched
- Web Search Tool — connects to a search API (I used Tavily)
- LLM Node (Gemini) — extracts key insights from search results
- LLM Node (GPT-5) — synthesizes findings into a structured report
- Output Node — displays the final report
Connect them by dragging from the output port of one node to the input port of the next. The graph should form a clean pipeline: Input → Search → Extract → Synthesize → Output.
This is where PySpur shines. You can see the entire flow at a glance. When I first built mine, I noticed the search node wasn't connected properly because the arrow was red. Fixed it in 5 seconds.
▶️ Step 4: Run and Debug
Hit the "Run" button. PySpur executes each node and shows you real-time progress. Here's what I love: when a node finishes, you can click on it and see exactly what the LLM returned at that step. No digging through logs, no console.log() statements — just click and inspect.
💡 Pro tip: If a node fails, check the node's error output first. 9 times out of 10, it's an API key issue or a malformed prompt. PySpur shows the exact error message from the LLM provider.
⚙️ Advanced: Adding Human-in-the-Loop
Want a human to approve the search results before they get synthesized? Add a "Human Approval" node between the Extract and Synthesize nodes. The workflow will pause and wait for your input. This is incredibly useful for sensitive tasks where you don't want the AI making unsupervised decisions.
📊 Performance Notes
| Metric | Value |
|---|---|
| Cold start (from docker run) | ~3 seconds |
| RAM usage (idle) | ~120 MB |
| 5-node workflow execution | 8-15 seconds (depends on LLM latency) |
| Graph rendering for 20+ nodes | Still smooth, tested ✅ |
🎯 Final Thoughts
PySpur made me realize I was spending way too much time on plumbing and not enough on actual workflow design. If you build AI agents for a living, give it a shot. The 10 minutes you spend setting up will save you hours of debugging later.
🚀 Explore PySpur on Run This Ai
Docker Compose configs, system requirements, installation guides, and more — all in one place.
View PySpur Tool Page →