How to Self-Host Trigger.dev with Docker: A Quick-Start Guide
A complete step-by-step guide to self-hosting Trigger.dev with Docker. Set up AI agents and background workflows on your own infrastructure in minutes.

Why Self-Host Trigger.dev?
Trigger.dev is a powerful platform for building durable AI agents and background workflows, but sometimes you need full control over your infrastructure. Self-hosting Trigger.dev with Docker gives you data sovereignty, custom networking, and the ability to run everything behind your own firewall. Whether you are building internal tools, processing sensitive customer data, or need to comply with strict data regulations, running Trigger.dev on your own hardware is the right choice.
Prerequisites
Before you begin, make sure you have the following:
- A server running Linux (Ubuntu 22.04+ recommended) with at least 2 CPU cores and 2 GB RAM
- Docker and Docker Compose installed (v2.20+ recommended)
- Basic familiarity with the command line and Docker concepts
- A domain name (if you plan to expose it publicly with HTTPS)
Step 1: Pull the Docker Image
Start by pulling the latest Trigger.dev Docker image:
docker pull triggerdotdev/trigger.dev:main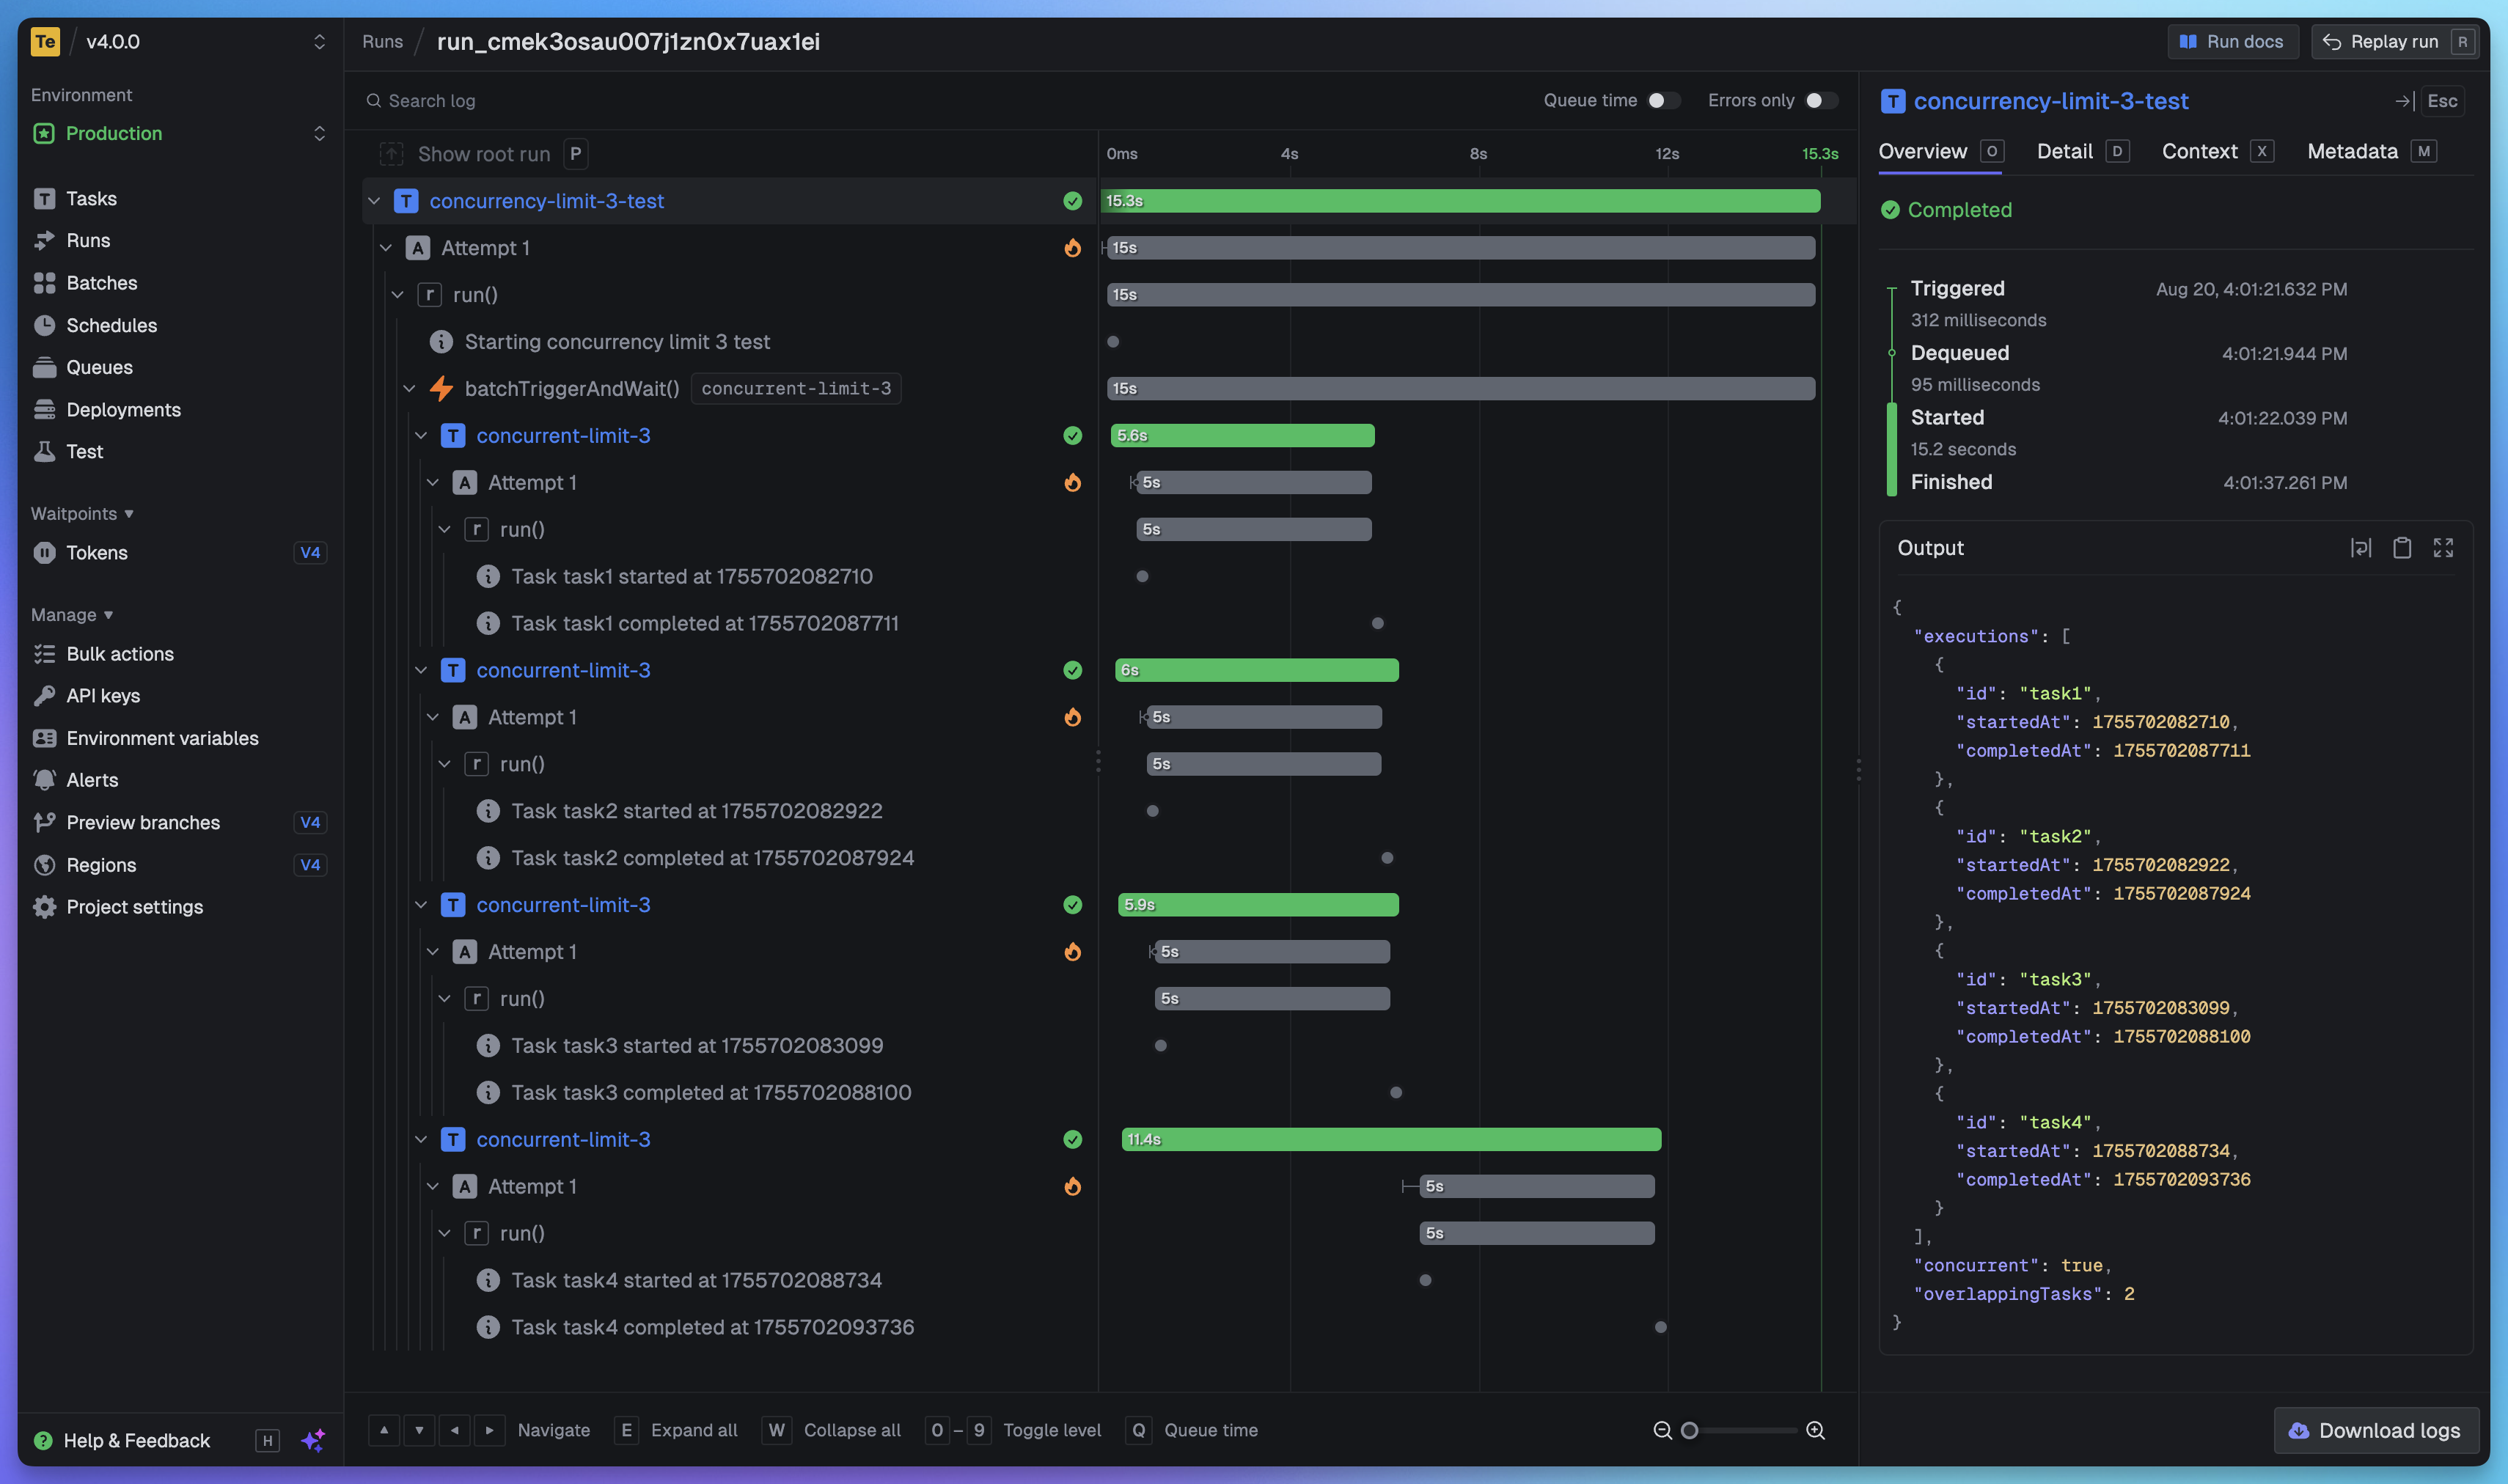
Step 2: Run with Docker Compose
Create a docker-compose.yml file for your Trigger.dev instance:
version: "3.8"
services:
  triggerdev:
    image: triggerdotdev/trigger.dev:main
    restart: unless-stopped
    ports:
      - "8080:8080"
    volumes:
      - ./data/triggerdev:/data
    environment:
      - NODE_ENV=production
      - DATABASE_URL=postgresql://user:pass@postgres:5432/triggerdev
      - DIRECT_URL=postgresql://user:pass@postgres:5432/triggerdev
      - AUTH_SECRET=your-secret-key-here
    depends_on:
      - postgres
      - redis

  postgres:
    image: postgres:16-alpine
    restart: unless-stopped
    volumes:
      - postgres_data:/var/lib/postgresql/data
    environment:
      POSTGRES_USER: user
      POSTGRES_PASSWORD: pass
      POSTGRES_DB: triggerdev

  redis:
    image: redis:7-alpine
    restart: unless-stopped
    volumes:
      - redis_data:/data

volumes:
  postgres_data:
  redis_data:
Step 3: Start the Stack
Launch all services with a single command:
docker compose up -dVerify that everything is running:
docker compose psStep 4: Access the Dashboard
Once the containers are running, open your browser and navigate to http://your-server-ip:8080. You will be greeted by the Trigger.dev dashboard where you can create projects, define tasks, and monitor runs in real time.
Writing Your First Task
With Trigger.dev running, you can define tasks directly in your TypeScript codebase. Here is a simple example:
import { task } from "@trigger.dev/sdk";

export const helloWorld = task({
  id: "hello-world",
  run: async (payload: { message: string }) => {
    console.log(payload.message);
    // Your task logic here — no timeouts!
    return { status: "completed", received: payload.message };
  },
});
Conclusion
Self-hosting Trigger.dev with Docker gives you all the power of a production-grade workflow platform while maintaining complete control over your data and infrastructure. The setup is straightforward, the documentation is excellent, and the active community on Discord is always ready to help. Whether you are running a single-server setup or a Kubernetes cluster, Trigger.dev adapts to your infrastructure needs.