Tipi Quick Start: Set Up Your Homeserver in 5 Minutes
Step-by-step tutorial to install Tipi (Runtipi) on your own server. Docker setup, first app installation, domain configuration, and troubleshooting.

Tipi Quick Start: Set Up Your Homeserver in 5 Minutes
This tutorial walks you through setting up Tipi (Runtipi) on your own server for the first time. By the end, you will have a fully functional homeserver with a web dashboard, automatic SSL, and the ability to install apps with one click.
Prerequisites
- A Linux server (Ubuntu 22.04+ recommended) with root or sudo access
- Docker and Docker Compose installed
- A domain name pointing to your server's IP (optional, for public access)
- At least 2 GB of RAM and 20 GB of free disk space
Step 1: Install via the One-Command Script
The easiest way to install Tipi is with the official installation script. SSH into your server and run:
curl -fsSL https://get.runtipi.io | bashThis script will automatically detect your operating system, install Docker if needed, download the latest Tipi release, and start the services. The installation takes about 2-3 minutes.
Step 2: Access the Dashboard
Once the script completes, open your browser and navigate to:
http://YOUR_SERVER_IP:8080You will be greeted by the Tipi setup wizard. Create an admin account by choosing a username and a strong password. After logging in, you will see the main dashboard with the app store, system status, and settings.
Step 3: Install Your First App
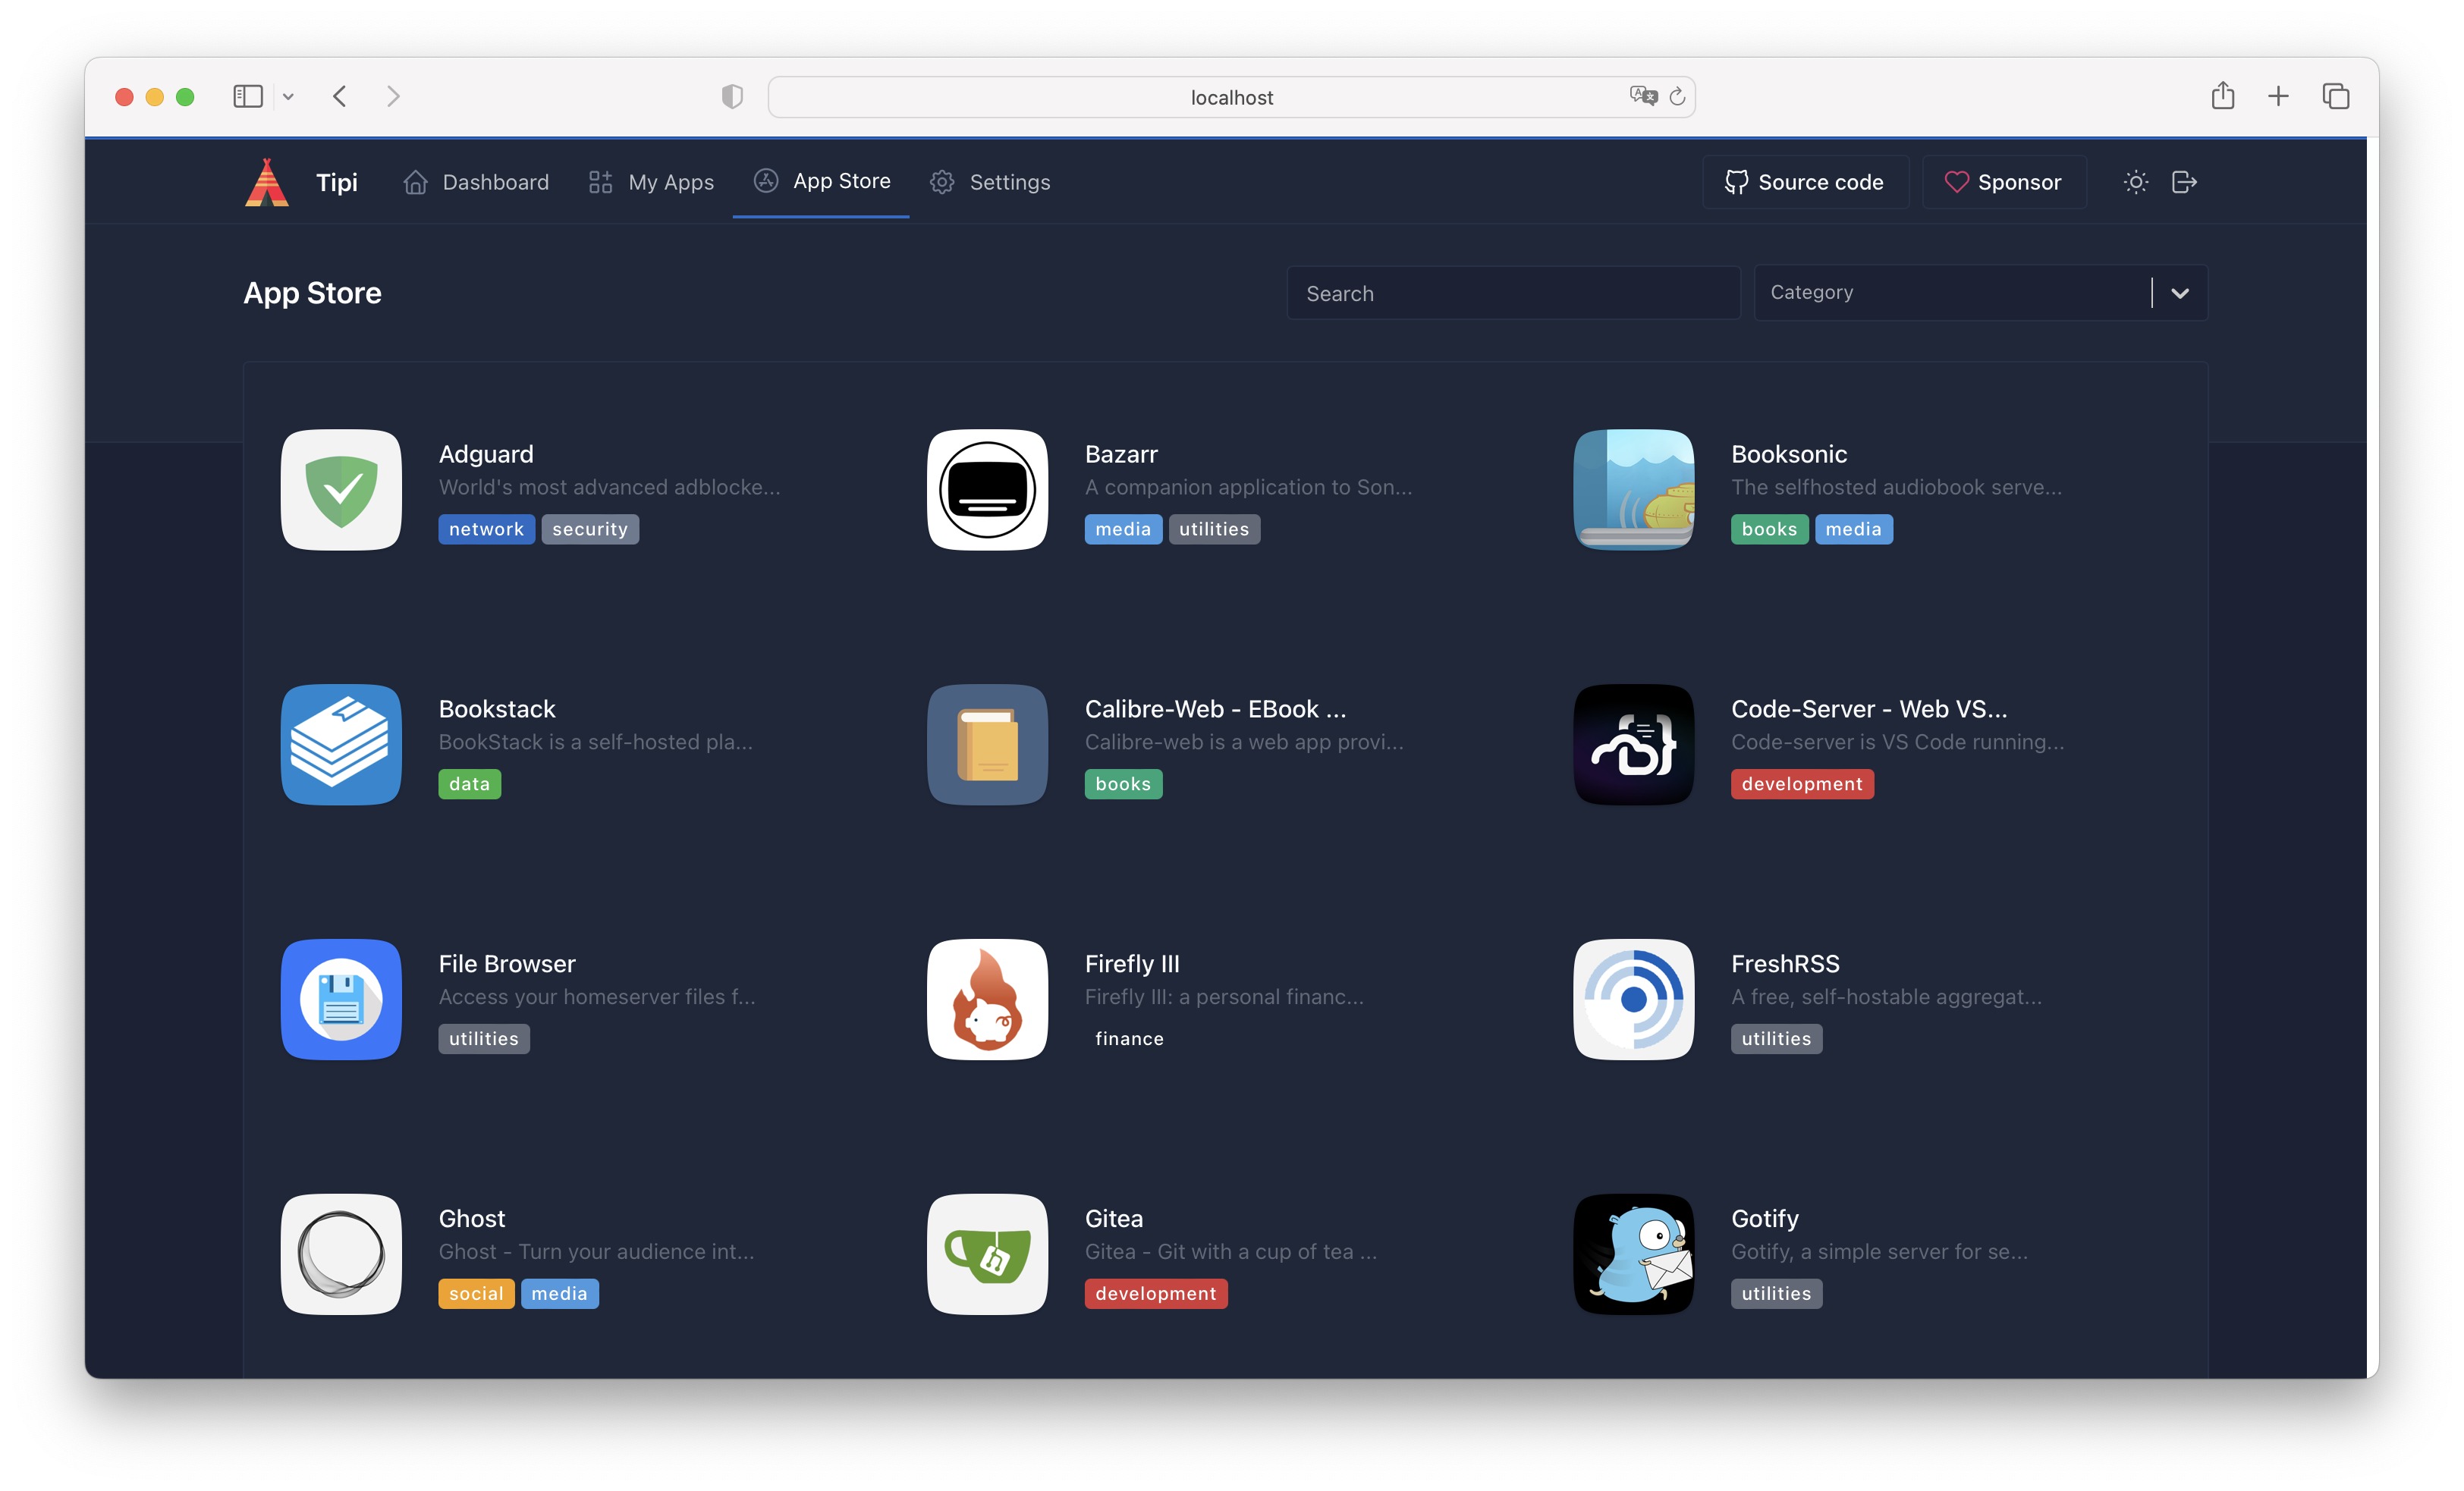
Click on App Store in the sidebar. Browse the available apps — you will find over 100 options including Nextcloud, Jellyfin, Home Assistant, Vaultwarden, and many more. Click Install on any app, and Tipi will automatically:
- Pull the Docker image
- Configure the reverse proxy
- Generate SSL certificates (if you have a domain configured)
- Create a dedicated subdomain for the app
Most apps are ready to use within 30-60 seconds.
Step 4: Configure a Domain (Optional)
To access your apps from anywhere with HTTPS, configure a domain in Tipi:
- Go to Settings > Domain
- Enter your domain name (e.g.,
tipi.example.com) - Ensure your domain's DNS A record points to your server's IP
- Tipi will automatically request SSL certificates from Let's Encrypt
Once configured, each app you install gets its own subdomain with automatic HTTPS.
Docker Installation (Alternative)
If you prefer to run Tipi manually with Docker:
docker pull ghcr.io/runtipi/runtipi:latest
docker run -d \
  --name tipi \
  -p 8080:8080 \
  -v ./data/tipi:/data \
  --restart unless-stopped \
  ghcr.io/runtipi/runtipi:latest
Then access the dashboard at http://localhost:8080.
Next Steps
- Set up automatic backups via Settings > Backup
- Configure Cloudflare Tunnel for secure access without opening ports
- Explore the CLI with
runtipi-cli --help - Join the Runtipi Discord for community support
Troubleshooting
- Dashboard not loading? Check that port 8080 is open in your firewall
- SSL certificate errors? Ensure your domain DNS is correctly configured
- App installation fails? Check Docker is running:
docker ps - Need help? Visit the official documentation