How to Deploy Plano with Docker: LLM Routing and Observability
Step-by-step guide to deploying Plano with Docker Compose: OpenAI-compatible LLM routing, Agentic Signals tracing, and guardrails in minutes.
🚀 Want to deploy Plano yourself?
Docker configs, system requirements, and installation guides — all on one page.
View Plano Tool Page →Getting Started with Plano
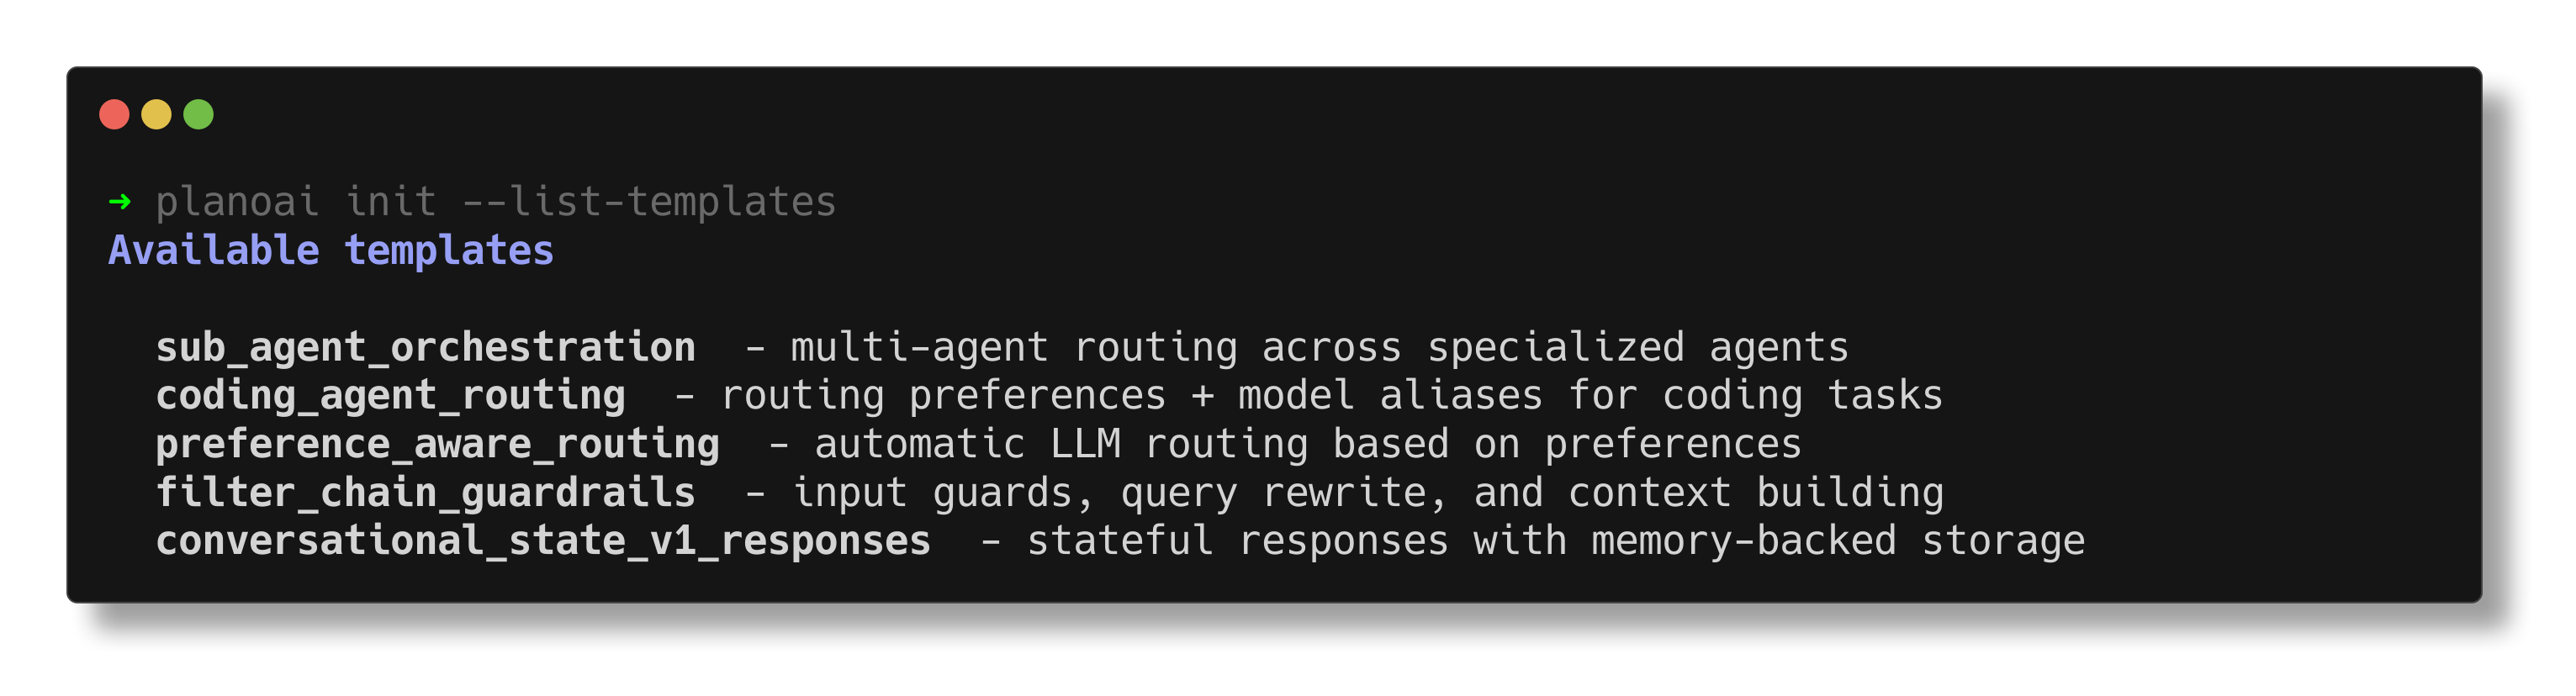
Plano runs as a lightweight proxy container. The official image is katanemo/plano:latest, and the quickest way to test it is with the Plano CLI: run plano init in your agent project to generate a plano.yaml config, then start the data plane. It exposes an OpenAI-compatible API on port 8080, so existing agents keep working while Plano handles routing, tracing, and guardrails.
Deploy with Docker Compose
A minimal production-style deployment looks like this:
services:
  plano:
    image: katanemo/plano:latest
    restart: unless-stopped
    ports:
      - "8080:8080"
    volumes:
      - ./data/plano:/data
Recommended Hardware
| Resource | Minimum | Recommended |
|---|---|---|
| CPU | 2 cores | 4 cores |
| RAM | 4 GB | 8 GB |
See Your Agents in Action
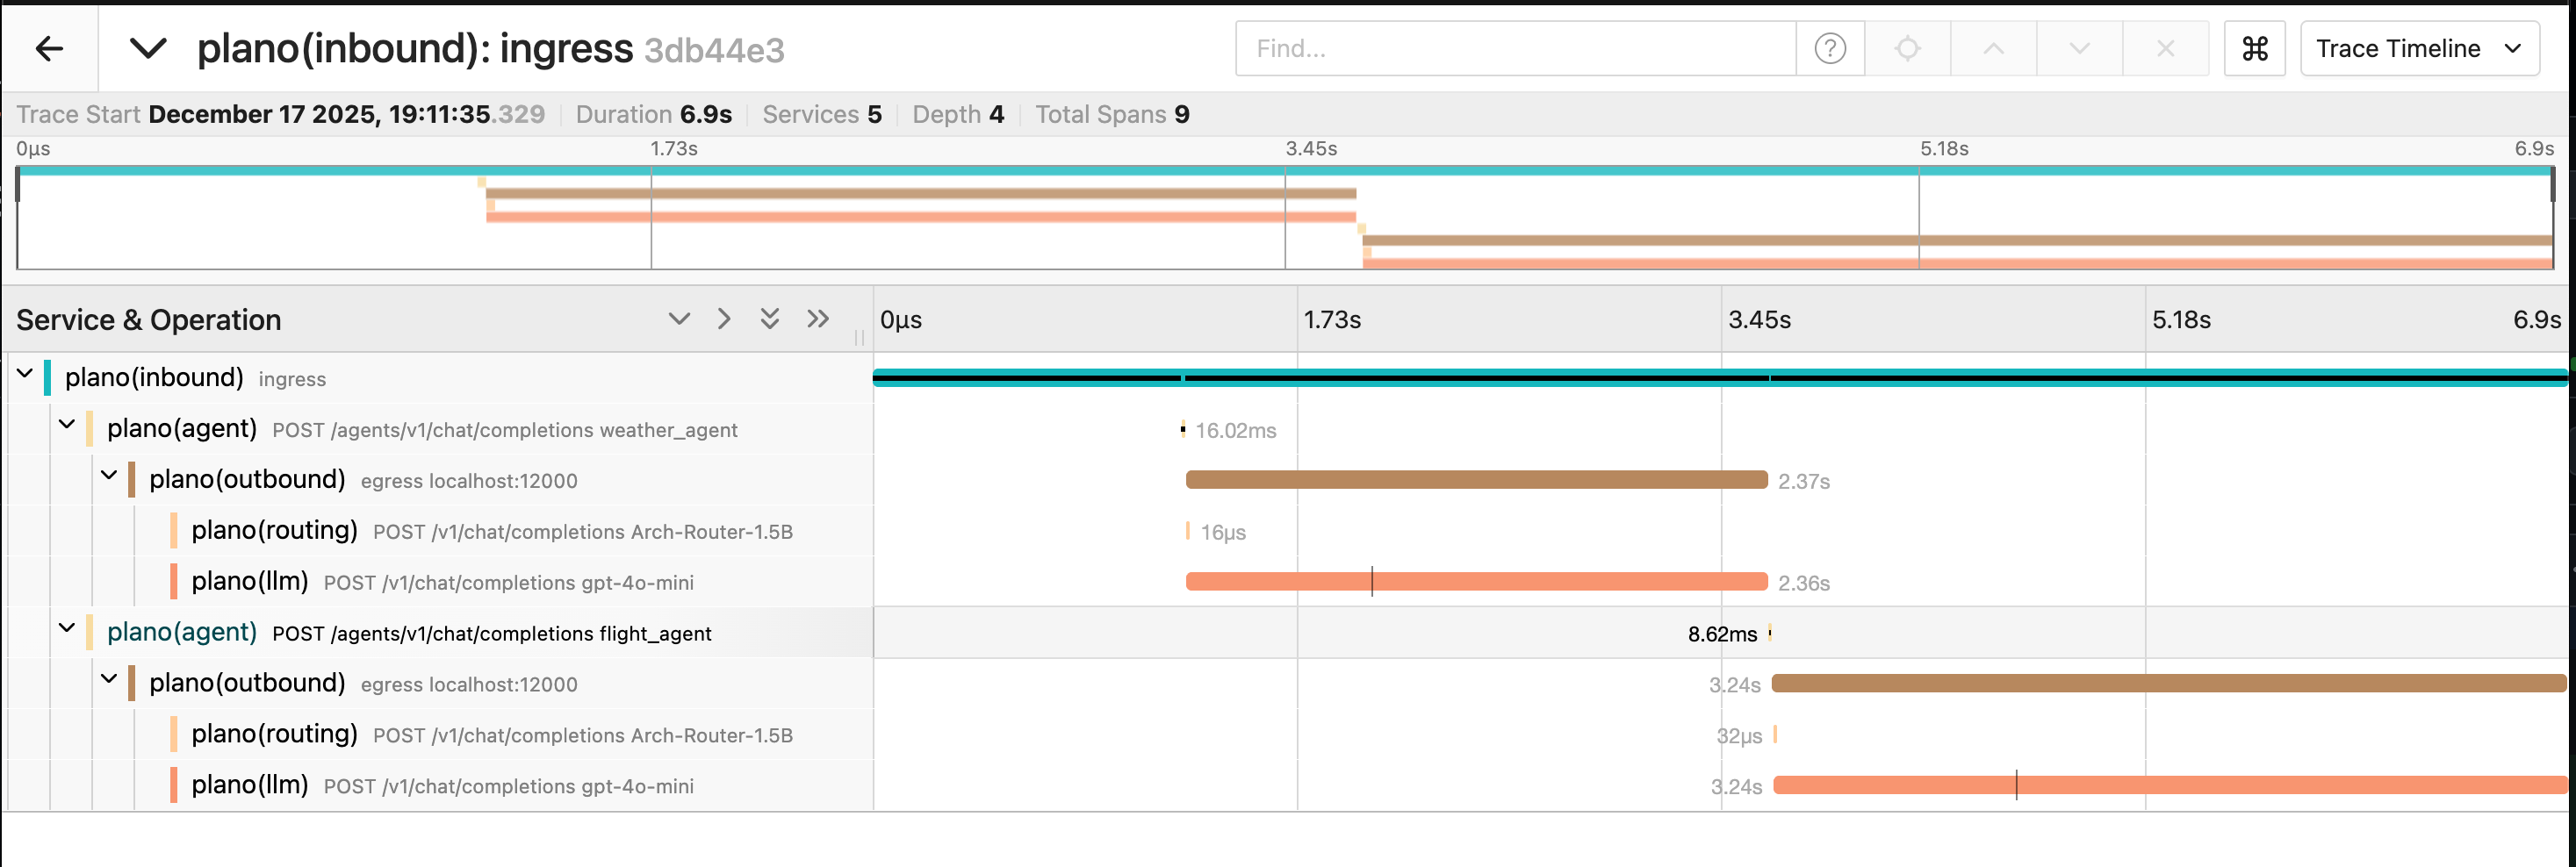
Once traffic flows through Plano, you get zero-code Agentic Signals and OTEL traces for every request. Open the tracing view to inspect agent decisions, token usage, and latency across the whole mesh — perfect for continuous improvement of your agents.
Plano is Apache-2.0 licensed with 7,000+ GitHub stars. Full docs live at docs.planoai.dev.
🚀 Want to deploy Plano yourself?
Docker configs, system requirements, and installation guides — all on one page.
View Plano Tool Page →